 Save to Pinterest
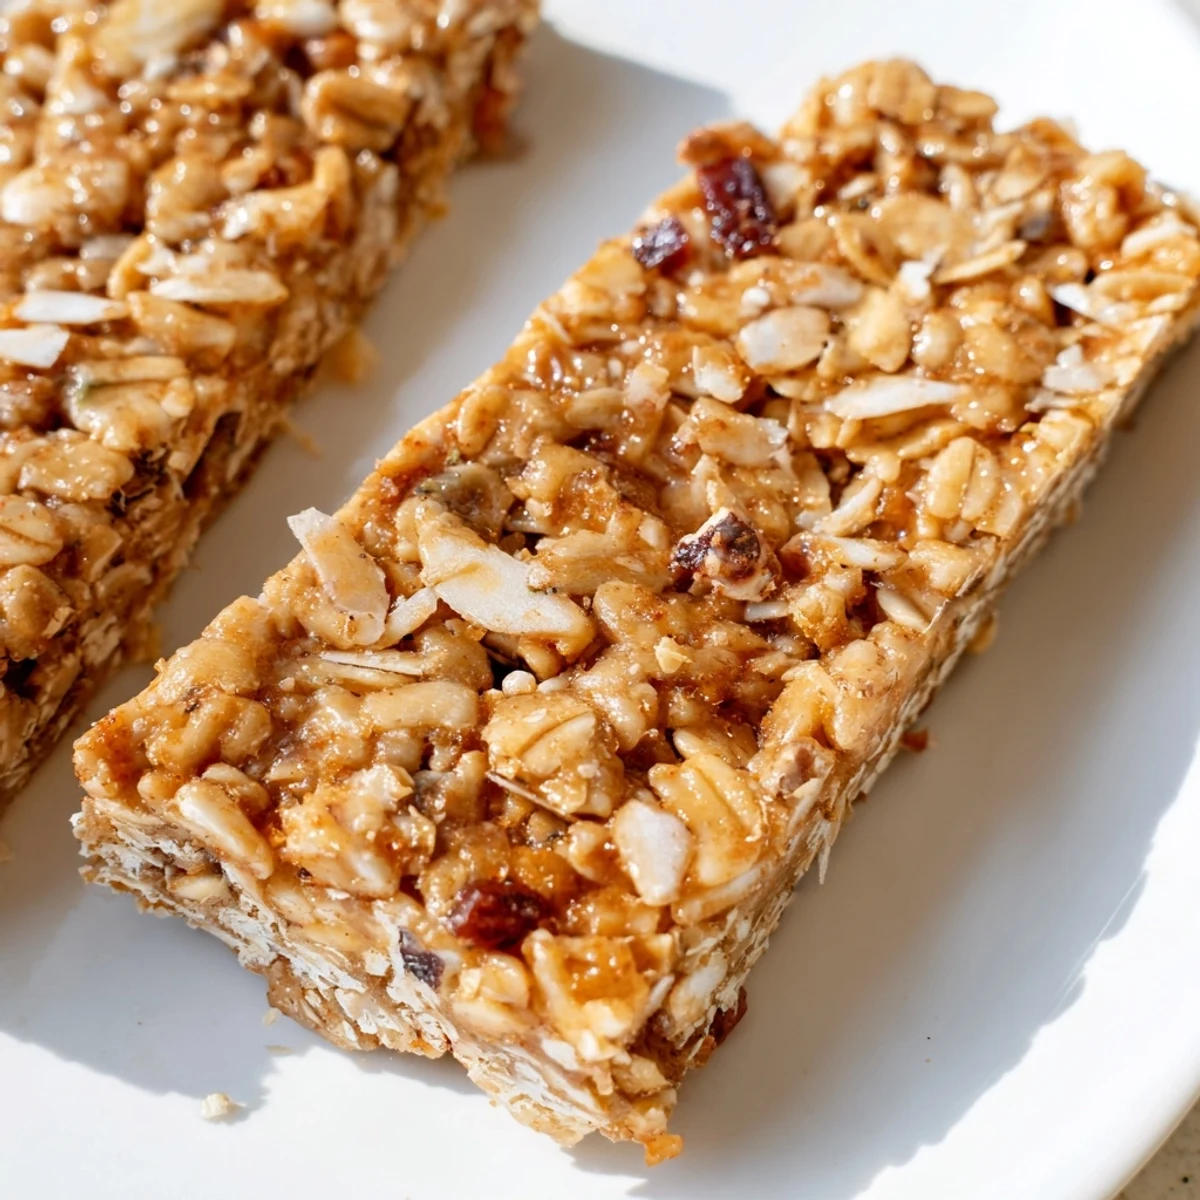
 These soft, chewy granola bars combine wholesome oats and crispy rice cereal with sweet dried apple and rich creamy peanut butter. The honey-sweetened binding mixture coats every bite with warm cinnamon notes, creating a satisfying texture that holds together beautifully when chilled.
Perfect for meal prep or grab-and-go snacking, these bars come together in just 15 minutes of active time. The no-bake method means no heating up your kitchen—simply warm the wet ingredients, combine, press firmly into a pan, and let the refrigerator do the work.
Customize with your favorite mix-ins like chocolate chips, seeds, or extra dried fruit. For nut-free households, swap peanut butter for sunflower seed butter. Store chilled for up to a week and enjoy as breakfast, afternoon fuel, or a wholesome dessert.
Last September, my kitchen counter became a testing ground for after-school snacks that wouldn't require turning on the oven during those weirdly hot afternoons. My daughter had started requesting granola bars from the grocery store, and I kept looking at the ingredient lists thinking, I could make this better. The first batch was too crumbly, the second too sweet, but by the third attempt, we hit this perfect balance of chewy, nutty, and autumn-spiced that now lives in our fridge constantly.
I brought a batch to a neighborhood book club meeting last fall, and three people asked for the recipe before they even finished their first squares. Something about the apple and cinnamon combination just feels like home, even if you're eating them standing up at the counter while waiting for pasta water to boil.
Ingredients
- 2 cups old-fashioned rolled oats: These give the bars their hearty backbone and chew, so don't be tempted to swap in quick oats which will turn everything mushy
- 1 cup crispy rice cereal: The secret to that light, crispy texture that keeps these from feeling like dense bricks
- 1/2 cup dried apple, finely chopped: Chop these smaller than you think you need to, because big chunks create weak spots where bars want to break apart
- 1/3 cup unsweetened shredded coconut: Totally optional, but adds such a lovely subtle sweetness and tropical warmth against the apple
- 1/4 cup chopped peanuts: Leave these out for nut allergies, but they add the most perfect salty crunch
- 1/2 teaspoon ground cinnamon: Don't measure timidly here—cinnamon is what bridges the gap between peanut butter and apple
- 1/4 teaspoon salt: Essential for making all the flavors pop and keeping these from tasting like dessert
- 1/2 cup natural creamy peanut butter: The glue holding everything together, so use the good stuff that's just peanuts and salt
- 1/3 cup honey: Maple syrup works beautifully for vegans, though honey gives a slightly deeper flavor
- 2 tablespoons coconut oil, melted: This helps the bars firm up properly in the fridge without becoming rock hard
- 1 teaspoon pure vanilla extract: Always add this last, off the heat, so those fragrant compounds don't cook away
Instructions
- Get your pan ready:
- Line an 8x8-inch baking pan with parchment paper, letting the ends hang over the sides like little handles—you'll be so grateful for this later when you need to lift the whole slab out.
- Combine the dry ingredients:
- In a large bowl, mix together oats, rice cereal, chopped dried apple, coconut, peanuts, cinnamon, and salt until everything looks evenly distributed.
- Melt together the wet mixture:
- Warm the peanut butter, honey, and coconut oil in a microwave-safe bowl or small saucepan until completely smooth and pourable, then remove from heat before stirring in the vanilla.
- Bring everything together:
- Pour that glossy wet mixture over your dry ingredients and stir like you mean it, making sure every single oat and rice puff gets coated in that sticky goodness.
- Press firmly into the pan:
- Transfer the mixture to your prepared pan and use a spatula or your hands to really press it down tight—this is the crucial step that prevents crumbly bars later.
- Chill until firm:
- Slide the pan into the refrigerator for at least an hour, though overnight is even better if you can plan ahead.
- Cut into bars:
- Use the parchment overhang to lift the entire slab out, then grab a sharp knife to cut into 12 rectangles or squares, depending on your preferred snack size.
 Save to Pinterest
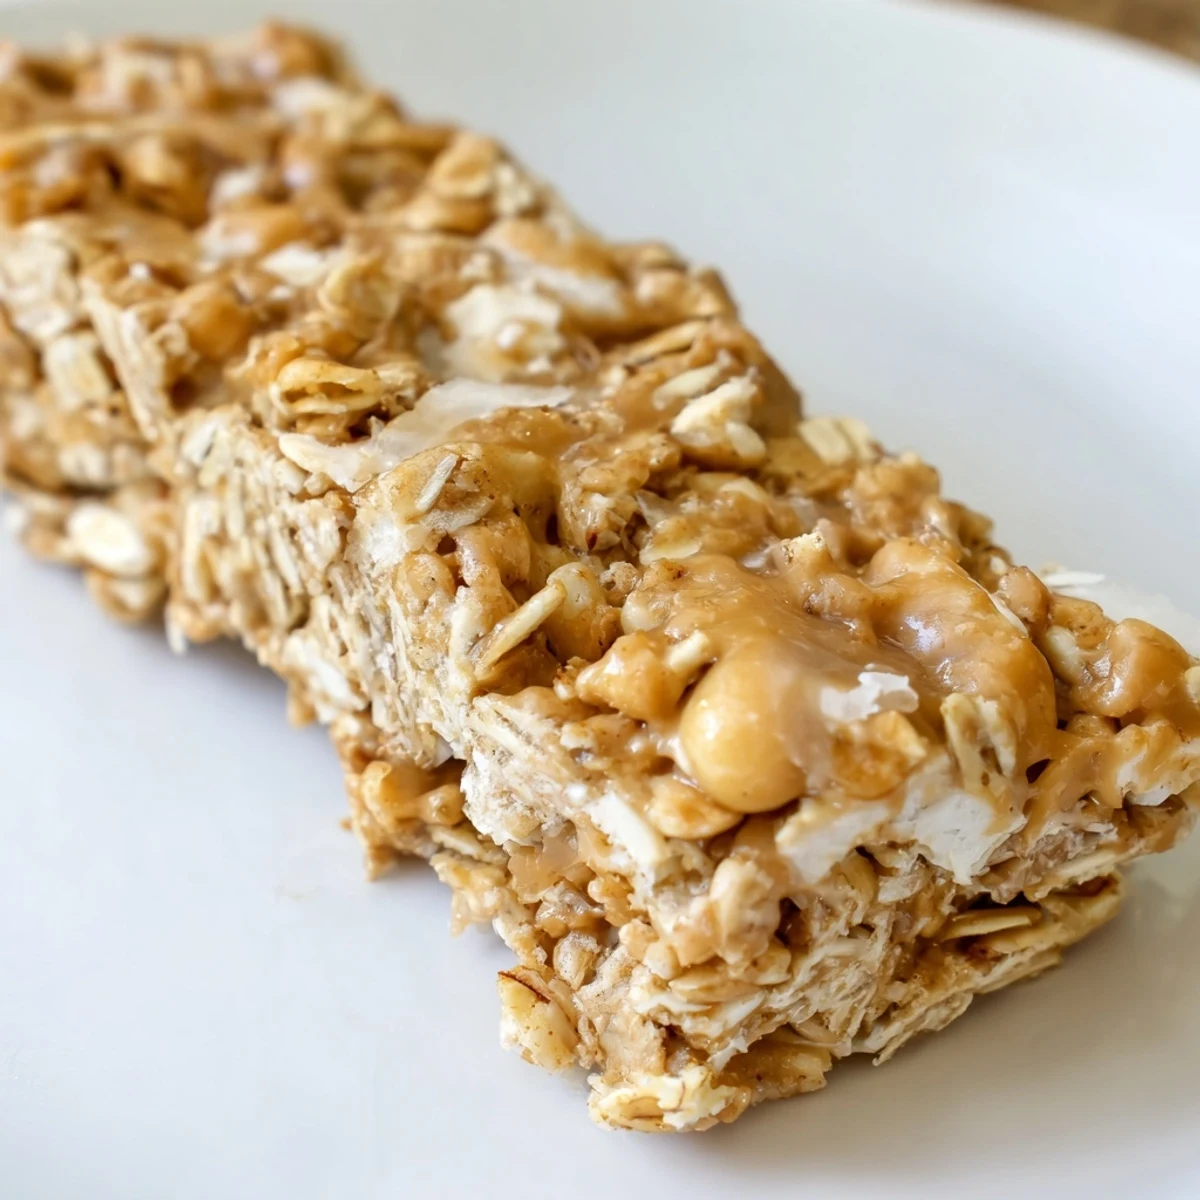
 My husband now requests these for road trips and hiking snacks, which feels like the ultimate compliment—something I threw together on a Tuesday afternoon has become part of our family's adventures.
Make Them Your Own
The beauty of this recipe is how forgiving it is once you understand the basic ratio of wet to dry ingredients. Sometimes I skip the apple and use dried cherries with dark chocolate chips, or swap the peanuts for pecans when I'm feeling fancy. The key is keeping the total volume of add-ins roughly the same so the bars still hold together properly.
Storage Secrets
These live happily in the refrigerator for a solid week, though I've never seen them last that long in our house. You can also wrap individual bars in plastic and freeze them for up to three months—just let them thaw for about 20 minutes before eating. The texture actually gets even better after a day or two in the fridge, as the flavors have time to really get acquainted with each other.
Serving Suggestions
Sometimes I crumble a bar over yogurt for breakfast, or break one into pieces and stir into oatmeal for extra texture. They're also surprisingly good dipped halfway in melted dark chocolate and chilled again until the chocolate sets. My kids love finding one in their lunchbox as a special treat.
- Try serving them slightly warmed for about 10 seconds in the microwave
- Crumble over vanilla ice cream for an instant dessert topping
- Pair with a cup of tea for the perfect afternoon pick-me-up
 Save to Pinterest
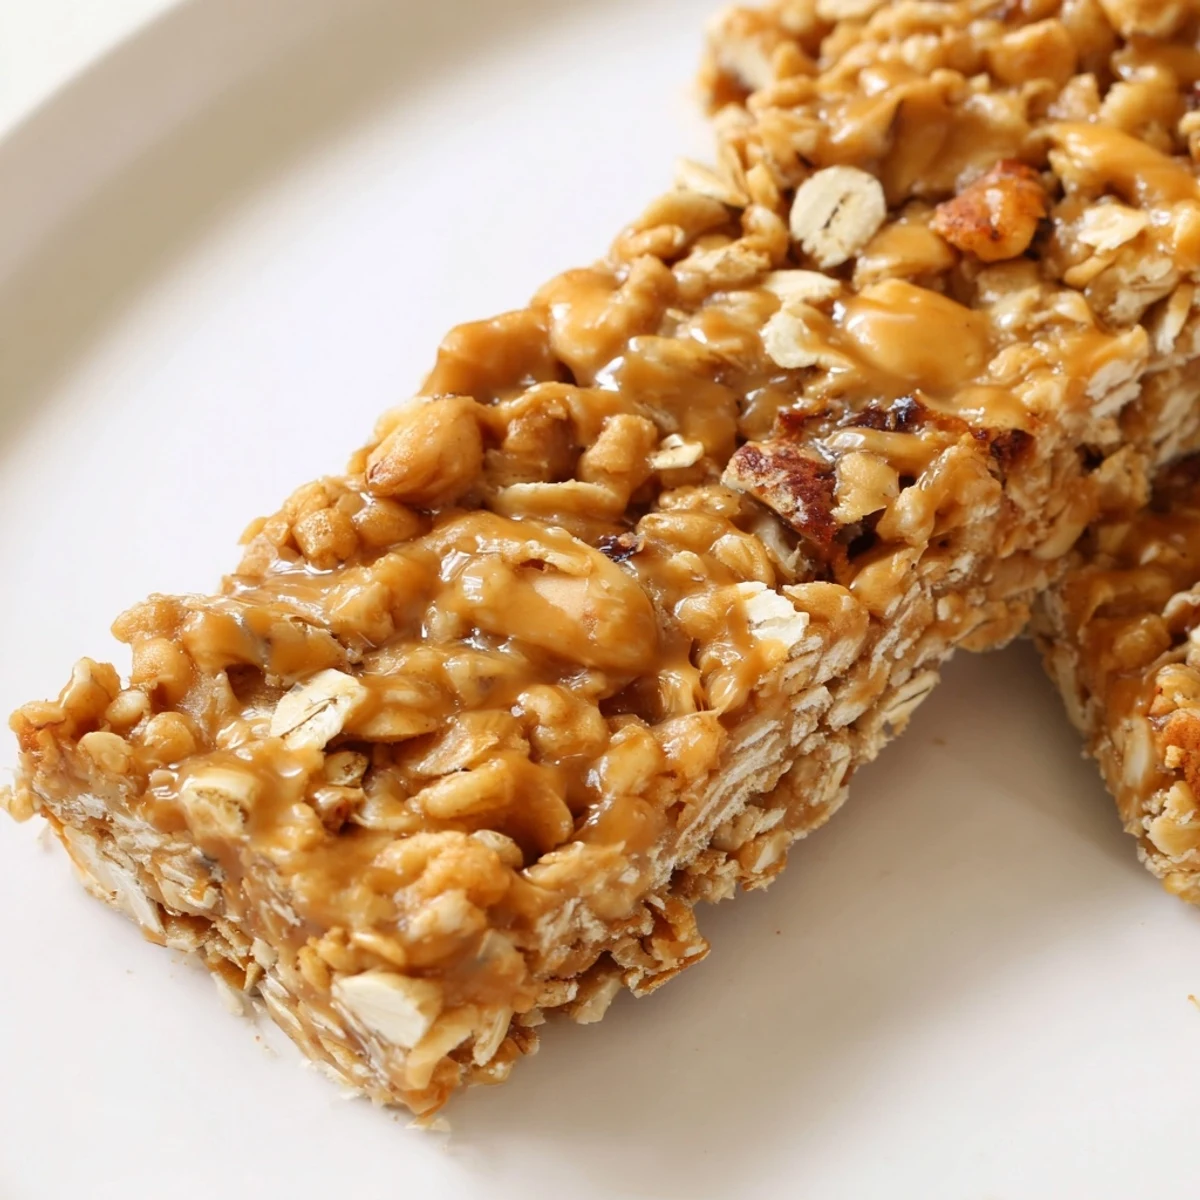
 There's something deeply satisfying about making your own snacks, and these bars have become my go-to for everything from school lunches to midnight cravings. Hope they find a permanent home in your recipe rotation too.
Frequently Asked Questions
- → How long do these bars stay fresh?
-
These bars keep well in an airtight container in the refrigerator for up to one week. The chilled texture helps them maintain their shape and chewiness. For longer storage, wrap individual bars and freeze for up to three months.
- → Can I make these nut-free?
-
Absolutely. Substitute the creamy peanut butter with sunflower seed butter and omit the chopped peanuts. The texture and flavor will remain similar, though the nutty notes will change slightly.
- → Why do my bars fall apart when cutting?
-
Pressing the mixture firmly into the pan is crucial—the compacted mixture holds together better. Make sure bars are fully chilled for at least one hour before cutting. Use a sharp knife and wipe it clean between cuts for clean edges.
- → Can I use quick oats instead of old-fashioned?
-
Old-fashioned rolled oats provide better texture and chew. Quick oats may make the bars softer and less structured. If you only have quick oats, try reducing the amount slightly and pressing extra firmly into the pan.
- → What's the best way to store these bars?
-
Refrigeration is best for maintaining texture and preventing the bars from becoming too soft. Keep them in an airtight container or wrap individually. They can travel at room temperature for a few hours but return to the fridge for storage.
- → Can I use maple syrup instead of honey?
-
Yes, maple syrup works perfectly as a vegan alternative. The flavor will be slightly different with more earthy notes, but the binding properties remain the same. Use a 1:1 ratio.
