 Save to Pinterest
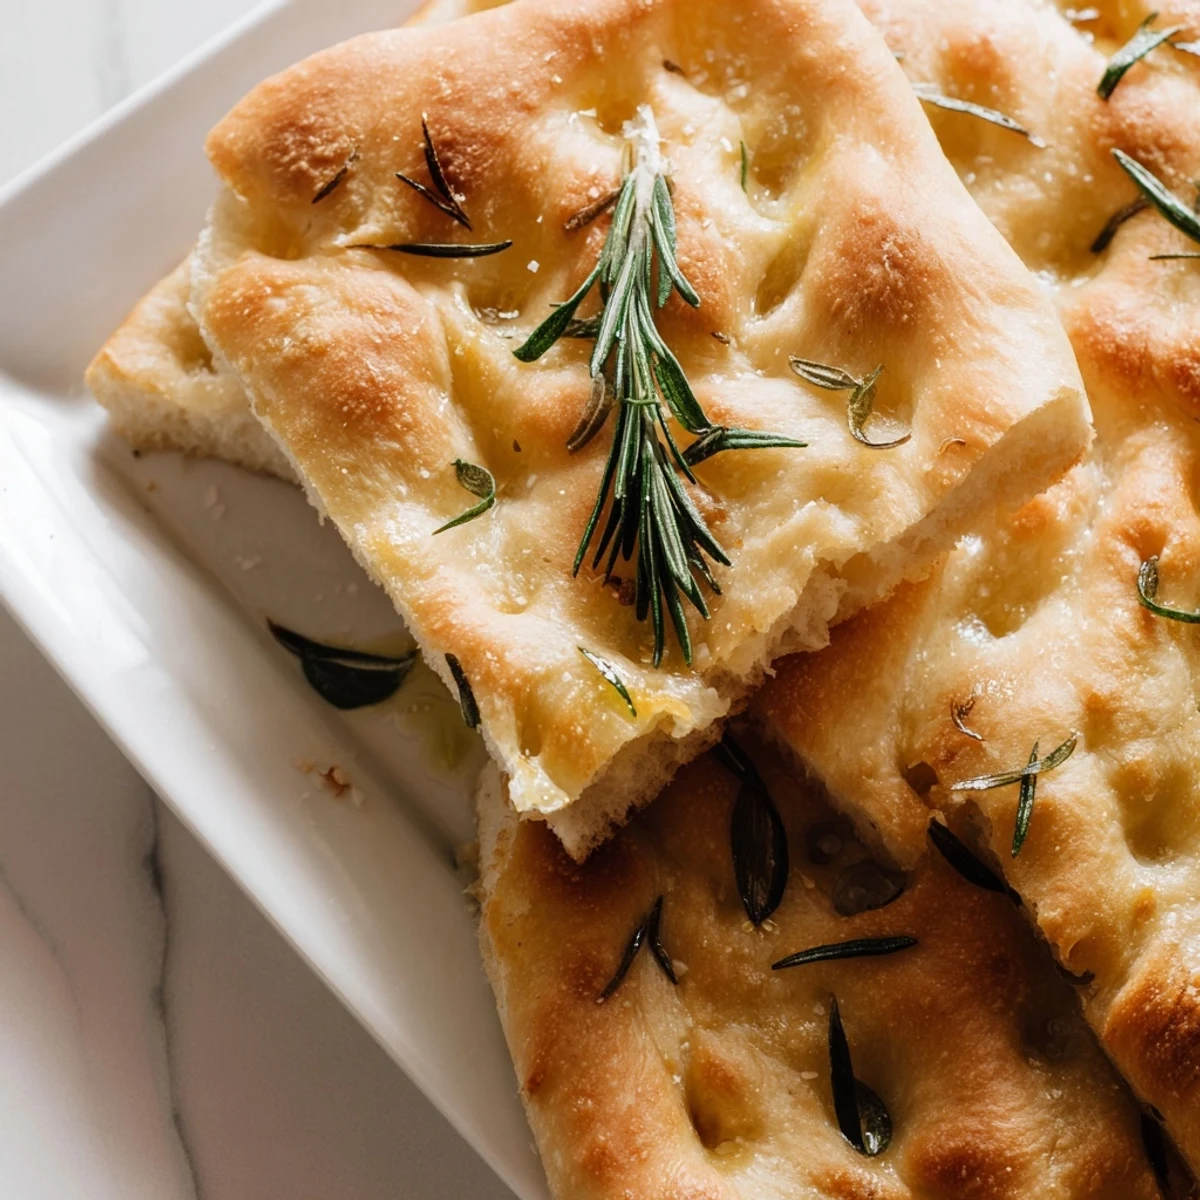
 This traditional Italian flatbread delivers a perfectly crisp exterior with irresistibly soft, airy interior. The dough requires simple kneading and two rising periods for optimal texture. Before baking, the surface gets dimpled by fingertips and generously brushed with extra virgin olive oil, then topped with aromatic fresh rosemary and flaky sea salt crystals that create beautiful savory pockets. The finished focaccia emerges golden brown with an irresistible crackly crust and tender crumb, ideal for tearing and sharing.
My apartment smelled like a bakery in Liguria for three straight days after I first nailed this focaccia, and honestly I was not mad about it. The crackle of the crust when I pulled it from the oven that first evening was enough to make me call my neighbor over with the excuse of sharing. We stood in my kitchen tearing off warm pieces with our hands, olive oil dripping down our chins, barely saying a word. That loaf never even made it to a plate.
I made a double batch for a rooftop dinner last summer and watched six adults abandon all table manners within minutes. Someone used a piece to mop up the last of a caprese salad, another folded it around prosciutto, and the rest just vanished bite by bite. The tray looked like it had been attacked by very happy wolves.
Ingredients
- Bread flour (500 g): The higher protein content is what gives focaccia its chew and structure, so do not swap in all purpose unless you want a flatter, softer result.
- Salt (10 g): Measure this carefully because too much will slow your yeast and too little leaves the dough tasting flat.
- Active dry yeast (7 g): One standard packet, and always check the expiration date because dead yeast means dead dough and a very sad evening.
- Lukewarm water (325 ml): Think warm bath temperature, around 38 degrees Celsius, because water that is too hot will kill the yeast instantly.
- Extra virgin olive oil (50 ml for dough, 2 tbsp for topping): This is not the place to skimp because the oil is the soul of focaccia, enriching the crumb and creating that golden crust.
- Sugar (1 tsp): Just enough to wake up the yeast and give it something to feed on during the initial bloom.
- Fresh rosemary (1 tbsp chopped): Fresh is dramatically better here, but dried works if that is what your pantry offers.
- Flaky sea salt (1 1/2 tsp): The flaky texture melts into little pockets of saltiness across the top and is worth seeking out.
- Olives or cherry tomatoes (optional): Ten to twelve pitted olives or halved cherry tomatoes pressed into the dough add bursts of briny or sweet flavor.
Instructions
- Wake up the yeast:
- Stir the yeast and sugar into lukewarm water in a small bowl and let it sit for about ten minutes until the surface looks creamy and slightly bubbly. If nothing happens, your yeast is too old and you need to start over with a fresh packet.
- Bring the dough together:
- Pour the flour and salt into a large bowl, carve out a well in the center, and add the bloomed yeast mixture along with the olive oil. Stir with a wooden spoon or your hands until you have a sticky, shaggy mass that pulls away from the sides but clings to your fingers.
- Knead with patience:
- Turn the dough onto a lightly floured counter and work it for eight to ten minutes, pushing it away with the heel of your hand and folding it back. You will feel it transform from a ragged lump into something smooth, springy, and almost alive under your palms.
- Let it rise:
- Place the dough in a bowl coated with olive oil, turn it once to grease all sides, and drape a damp kitchen towel over the top. Leave it in a warm, draft free spot for about one hour until it has swollen to roughly double its original size.
- Shape and dimple:
- Oil your baking tray generously, gently deflate the dough onto it, and stretch it out with your hands to fill the tray. Press your oiled fingertips deep into the surface at random intervals to create those signature dimples that catch pools of oil.
- Dress the top:
- Drizzle the remaining olive oil over the surface so it pools in the dimples, then scatter the chopped rosemary, flaky sea salt, and any olives or tomatoes you are using. Press the toppings in gently so they do not slide off during baking.
- Final rest and bake:
- Let the dressed dough rest for twenty to thirty minutes until it looks puffy and slightly inflated, while the oven preheats to 220 degrees Celsius. Bake for twenty to twenty five minutes until the top is deeply golden and the bottom sounds hollow when tapped, then cool slightly before slicing.
 Save to Pinterest
 I once brought a tray of this to a friend who had just moved into a new apartment with bare shelves and no groceries. We sat on the floor surrounded by boxes, pulling apart warm focaccia with nothing but a bottle of wine between us, and she said it was the best housewarming gift anyone had ever given her.
Getting the Texture Right
The dough should feel tacky and slightly sticky when you finish kneading, not dry and not a soupy mess. If it sticks aggressively to your hands, sprinkle in flour one tablespoon at a time, but stop before the dough loses its softness. That slight moisture is what keeps the interior tender and creates the big, beautiful air pockets.
Flavor Variations Worth Trying
Thinly sliced red onions pressed into the dimples before baking turn sweet and jammy in the oven. Sun dried tomatoes, chopped and scattered across the surface, add a concentrated tang that pairs especially well with a sprinkle of oregano. A friend swears by adding a handful of grated Parmesan in the last five minutes of baking, and I have to admit it is a brilliant move.
Serving and Pairing
Focaccia is best served warm or at room temperature, never straight from the refrigerator, because the chill firms the oil and kills the texture. It makes an effortless appetizer on its own but truly shines alongside a bowl of minestrone or a simple arugula salad with lemon dressing.
- A crisp Pinot Grigio or a light Chianti complements the herb and olive oil flavors without overpowering them.
- Leftover focaccia toasts beautifully the next day for breakfast with a smear of ricotta and honey.
- This recipe is naturally vegan, so no modifications are needed for plant based guests.
 Save to Pinterest
 Every time I make this focaccia, I press my fingers into the dough and think about how something so simple can fill a kitchen with so much warmth. It is bread at its most generous and forgiving.
Frequently Asked Questions
- → What makes focaccia different from regular bread?
-
Focaccia has a higher olive oil content and thicker, fluffier texture than standard bread. The signature dimpling creates pockets for oil and seasonings to infuse, resulting in a moist interior and crispy, seasoned exterior that's perfect for tearing.
- → Can I make focaccia dough ahead of time?
-
Yes, prepare the dough through the first rise, then refrigerate overnight in an oiled bowl covered tightly. Bring to room temperature before the second rise and baking. The extended fermentation actually enhances flavor development.
- → What toppings work well on focaccia?
-
Beyond classic rosemary and sea salt, try sliced onions, sun-dried tomatoes, garlic cloves, fresh thyme, oregano, or caramelized shallots. Add halved cherry tomatoes, pitted olives, or even thinly sliced potatoes before the final rise for variety.
- → Why is my focaccia too dense?
-
Dense focaccia usually results from insufficient rising time, under-kneading, or using water that's too hot and killed the yeast. Ensure proper proofing until doubled in size, knead until smooth and elastic, and use comfortably warm water around 105°F.
- → How should I store leftover focaccia?
-
Wrap tightly in plastic or store in an airtight container at room temperature for 2-3 days. For longer storage, freeze individually wrapped slices and reheat in a 350°F oven for 5-7 minutes to restore crispness. Avoid refrigerating as it accelerates staling.
