 Save to Pinterest
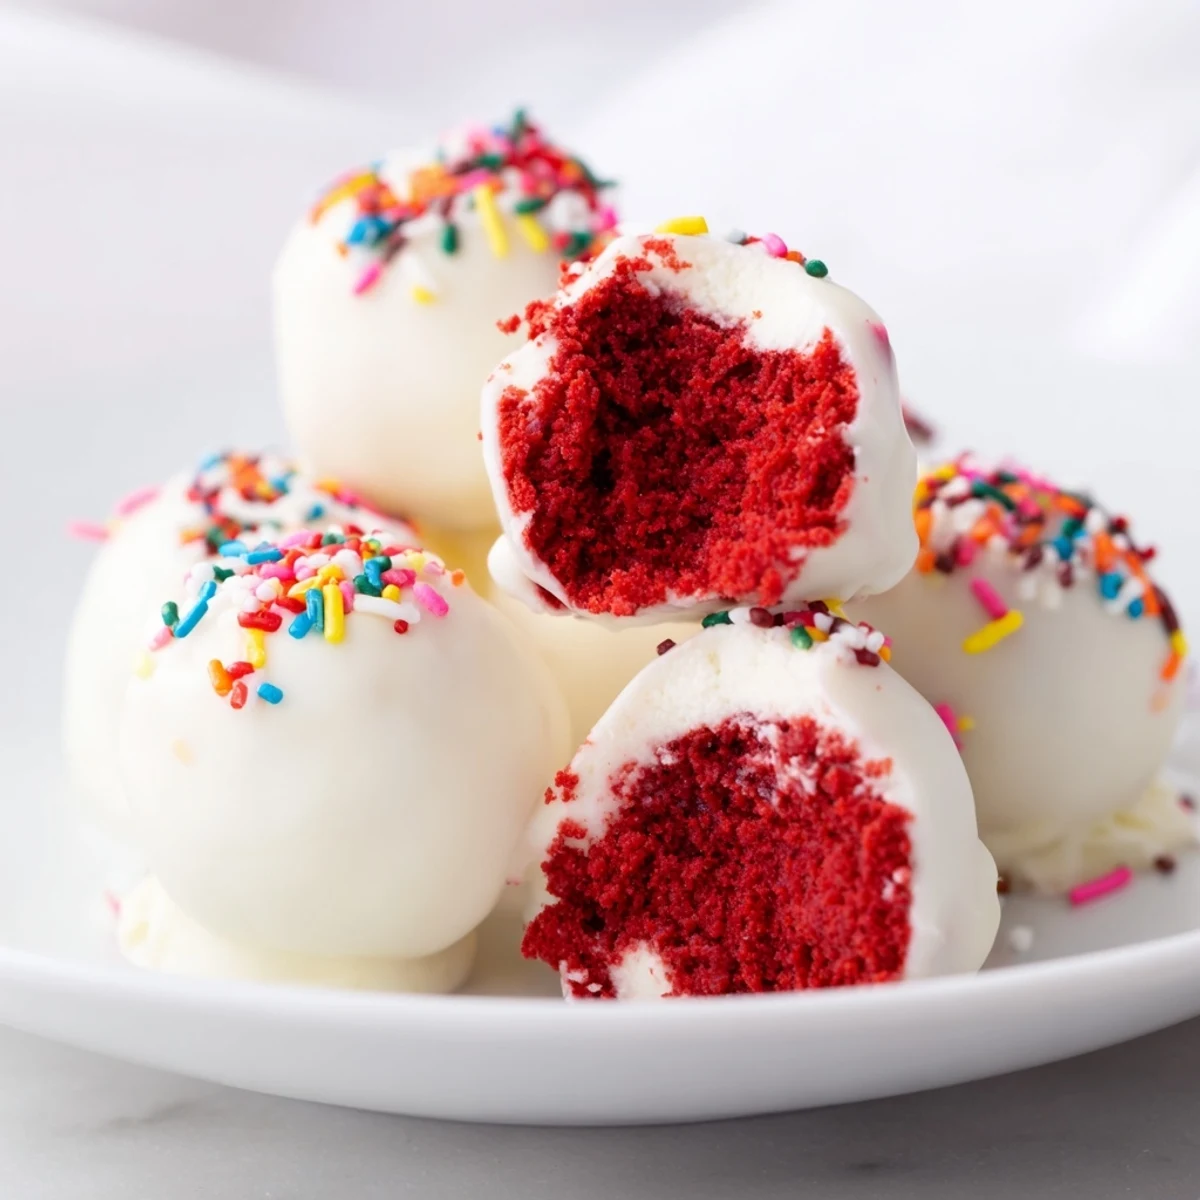
 These moist, vibrant red velvet cake balls combine rich cocoa and a tangy cream cheese frosting, then are coated in smooth white chocolate for a luscious finish. Perfectly bite-sized, they offer a delightful balance of flavors and textures with a creamy interior and a crisp, sweet outer shell. Ideal for sharing at celebrations or enjoying as a festive treat, these cake balls can be customized with sprinkles or colored coatings. Preparation involves baking, cooling, mixing, shaping, chilling, dipping, and decorating to yield a charming, flavorful dessert.
The first time I attempted cake pops, I ended up with chocolate everywhere and a very confused cat watching me from the countertop. But that glorious mess taught me something important about red velvet and white chocolate together.
I made these for my nieces birthday last year and watched grown adults fight over the last one. Something about that bite size portion makes people forget all their manners.
Ingredients
- All-purpose flour: The foundation of that tender red velvet crumb we all love
- Unsweetened cocoa powder: Just enough to give depth without overpowering the classic red velvet flavor
- Baking soda: Helps the cake rise into that fluffy texture we need for perfect crumbling
- Salt: A pinch that balances the sweetness and makes all flavors pop
- Unsalted butter: Room temperature is non negotiable for that light and fluffy creaming step
- Granulated sugar: Sweetens while creating that delicate cake structure
- Large eggs: Bring them to room temperature too for better emulsion
- Buttermilk: The secret ingredient that gives red velvet its signature subtle tang and tenderness
- Vanilla extract: Pure vanilla makes all the difference here
- White vinegar: Reacts with baking soda for extra lift and that classic red velvet chemistry
- Red food coloring: Gel coloring gives the most vibrant red without thinning your batter
- Cream cheese: Full fat and completely softened creates the silkiest frosting
- Powdered sugar: Sift it first to avoid any lumps in your creamy frosting
- White chocolate: Candy melts are easier for beginners but real white chocolate tastes divine
- Vegetable oil: A tablespoon helps thin the coating for that perfectly smooth finish
- Sprinkles: Add them immediately before the chocolate sets or they will not stick
- Cake pop sticks: Dip the ends in chocolate first for a secure hold
Instructions
- Prepare your oven and pan:
- Preheat oven to 350°F and grease an 8-inch round cake pan with butter then dust with flour.
- Whisk the dry ingredients:
- Combine flour, cocoa powder, baking soda, and salt in a medium bowl.
- Cream butter and sugar:
- Beat softened butter and sugar until pale and fluffy, about 3 minutes.
- Add the eggs:
- Add eggs one at a time, beating well after each addition.
- Mix in liquids and color:
- Blend in buttermilk, vanilla, vinegar, and red food coloring until fully incorporated.
- Combine wet and dry:
- Gently fold in the flour mixture just until no streaks remain.
- Bake the cake:
- Pour batter into prepared pan and bake 25 to 30 minutes until a toothpick comes out clean.
- Cool completely:
- Let cool in pan 10 minutes then transfer to a wire rack.
- Make the frosting:
- Beat cream cheese and butter until smooth then add powdered sugar and vanilla.
- Create cake pop mixture:
- Crumble the cooled cake into a large bowl and mix in frosting until it holds together like dough.
- Shape into balls:
- Roll mixture into 1-inch balls and place on a parchment lined tray.
- Chill the balls:
- Freeze for 30 minutes until firm but not frozen solid.
- Melt the coating:
- Heat white chocolate with oil if using in 30 second intervals until smooth.
- Prepare the sticks:
- Dip each stick tip into chocolate then insert halfway into each cake ball.
- Coat the pops:
- Dip each cake pop into melted chocolate, gently tap off excess, and add sprinkles immediately.
- Set completely:
- Stand pops upright in styrofoam and let set at room temperature or refrigerate until firm.
 Save to Pinterest
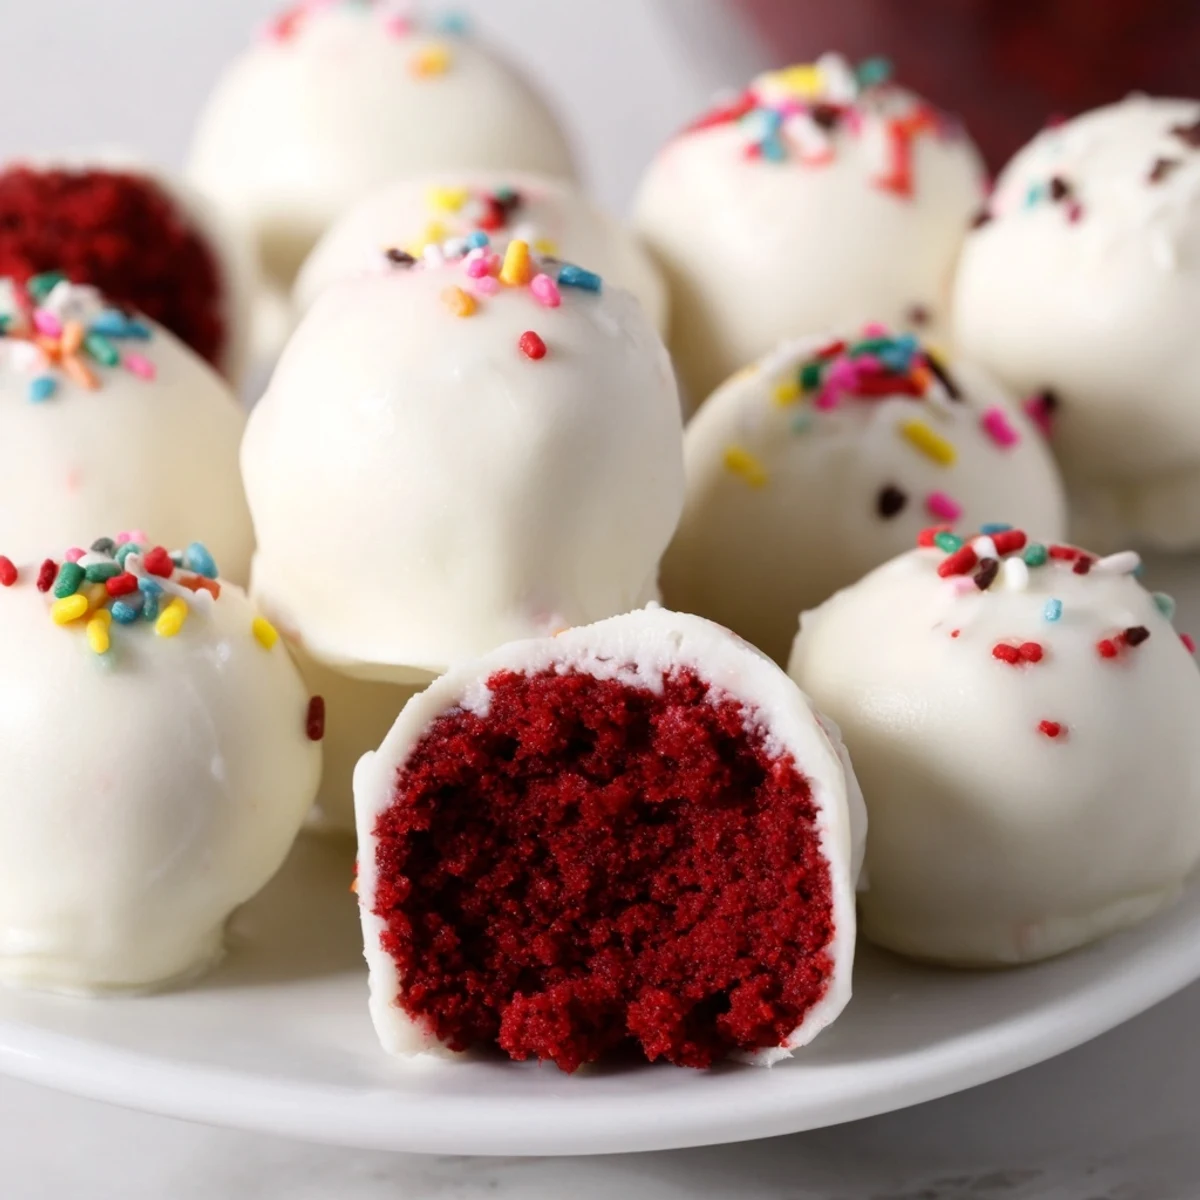
 My friend Sarah still talks about the baby shower where I made fifty of these in different colors. The moms to be were delighted but honestly the dads ate just as many.
Getting That Smooth Coating
The temperature of your chocolate matters more than you might think. Too hot and it will slide right off your cake pops, too cool and it will clump up unevenly. I keep a thermometer in my chocolate now and aim for 90°F for the perfect dipping consistency.
Making Them Ahead
You can make the cake balls up to three days before dipping if you store them in the fridge. Just let them come to room temperature for about 15 minutes before dipping so the chocolate adheres properly. I learned this the hard way when I tried to dip cold cake balls and ended up with air bubbles everywhere.
Troubleshooting Common Issues
If your cake pops keep falling off the sticks, the cake mixture might be too warm or you might not be inserting the stick deep enough. About halfway in is the sweet spot. Also make sure you are using high quality chocolate as the cheap stuff just does not set properly.
- Dip the stick in chocolate first to create a glue for the cake ball
- Hold the dipped pop at an angle while rotating to let excess drip off evenly
- Have your sprinkles ready before you start dipping because the chocolate sets fast
 Save to Pinterest
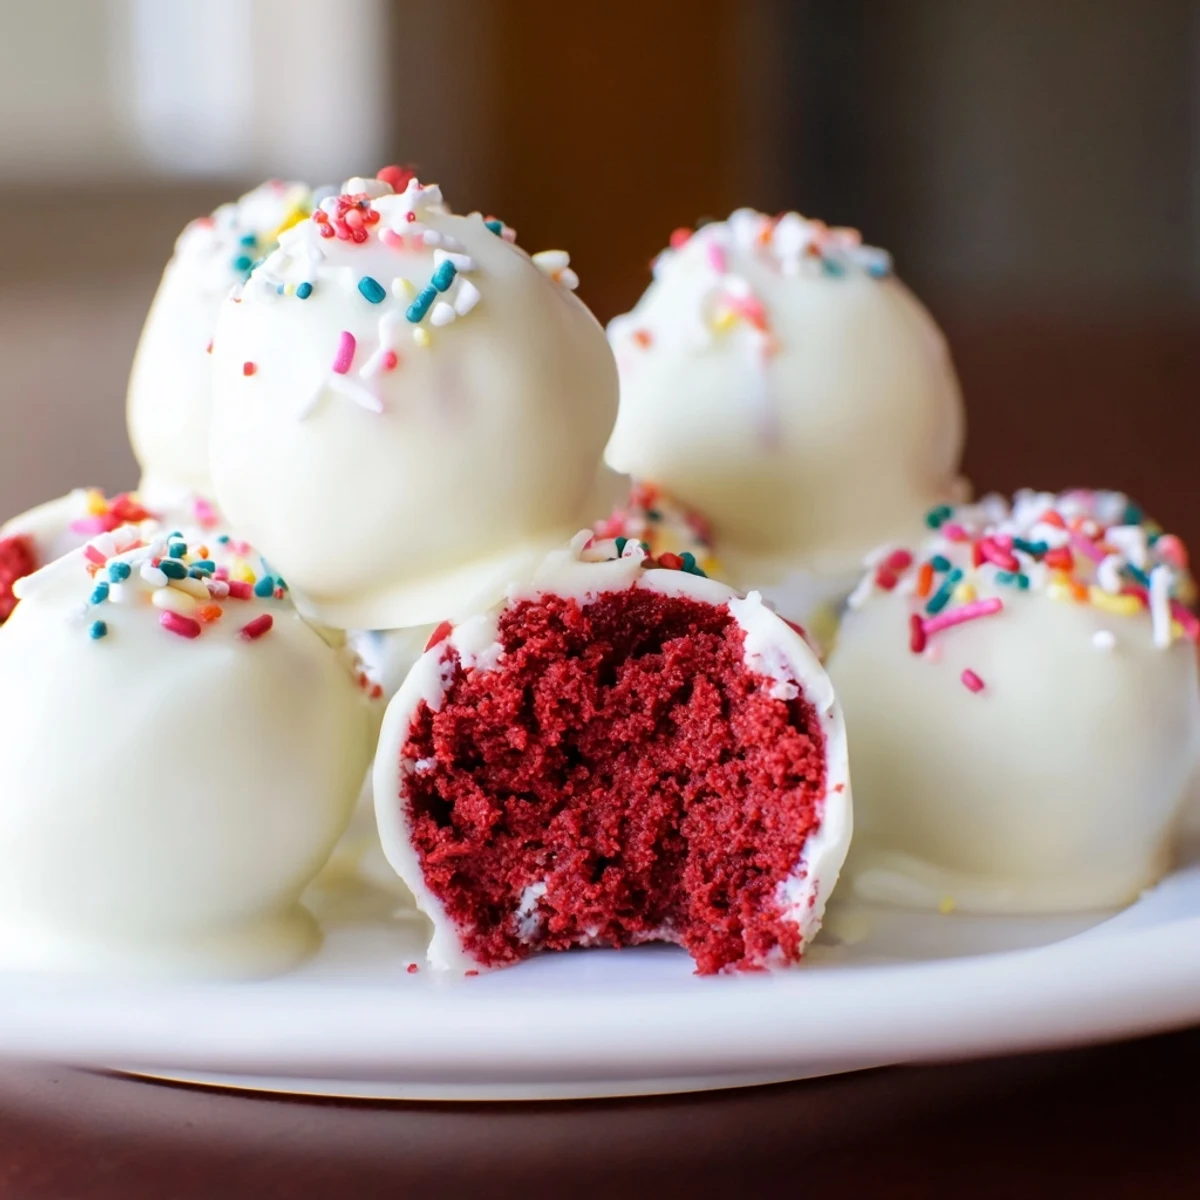
 These little treats might seem fussy but that first bite of creamy white chocolate giving way to moist red velvet cake makes every single step worth it.
Frequently Asked Questions
- → What ingredients give the cake balls their red color?
-
The vibrant red hue comes from red food coloring added to the cocoa and flour batter, balanced by vinegar and buttermilk for color stability and flavor.
- → How do I achieve a smooth white chocolate coating?
-
Gently melt white chocolate or candy melts using a microwave or double boiler, adding a small amount of vegetable oil if needed for thinning and a glossy finish.
- → What is the best way to shape the cake balls evenly?
-
After mixing the cake crumbs with cream cheese frosting, roll the mixture into uniform 1-inch balls, placing them on a parchment-lined tray before chilling to firm up.
- → Can I decorate the coated cake balls?
-
Yes, once dipped in white chocolate, you can add sprinkles or edible decorations before the coating sets for a festive look.
- → How should I store these cake balls?
-
Store the finished cake balls in an airtight container in the refrigerator. They stay fresh for up to five days.
