 Save to Pinterest
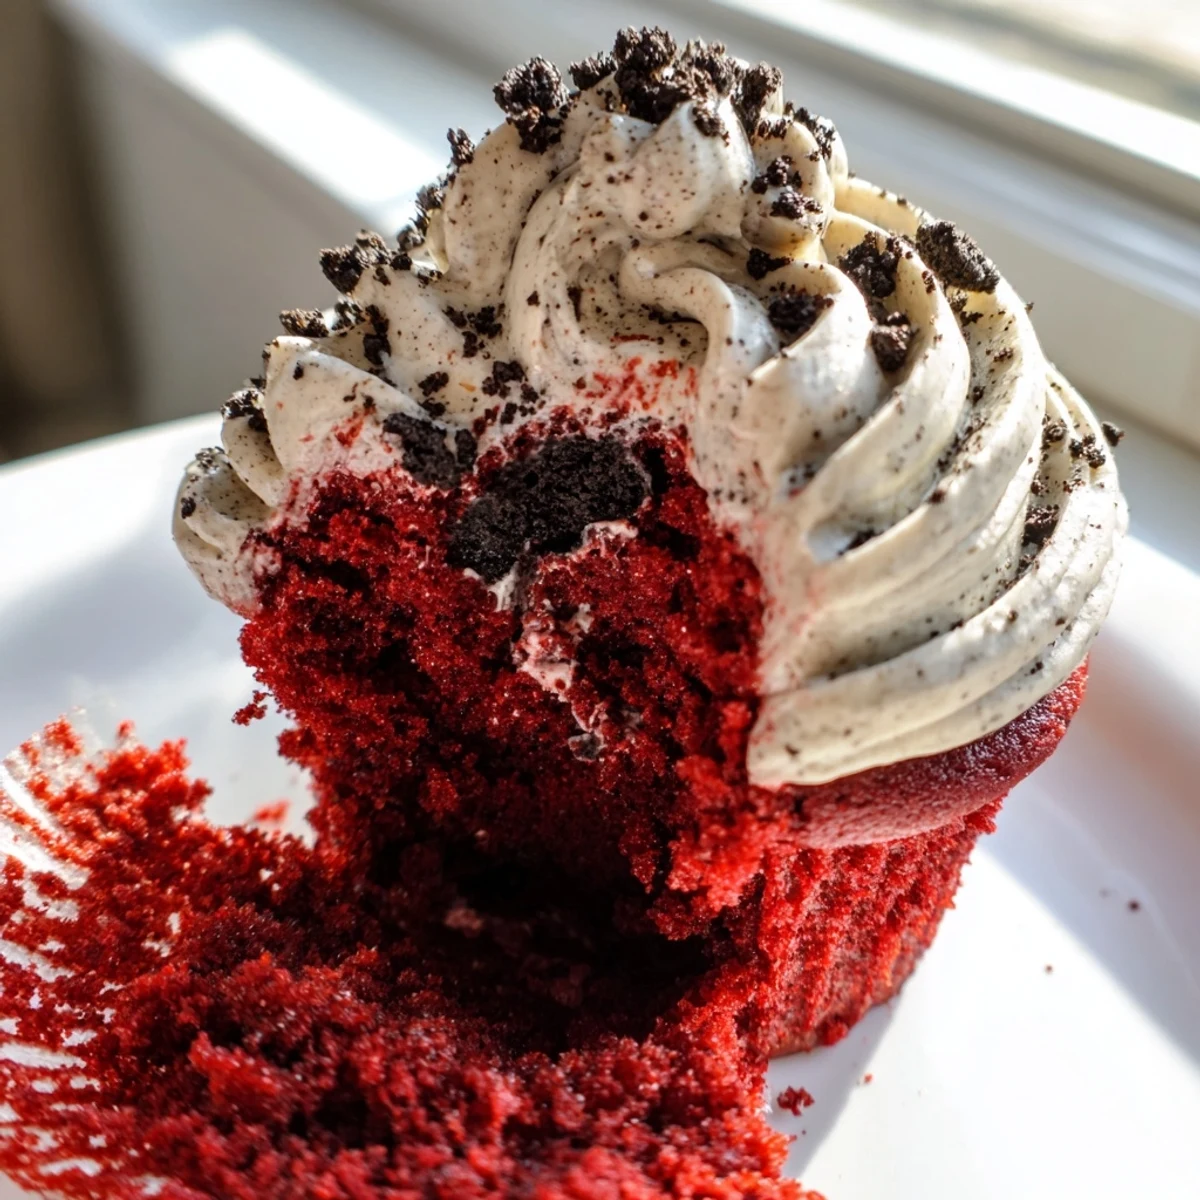
 These red velvet Oreo cupcakes combine a pillowy, cocoa-kissed red velvet batter with generous chunks of Oreo cookies baked right in. Topped with a luscious cream cheese frosting infused with finely crushed Oreos, they deliver the perfect balance of tangy, sweet, and chocolaty in every bite.
Ready in just 40 minutes, they yield a dozen beautifully portioned treats ideal for birthdays, potlucks, or an elevated afternoon snack. Chilling before serving firms up the frosting for a bakery-quality finish.
The batter turned an almost alarming shade of red the first time I made these, and my daughter walked in, stared at the bowl, and asked if I was conducting a science experiment. I laughed and told her it was a very delicious experiment, and twenty minutes later she was standing at the oven door watching cupcakes rise with wide, curious eyes. That batch disappeared within the hour, and now these cupcakes show up at every birthday, potluck, and random Tuesday that feels like it deserves a little celebration.
My friend Rachel brought these to a holiday party once, and I spent the entire drive home thinking about them, then texted her at midnight for the recipe. She sent back a blurry photo of a handwritten card, and I have been tweaking and perfecting it ever since.
Ingredients
- All-purpose flour (1 1/4 cups, 160 g): Gives the cupcakes structure without making them dense, so measure carefully and avoid packing the cup.
- Unsweetened cocoa powder (3 tbsp, 25 g): Just enough to add a subtle chocolate depth that pairs beautifully with the red velvet flavor.
- Baking soda (1/2 tsp): Works with the vinegar to give these a gentle lift in the oven.
- Salt (1/4 tsp): A small pinch that wakes up every flavor in the batter.
- Vegetable oil (1/2 cup, 120 ml): Oil keeps these cupcakes tender and moist far longer than butter ever could.
- Granulated sugar (3/4 cup, 150 g): Sweetens without overpowering the cocoa and vanilla notes.
- Large egg, room temperature (1): Binds everything together, and room temp helps it blend smoothly into the batter.
- Buttermilk, room temperature (1/2 cup, 120 ml): The secret to that velvety texture, so do not skip this or substitute regular milk.
- Red food coloring gel (1 tbsp): Gel is far more vibrant than liquid, and you get that deep red without thinning the batter.
- Pure vanilla extract (1 tsp for batter, 1 tsp for frosting): Rounds out the flavor and makes everything taste warmer.
- Distilled white vinegar (1/2 tsp): Reacts with baking soda for a lighter, fluffier crumb.
- Oreo cookies (10 chopped for batter, 6 crushed for frosting): The star of the show, so use real Oreos, not a generic brand, for the best texture and flavor.
- Unsalted butter, softened (1/2 cup, 115 g): Forms the rich base of the frosting, so make sure it is truly soft but not melted.
- Cream cheese, softened (8 oz, 225 g): Gives the frosting its signature tang that balances all that sweetness perfectly.
- Powdered sugar, sifted (2 cups, 250 g): Sifting is nonnegotiable here unless you want lumpy frosting.
Instructions
- Preheat and prep:
- Set your oven to 350 degrees Fahrenheit (175 degrees Celsius) and line a 12-cup muffin tin with cupcake liners. This is the part where I always sneak a couple of Oreos from the package while nobody is watching.
- Whisk the dry team:
- In a medium bowl, whisk together the flour, cocoa powder, baking soda, and salt until evenly combined. Set this aside so it is ready when you need it.
- Combine the wet ingredients:
- In a large bowl, beat the oil and sugar together until they look like wet sand, then add the egg, buttermilk, food coloring, vanilla, and vinegar. Mix until everything is smooth and that gorgeous red color is uniform throughout.
- Bring it all together:
- Gradually add the dry ingredients to the wet mixture, stirring gently and stopping the moment everything is just combined. Overmixing is the enemy of a tender cupcake, so show a little restraint here.
- Fold in the Oreos:
- Gently fold the roughly chopped Oreo pieces into the batter with a spatula, distributing them evenly without crushing them into dust. Those chunky bits are what make each bite exciting.
- Fill and bake:
- Divide the batter evenly among the 12 liners, filling each about two-thirds full, then bake for 18 to 20 minutes until a toothpick comes out clean. Let them rest in the pan for five minutes before moving them to a wire rack.
- Make the frosting:
- Beat the softened butter and cream cheese together until silky and creamy, then add the sifted powdered sugar and vanilla, beating until the mixture is fluffy and light. Gently fold in the finely crushed Oreos at the very end so you get those pretty specks throughout.
- Frost and finish:
- Pipe or spread the frosting generously onto completely cooled cupcakes, and sprinkle extra Oreo crumbs on top if you want that bakery-style finish. Try to resist eating them all before anyone else arrives.
 Save to Pinterest
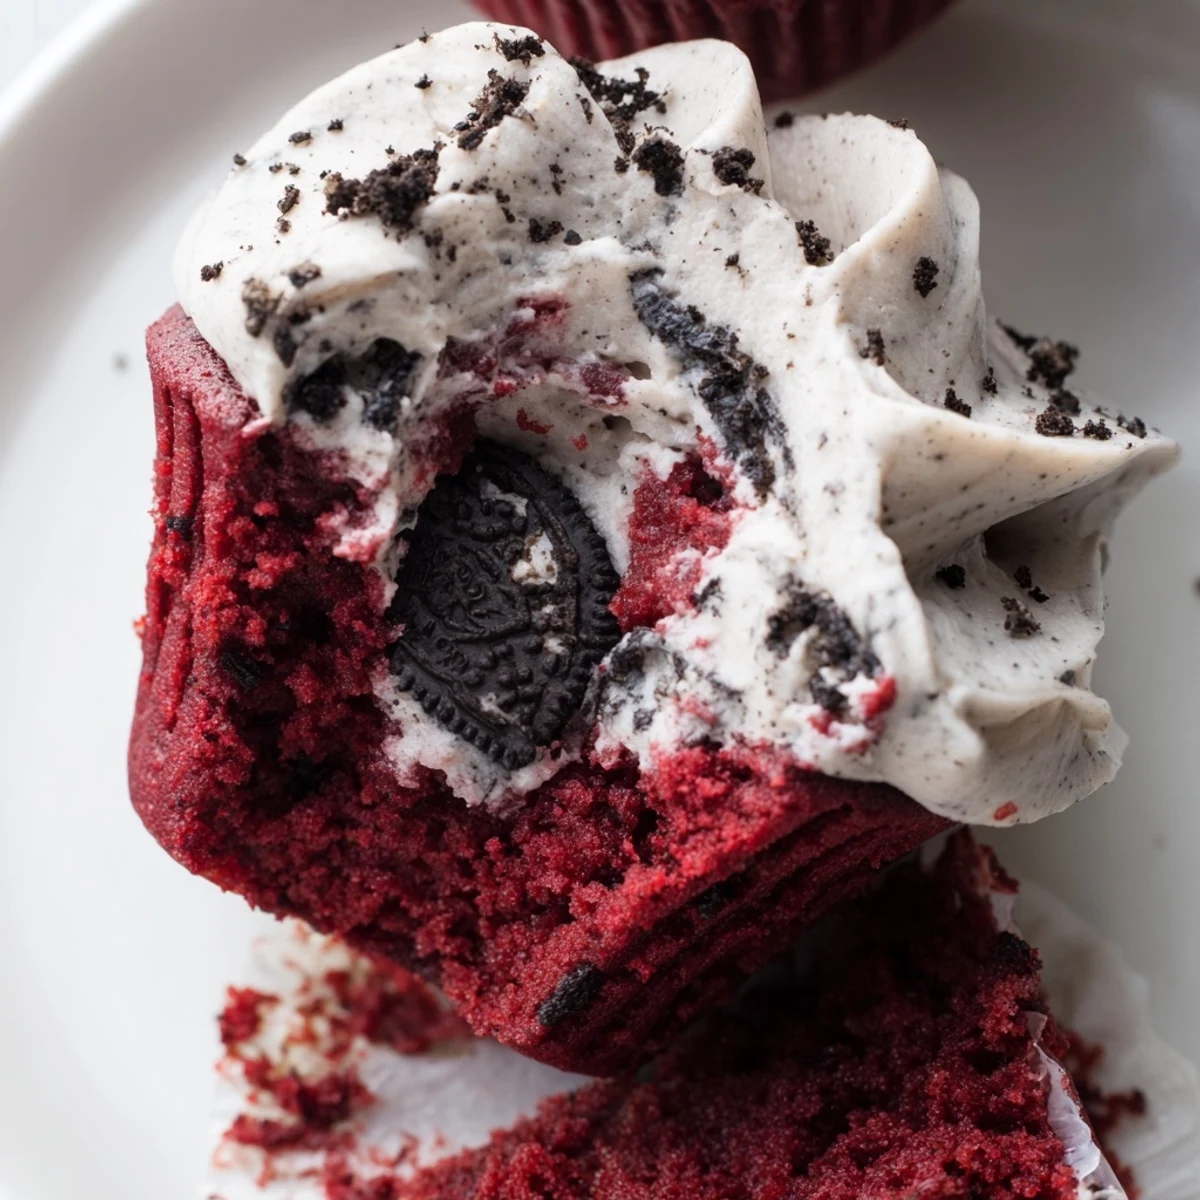
 The second time I made these, I brought a full platter to a coworkers going-away lunch, and the room went completely silent for about three minutes after the first bite.
Getting the Red Color Right
Not all red food coloring is created equal, and I learned this the hard way after producing a batch that looked more dusty pink than dramatic red. Gel food coloring is absolutely the way to go because you need far less of it to achieve that deep, striking shade, and it will not throw off the liquid balance in your batter. If you only have liquid coloring, you may need double the amount, but the texture might suffer slightly.
The Frosting Makes or Breaks It
Cream cheese frosting is deceptively simple, and the biggest mistake I ever made was trying to whip it when the butter was still chilly. Everything separated into a lumpy mess, and I had to start over from scratch while the cupcakes sat there mocking me. Now I always press my finger gently into the butter and cream cheese to confirm they are truly soft and spreadable before the mixer even touches them.
Storage and Make-Ahead Tips
These cupcakes actually taste even better the next day, which makes them a dream for party prep and stress-free hosting.
- Store them in an airtight container in the refrigerator for up to four days.
- You can bake the cupcakes a day ahead and frost them the morning of your event.
- Always let chilled cupcakes sit at room temperature for about 20 minutes before serving for the best texture.
 Save to Pinterest
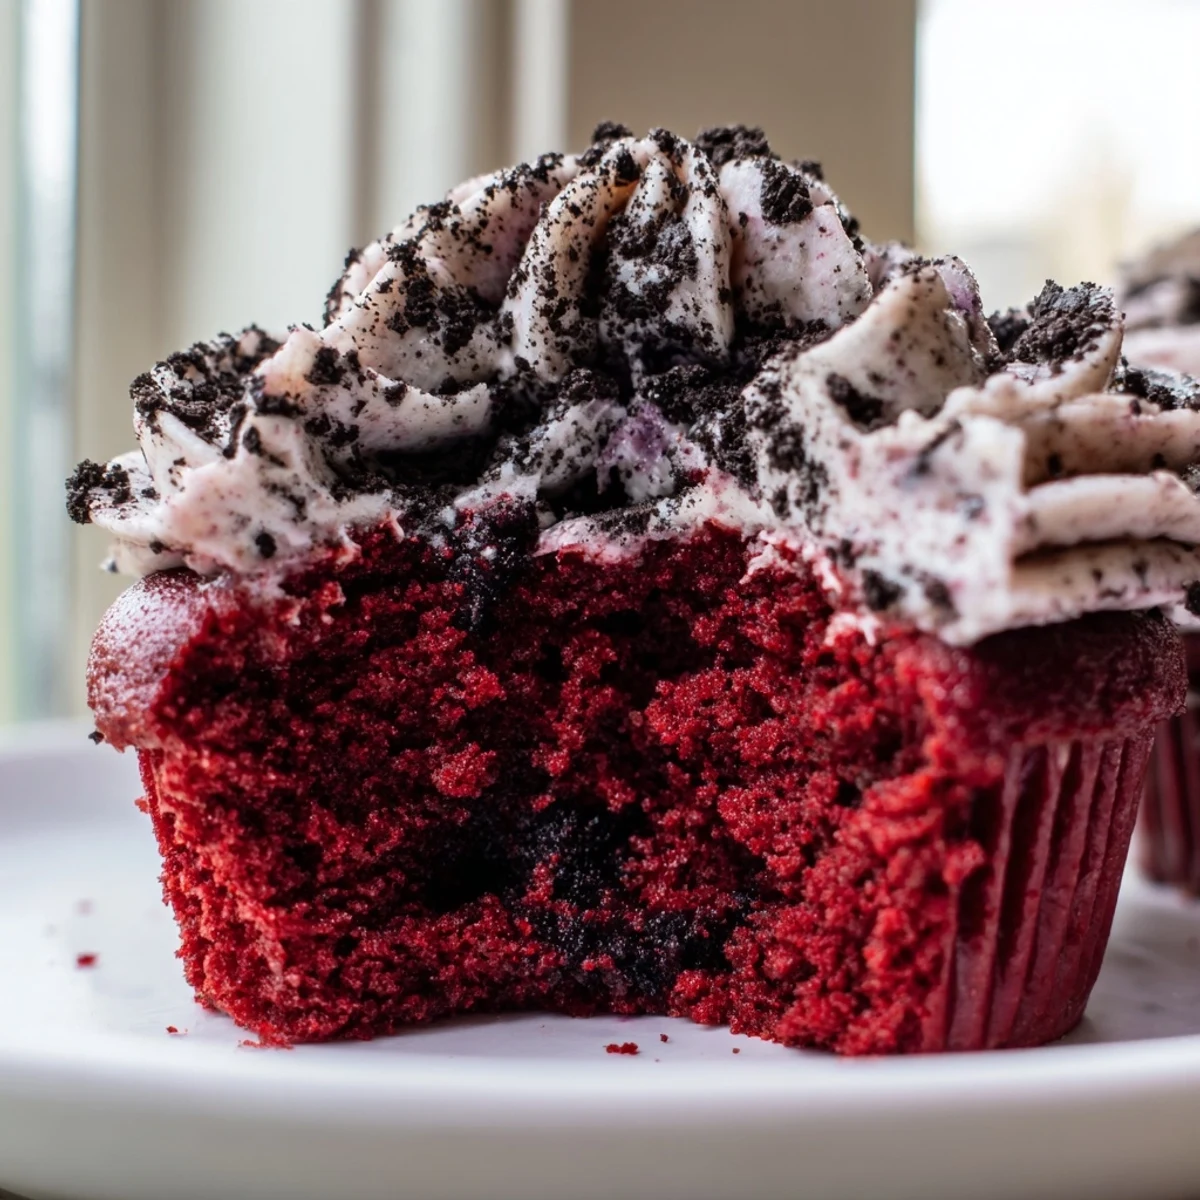
 Every time I pull these out of the oven, I think about that blurry recipe photo Rachel sent me and smile at how something so small became such a sweet tradition.
Frequently Asked Questions
- → Can I make these cupcakes ahead of time?
-
Yes, baked cupcakes can be stored unfrosted in an airtight container at room temperature for up to one day. Once frosted, refrigerate them and bring to room temperature about 30 minutes before serving for the best texture.
- → Why is buttermilk used in the batter?
-
Buttermilk adds tenderness and a subtle tang that balances the sweetness. Its acidity also reacts with baking soda, helping the cupcakes rise properly and achieve a light, fluffy crumb.
- → Can I use liquid food coloring instead of gel?
-
Gel food coloring is preferred because it delivers a vibrant red hue without adding extra liquid that could thin the batter. If using liquid coloring, you may need more drops, but be careful not to alter the batter's consistency too much.
- → How should I store leftover cupcakes?
-
Store frosted cupcakes in an airtight container in the refrigerator for up to three days. Let them sit at room temperature for about 20–30 minutes before enjoying to soften the frosting and restore the cake's tender texture.
- → Can I make a gluten-free version?
-
Absolutely. Swap the all-purpose flour for a 1-to-1 gluten-free baking blend and use gluten-free chocolate sandwich cookies in place of traditional Oreos. Check all labels, including the food coloring, to confirm they are gluten-free.
- → What's the best way to get evenly sized cupcakes?
-
Use a large cookie scoop or ice cream scoop to divide the batter evenly among the liners, filling each about two-thirds full. This ensures uniform baking and a consistent rise across all twelve cupcakes.
