 Save to Pinterest
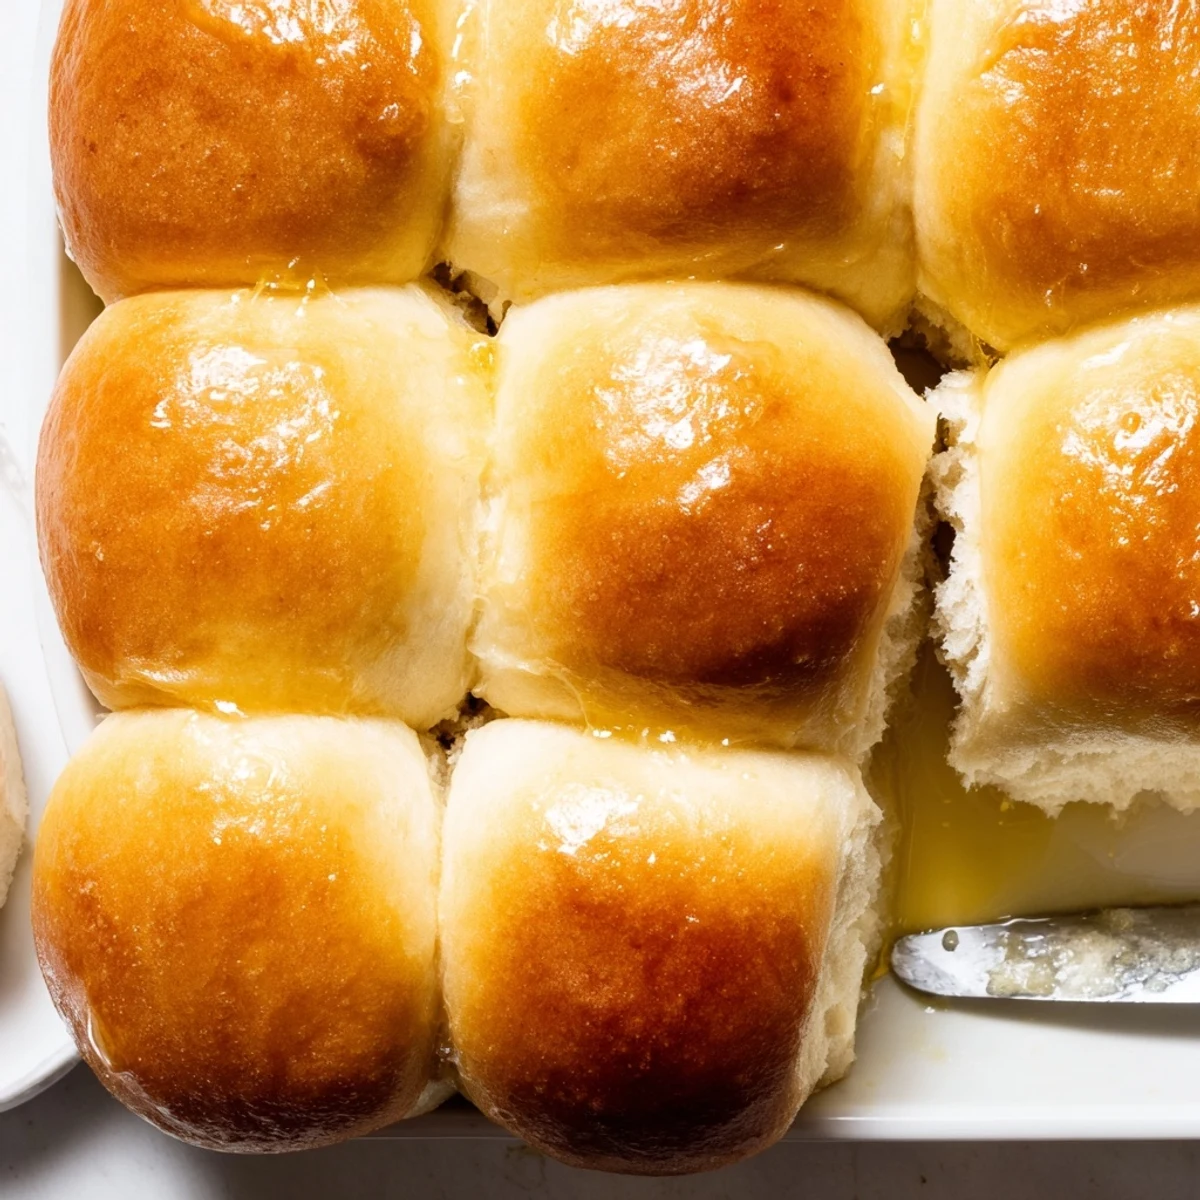
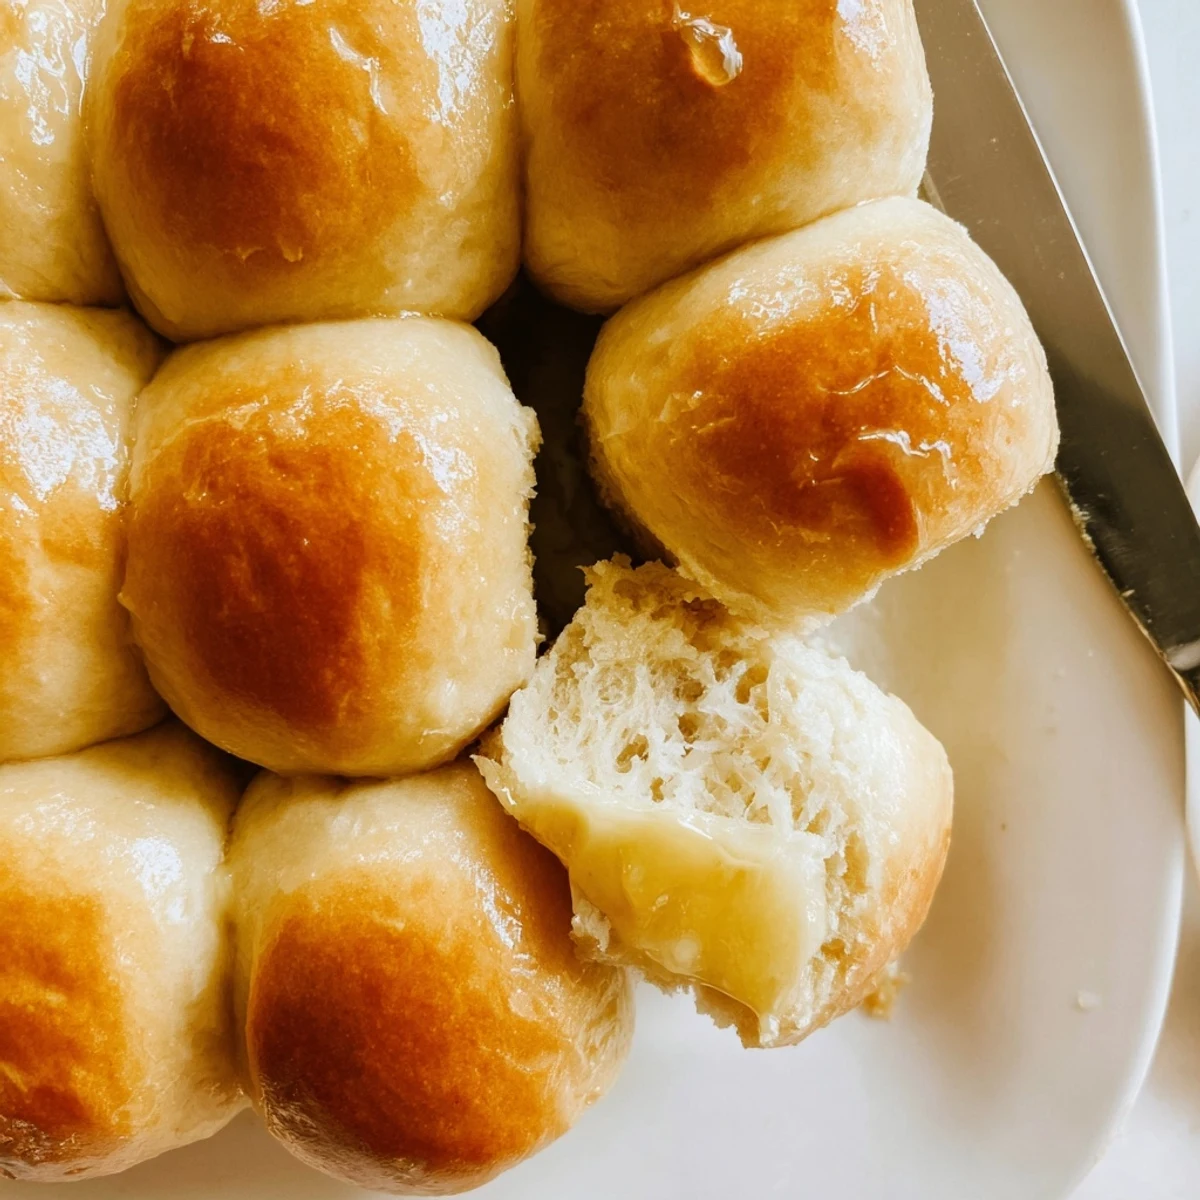
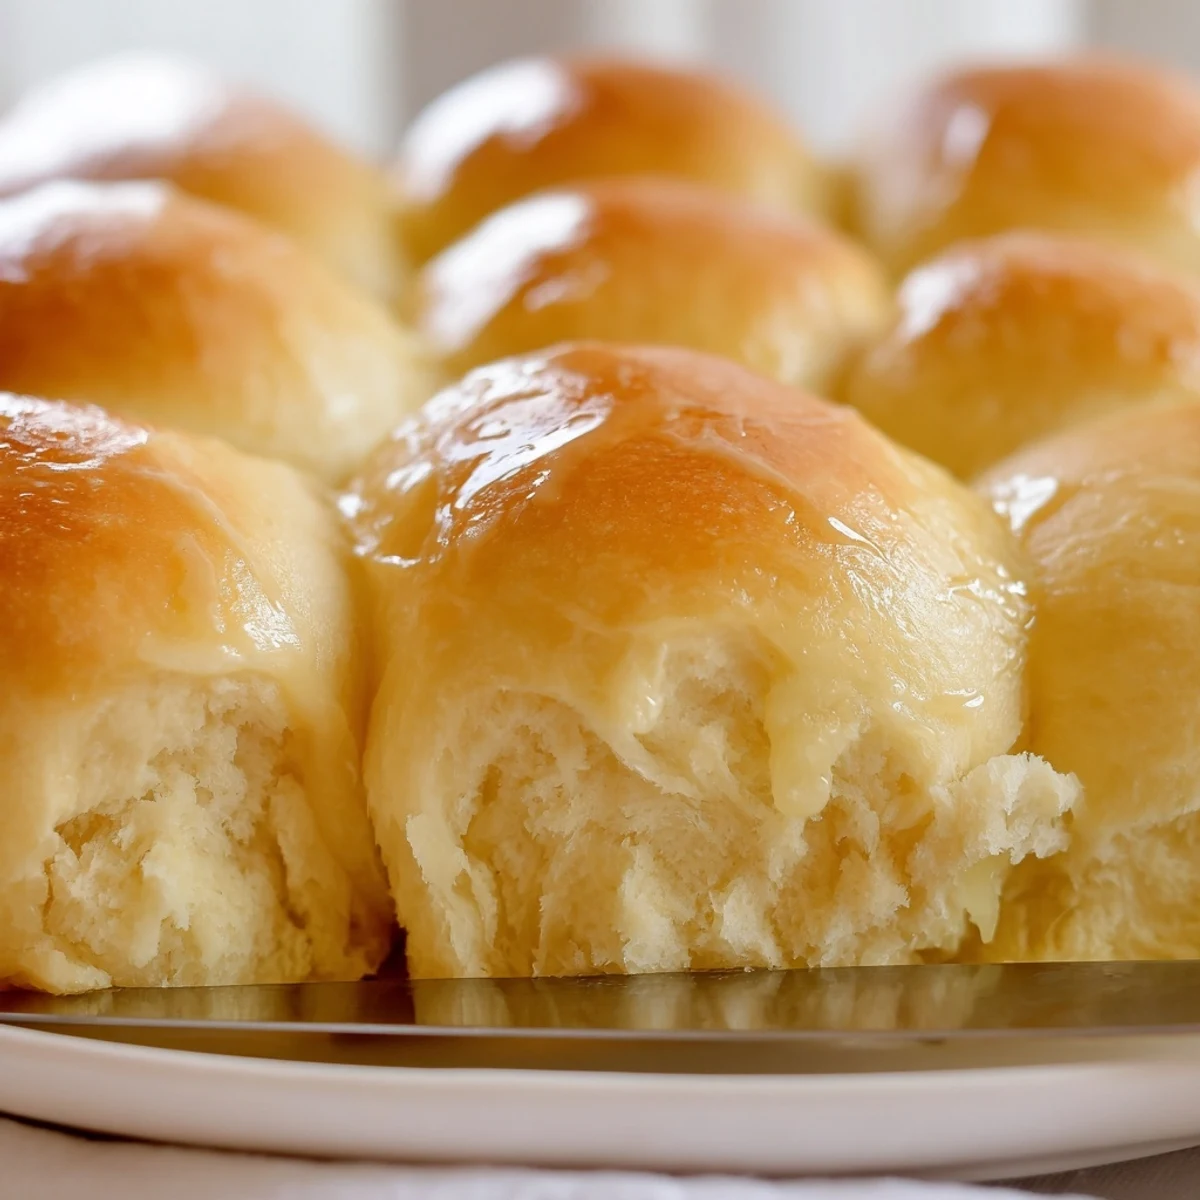
 These vegan dinner rolls are soft, fluffy, and tender with a golden crust. Made using plant-based milk, vegan butter, and simple pantry ingredients, they boast a delicate buttery flavor. The dough requires rising time to develop a light, airy texture. After shaping and a second rise, they're baked to a beautiful golden brown and brushed with melted vegan butter for richness. Perfect for pairing with any meal or serving warm with extra butter.
The smell of yeast blooming in warm milk still takes me back to my tiny first apartment kitchen, where I learned that patience isn't just a virtue it's the secret ingredient. I'd check on those rolls every five minutes, convinced nothing was happening, then suddenly they'd be billowing over the bowl like magic. Now I know better. That quiet rising time is where the transformation happens.
My brother-in-law actually asked for the recipe after Thanksgiving dinner, his fork hovering over his second roll. When I mentioned they were vegan, he laughed and said yeah right, then took a third roll just to prove some point. I love watching people realize that plant-based baking can hold its own at any table.
Ingredients
- 1 cup unsweetened almond milk: Lukewarm, not hot, or you'll kill the yeast before it even gets started
- 1/4 cup vegan butter melted: Use a high-quality brand, it makes a noticeable difference in the final taste
- 1/4 cup organic cane sugar: Feeds the yeast and helps create that gorgeous golden color
- 1 packet active dry yeast: Check the expiration date, old yeast is the heartbreak of bread making
- 3 cups all-purpose flour: Spoon and level instead of scooping directly for accurate measurements
- 1 tsp fine sea salt: Enhances flavor without dominating the delicate sweetness
- 2 tbsp vegan butter melted: For brushing hot rolls, creating that irresistible shiny top
Instructions
- Wake up the yeast:
- Warm your plant milk to about 100 degrees Fahrenheit, think bathwater temperature, then stir in the melted butter and sugar until dissolved. Sprinkle the yeast on top and walk away for ten minutes, returning to find a foamy, fragrant layer that proves your yeast is alive and ready to work.
- Bring the dough together:
- Add the flour and salt to your yeast mixture, stirring until the shaggy dough begins to form and pull away from the sides of the bowl. Don't worry about the initial messiness, that's exactly how it should look before the magic happens.
- Knead until smooth:
- Turn the dough onto a lightly floured surface and knead for eight to ten minutes, pushing forward with the heel of your hand and folding back over itself. The dough will transform from sticky and chaotic to smooth, elastic, and slightly tacky, bouncing back when you press it gently.
- First rise:
- Place the dough in a lightly oiled bowl, turning once to coat all sides, then cover with a clean towel and find a warm, draft-free corner. Let it rise for about an hour until it's doubled in size, pressing two fingers into the dough to check if the indentation remains.
- Shape the rolls:
- Punch down the dough gently to release air, then divide it into twelve equal pieces and tuck the edges underneath each portion to create smooth, tight balls. Arrange them in your greased baking dish, nestling them close together so they'll rise upward and support each other in the oven.
- Second rise:
- Cover the dish again and let the rolls proof for thirty minutes, watching them puff up dramatically until they're touching and looking beautifully plump. Meanwhile, preheat your oven to 375 degrees Fahrenheit, giving it plenty of time to reach the right temperature.
- Bake to golden perfection:
- Bake for eighteen to twenty minutes, rotating the dish halfway through for even browning, until the tops are golden and the rolls sound hollow when tapped. Remove them from the oven and immediately brush with melted vegan butter, watching it glisten and soak into the warm crust.
 Save to Pinterest
 Last Christmas, my niece helped me shape the dough, her small hands creating imperfect, charming lumps that rose into the most characterful rolls I've ever baked. They were gone before dinner even started, everyone grabbing them warm from the basket and reaching for more.
Making Them Ahead
I've learned to make the dough the night before, letting it do its first rise in the refrigerator overnight. The cold fermentation develops such incredible flavor, and morning baking fills the house with that yeasty, buttery aroma that makes everyone gravitate toward the kitchen.
Flavor Variations
Sometimes I add garlic powder and dried herbs to the dough for savory rolls that disappear instantly at dinner parties. Other times, a tablespoon of maple syrup in the brushing butter creates a subtly sweet glaze that makes these perfect for weekend breakfasts.
Storage And Serving
These rolls freeze exceptionally well, so I always double the batch and tuck the extras into the freezer for busy weeks. Reheat them in a 350 degree oven for five minutes, and they'll taste freshly baked, with that just-right warmth that makes any meal feel special.
- Wrap cooled rolls tightly before freezing to prevent freezer burn
- Store at room temperature in an airtight container for up to three days
- Serve with extra vegan butter while still warm for maximum enjoyment
 Save to Pinterest
 There's something deeply satisfying about pulling homemade bread from the oven, especially when it brings everyone to the table a little faster than usual. These rolls have become my go-to for gathering people together.
Frequently Asked Questions
- → What plant-based milk works best for these rolls?
-
Unsweetened almond milk is recommended, but soy, oat, or cashew milk can be used as substitutes without affecting texture.
- → How do I know when the dough has risen enough?
-
The dough should double in size during the rising phases. It will look puffy and airy when ready for shaping or baking.
- → Can I add herbs or spices for extra flavor?
-
Yes, adding garlic powder or fresh herbs like rosemary to the dough enhances the flavor and complements the soft texture.
- → How should I store the rolls after baking?
-
Store cooled rolls in an airtight container. They freeze well and can be gently reheated before serving.
- → Is it necessary to brush with vegan butter after baking?
-
Brushing with melted vegan butter adds a rich flavor and softens the crust, enhancing the rolls' buttery taste and shine.
