 Save to Pinterest
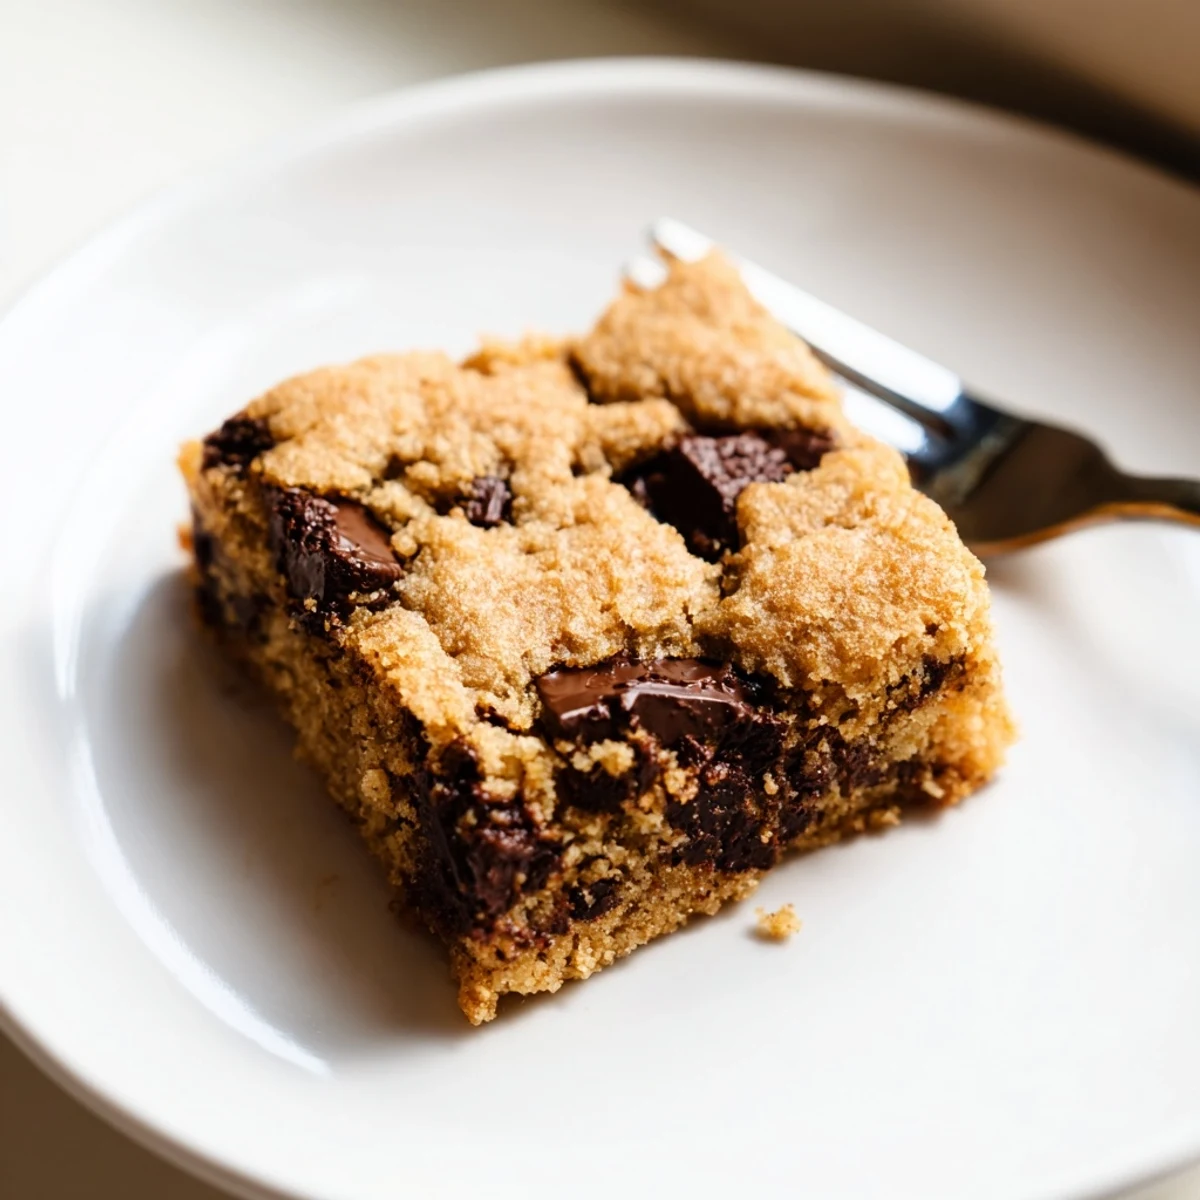
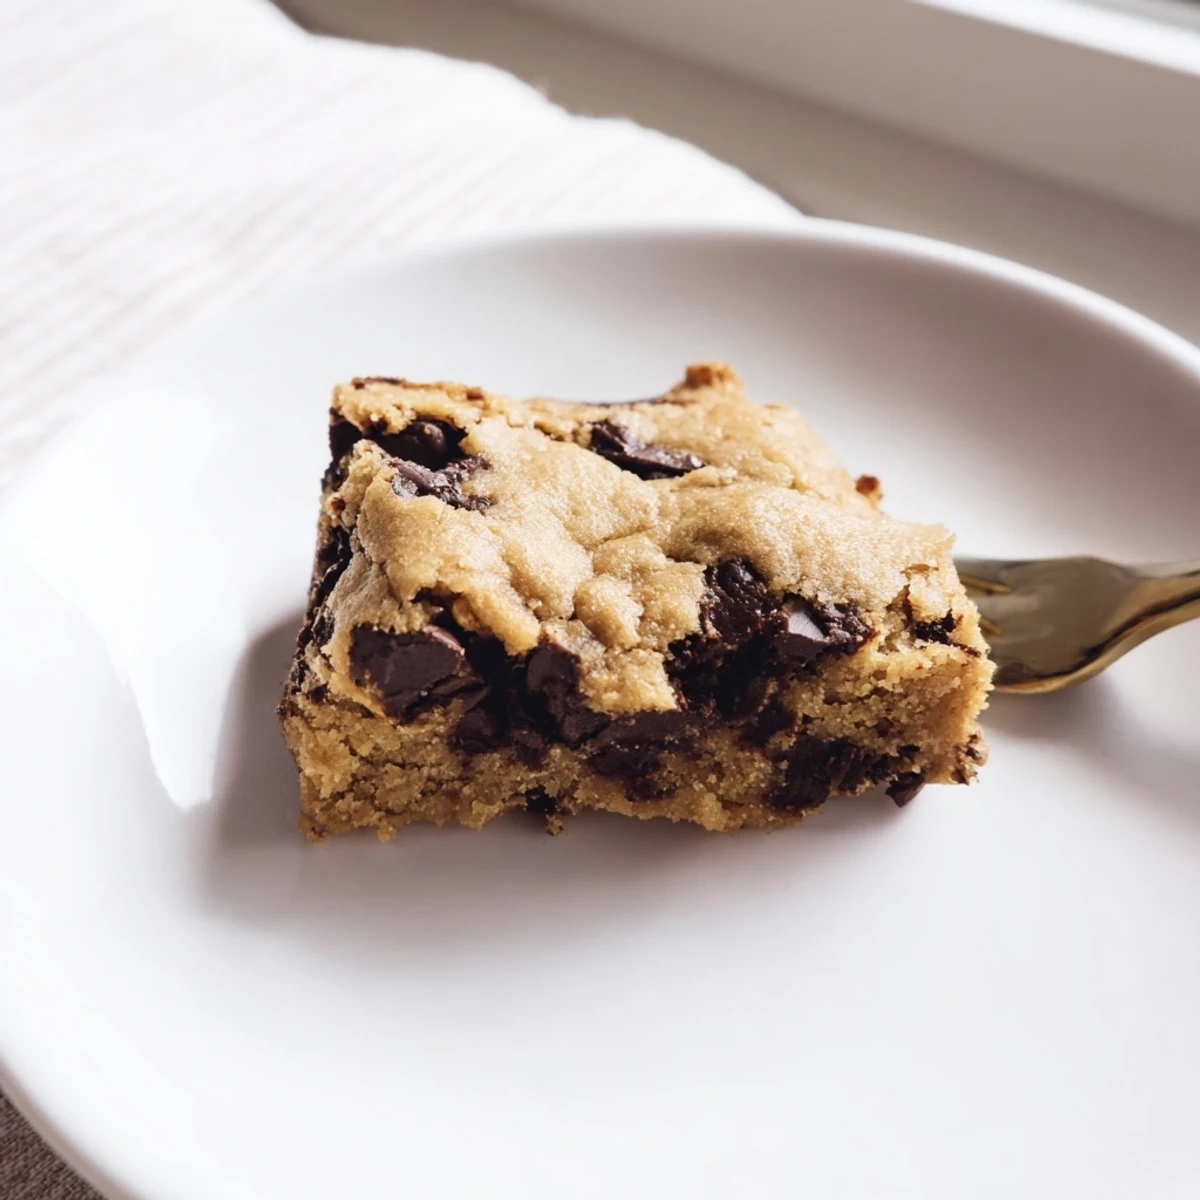
 These rich, chewy cookie bars deliver all the classic chocolate chip cookie flavor in an easy-to-cut format. With crisp edges, a soft center, and pockets of melted chocolate throughout, they bake up in just 25 minutes and feed a crowd effortlessly.
The melted butter creates irresistible chewiness while the combination of brown and granulated sugars yields perfectly golden edges. Adding semisweet chocolate chips ensures every bite is loaded with chocolate.
Sprinkle flaky sea salt on top before baking for a sweet-salty finish, or swap in dark chocolate chips for extra depth. Store in an airtight container and they stay perfectly soft for days.
The smell of butter and sugar melting together still transports me back to my first apartment, where the oven was always slightly off temperature and my roommates would appear like magic whenever something baked. These cookie bars became our Friday night tradition, eaten warm on the couch while we debated movies and complained about work. There's something about bars that feels more forgiving than individual cookies, more generous somehow. I've adjusted this recipe over years of late night cravings and impromptu gatherings.
Last summer my sister came to visit and I made these bars for a road trip we were taking the next morning. She called me from her destination two days later demanding the recipe, saying her husband had eaten almost the entire pan in one sitting. That's when I knew this wasn't just another dessert, it was the kind of treat that creates its own memories.
Ingredients
- 2 1/4 cups all purpose flour: Spoon and level instead of scooping directly to avoid packing too much flour in
- 1/2 teaspoon baking soda: Helps create those irresistible crackly edges and soft centers
- 1/2 teaspoon salt: Balances sweetness and enhances all the chocolate flavors
- 1 cup unsalted butter melted: Melting the butter first creates that dense chewy texture everyone loves
- 1 cup light brown sugar packed: The molasses adds moisture and deeper caramel notes
- 1/2 cup granulated sugar: Provides crispness and balances the brown sugar's richness
- 2 large eggs: Room temperature eggs incorporate better into the butter mixture
- 2 teaspoons pure vanilla extract: Don't skimp here, real vanilla makes all the difference
- 2 cups semisweet chocolate chips: Classic choice but feel free to mix chocolate types
Instructions
- Preheat your oven and prepare the pan:
- Set your oven to 350°F and line a 9x13 inch baking pan with parchment paper. Let the paper hang over the sides like handles, you'll thank yourself later when lifting the bars out.
- Whisk the dry ingredients together:
- In a medium bowl, combine the flour, baking soda, and salt. Give it a quick whisk to distribute everything evenly and set it aside.
- Make the butter sugar base:
- In your largest bowl, whisk the melted butter with both sugars until completely smooth. This takes about a minute of serious whisking to dissolve the sugar crystals properly.
- Add the eggs and vanilla:
- Whisk in the eggs one at a time, then pour in the vanilla extract. Keep whisking until the mixture looks glossy and uniform.
- Combine everything gently:
- Pour in your dry ingredients and fold with a spatula just until the flour streaks disappear. Overmixing makes tough bars, so stop as soon as it comes together.
- Fold in the chocolate chips:
- Add your chocolate chips and fold them through until evenly distributed. Some will end up on top, some hidden throughout, that's exactly what you want.
- Spread and smooth:
- Transfer the dough to your prepared pan and press it into an even layer. The dough will be thick, so take your time spreading it to the corners.
- Bake until golden:
- Bake for 22 to 25 minutes. You're looking for golden edges and a center that's set but still slightly soft, with a toothpick coming out with moist crumbs.
- Cool completely before cutting:
- Let the bars cool completely in the pan on a wire rack. This takes discipline but they cut so much cleaner when fully cooled.
 Save to Pinterest
 My neighbor knocked on my door the first time I made these, drawn by the smell wafting through our building's vents. We ended up sharing the still warm pan on her front porch while she told me about growing up in her grandmother's bakery. Food connects us like that, doesn't it?
Getting That Perfect Texture
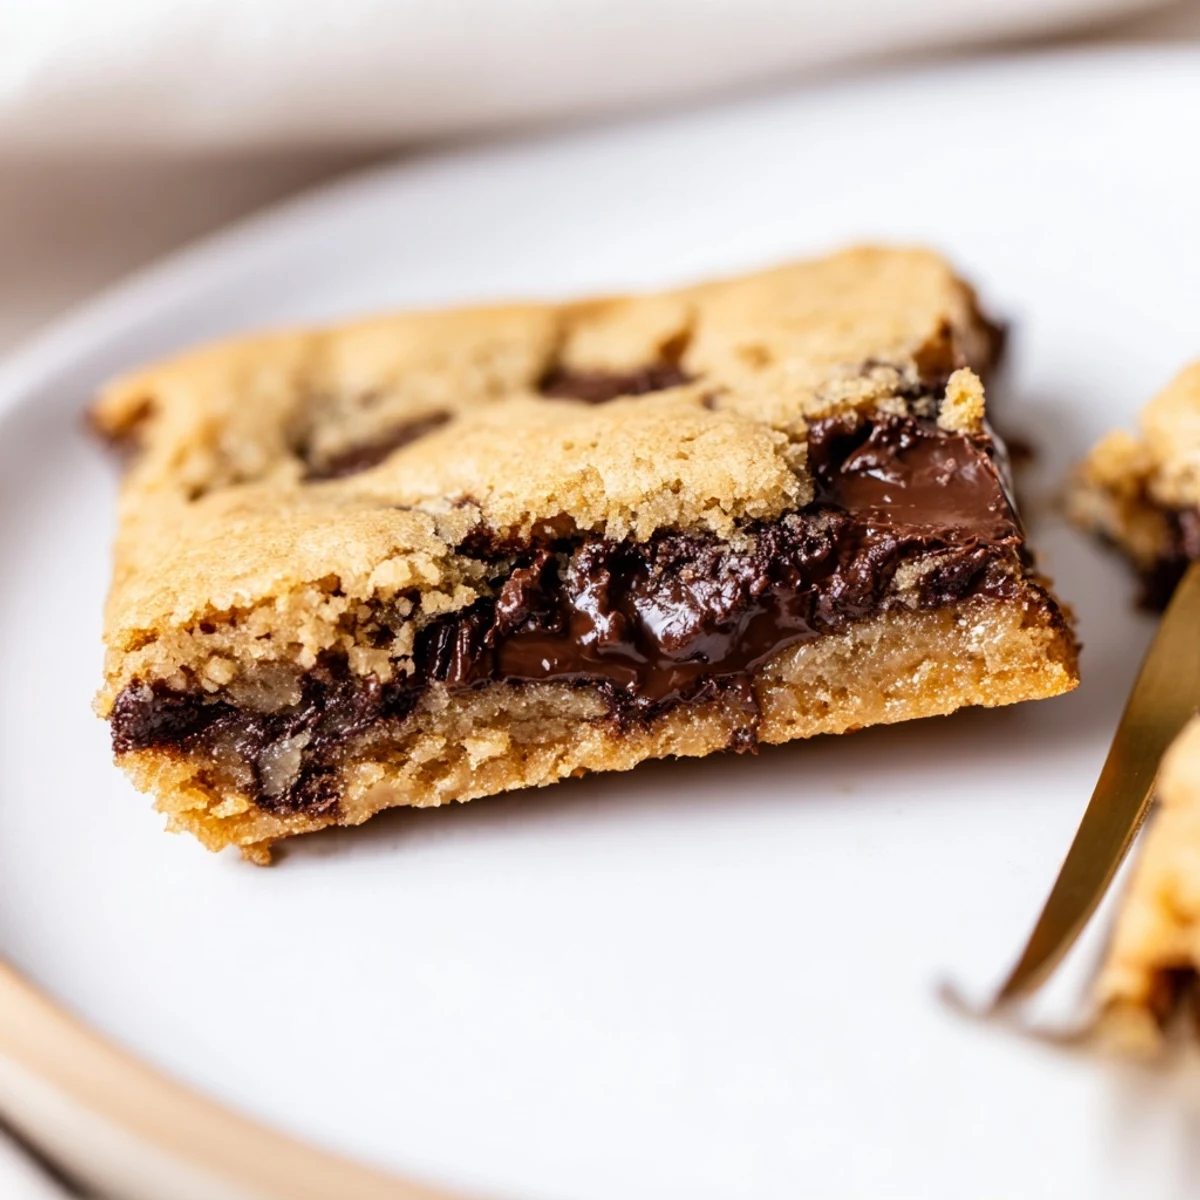
The secret to these bars is pulling them from the oven when the center still looks slightly underdone. As they cool, they firm up into that impossibly tender middle that makes people close their eyes when they take a bite. I learned this after years of making cookie cakes that turned into hockey pucks.
Pan Choice Matters
A 9x13 inch pan creates the ideal thickness, thick enough to be substantial but thin enough to get those crispy edges we fight over. If you only have an 8x8, the bars will be thicker and need a few extra minutes in the oven.
Make Them Your Own
These bars are incredibly forgiving, which is probably why I make them so often. Sometimes I throw in whatever chocolate I have in the pantry, sometimes I add toasted nuts. They always turn out somehow better than I expected.
- Try adding chopped pecans or walnuts for some crunch
- Mix milk and dark chocolate chips for extra depth
- Press a few extra chips on top before baking for the prettiest look
 Save to Pinterest
 There's always someone asking for this recipe at potlucks now, and I happily share it every time. Good food should never be a secret kept to yourself.
Frequently Asked Questions
- → Why are my cookie bars hard?
-
Overbaking is the most common cause. Remove from the oven when a toothpick comes out with moist crumbs rather than clean. The bars continue cooking slightly as they cool in the pan.
- → Can I use salted butter instead?
-
Yes, simply reduce the added salt to 1/4 teaspoon. The bars will still turn out delicious with a slightly more pronounced saltiness.
- → How do I know when they're done baking?
-
Look for golden brown edges and a center that appears set but slightly soft. A toothpick inserted in the middle should have a few moist crumbs attached, not wet batter or come out completely dry.
- → Can I freeze the dough or baked bars?
-
Both freeze well. Wrap unbaked dough tightly in plastic and freeze for up to 3 months—thaw before baking. Baked bars freeze individually wrapped for 2-3 months; thaw at room temperature.
- → What size pan works best?
-
A 9x13-inch pan creates ideal thickness—about 3/4 inch tall. An 8x8 pan yields thicker bars needing 5-10 more minutes baking time, while a larger pan produces thinner bars that cook faster.
- → Why chill the dough before baking?
-
Chilling isn't required here since melted butter creates the desired chewy texture. For thicker bars with more developed flavor, refrigerate the spread dough for 30 minutes before baking.
