 Save to Pinterest
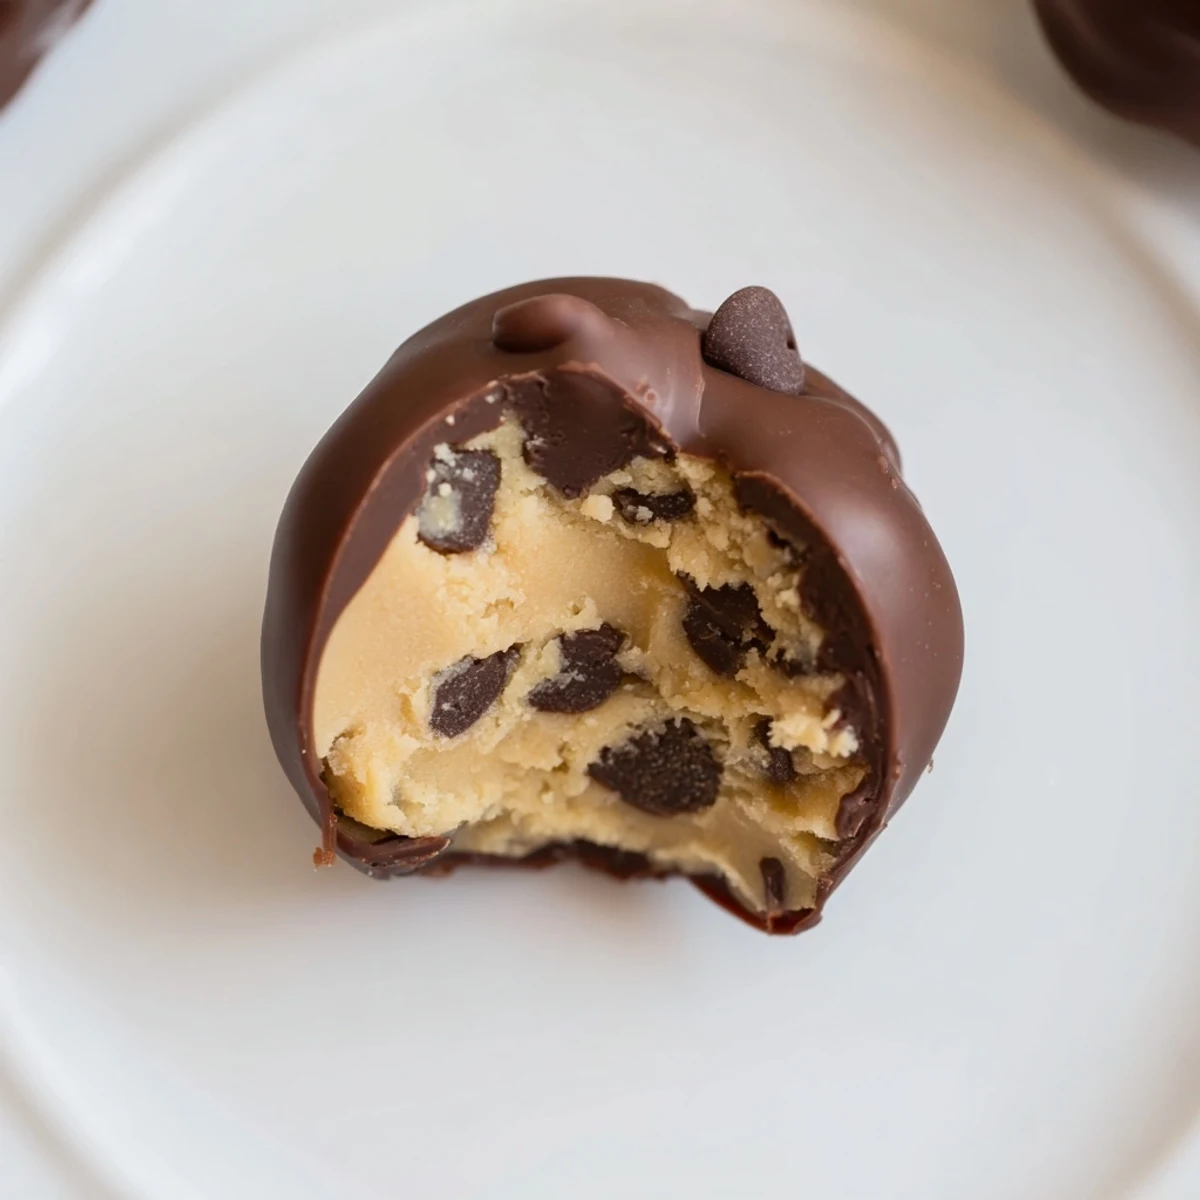
 These chocolate chip cookie dough truffles are the perfect no-bake treat combining the nostalgia of cookie dough with elegant chocolate-dipped presentation. Made with heat-treated flour for food safety, the creamy dough centers are infused with mini chocolate chips and enrobed in melted chocolate. With just 25 minutes of active preparation and 35 minutes chilling time, you'll have 24 indulgent truffles ideal for gifting or personal enjoyment.
The day my mixer broke was the day I discovered the pure joy of cookie dough truffles. Standing in my kitchen with a bowl of partially mixed chocolate chip cookie ingredients, I suddenly realized I didn't need to bake them at all. With a few adjustments for food safety, these little bites of heaven were born, combining the nostalgic flavor of cookie dough with the elegant appeal of a chocolate truffle.
I first made these truffles for my sisters bridal shower, nervously rolling dozens of little dough balls while my kitchen counters disappeared under a cloud of flour. The moment my usually stoic future brother in law snuck into the kitchen and pocketed four of them when he thought no one was looking, I knew I had a winner on my hands.
Ingredients
- Unsalted butter: Using room temperature butter is crucial, as I learned after an arm numbing experience with cold butter that refused to cream properly.
- Brown sugar: The molasses in brown sugar adds a depth that makes these taste like genuine cookie dough, not just sweetened butter balls.
- Heat treated flour: This five minute oven step might seem fussy, but trust me, the one time I skipped it and later read about flour safety was enough to make it non negotiable.
- Mini chocolate chips: Regular sized chips make the truffles harder to roll and bite into, a lesson I learned the hard way when chocolate chunks kept poking through my dough balls.
- Coconut oil: This transforms regular melted chocolate into that perfect glossy coating that snaps when you bite into it.
Instructions
- Prepare your flour first:
- Spread the flour on a baking sheet and bake at 160°C for 5 minutes, then let it cool completely. The kitchen might smell slightly toasty, but thats exactly what youre looking for.
- Create the cookie base:
- Beat the softened butter with both sugars and salt until the mixture lightens in color and becomes fluffy. When you see the texture change from dense to almost whipped, youll know youre on the right track.
- Build the dough:
- Add milk and vanilla, then gradually incorporate the cooled flour until it looks like real cookie dough. Fold in those mini chocolate chips with a gentle hand to distribute them evenly.
- Shape your truffles:
- Using a tablespoon measure, scoop consistent portions and roll between your palms into smooth balls. I find slightly damp hands prevent the dough from sticking too much to your skin.
- The essential chill:
- Place your dough balls on a parchment lined sheet and freeze until firm. Theyll need to be cold to hold their shape when they hit the warm chocolate.
- Master the chocolate dip:
- Melt your chocolate with coconut oil in short microwave bursts, stirring frequently. The oil creates that perfect flowing consistency that coats each truffle evenly without being too thick.
- Dip with finesse:
- Balance each frozen dough ball on a fork, lower it into the chocolate, then tap the fork gently on the bowl edge to remove excess. The cold dough helps the chocolate set quickly, creating a thin, perfect shell.
- Set and store:
- Return your chocolate covered treasures to the baking sheet and refrigerate until set. The transformation from soft dough to firm, chocolate encased truffles is almost magical to watch.
 Save to Pinterest
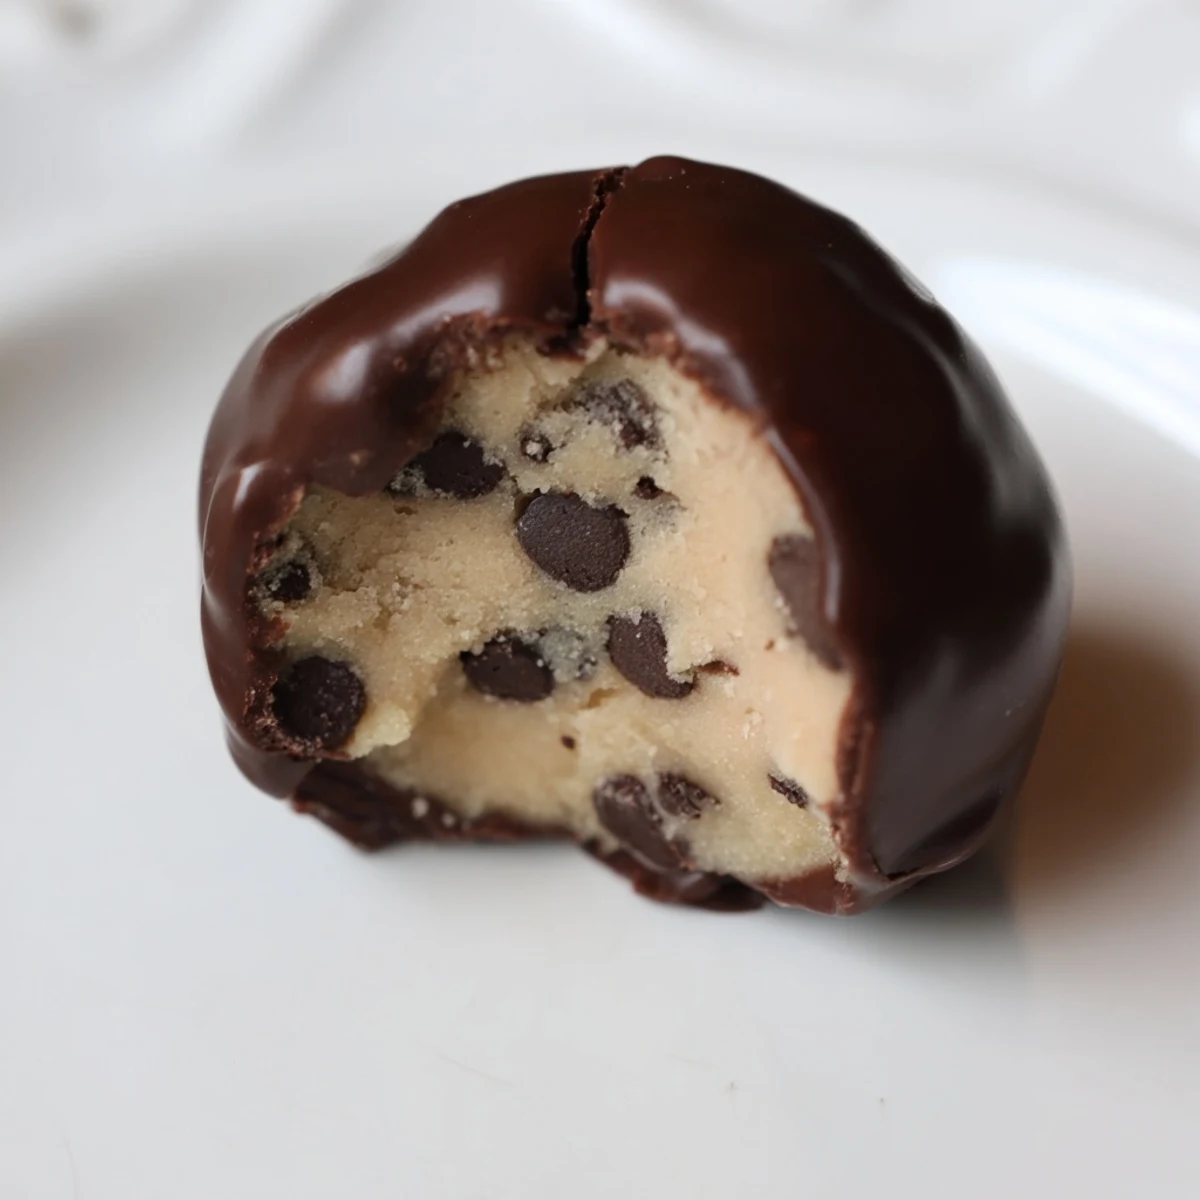
 Last Christmas, my niece and I made a double batch of these truffles, our hands sticky with dough and chocolate smeared across our aprons. As we packaged them in little gold boxes for family gifts, she confessed she wanted to become a pastry chef someday, and I realized these little sweet morsels had become more than just treats, they were now part of our family story.
Troubleshooting Tips
The first time I made these truffles for a summer gathering, I watched in horror as they began to soften and lose their perfect round shape on the dessert table. Now I always keep them refrigerated until about 15 minutes before serving, especially during warmer months when chocolate can quickly become temperamental.
Flavor Variations
Over the years, Ive discovered the basic recipe becomes an incredible canvas for creativity. My caramel sea salt version, with a tiny caramel piece hidden in the center and flaky salt sprinkled on the chocolate coating, disappeared so quickly at a dinner party that several guests claimed they never even saw them being served.
Make Ahead and Storage
During holiday baking marathons, these truffles have saved my sanity because they can be made well in advance. The unfrozen truffles maintain their quality perfectly for up to a week in the refrigerator, developing an even deeper flavor as they sit.
- For longer storage, freeze the uncoated dough balls for up to 3 months in an airtight container.
- Thaw frozen dough balls in the refrigerator overnight before dipping in chocolate.
- Keep finished truffles away from strong smelling foods in your refrigerator as the fats in chocolate can absorb odors.
 Save to Pinterest
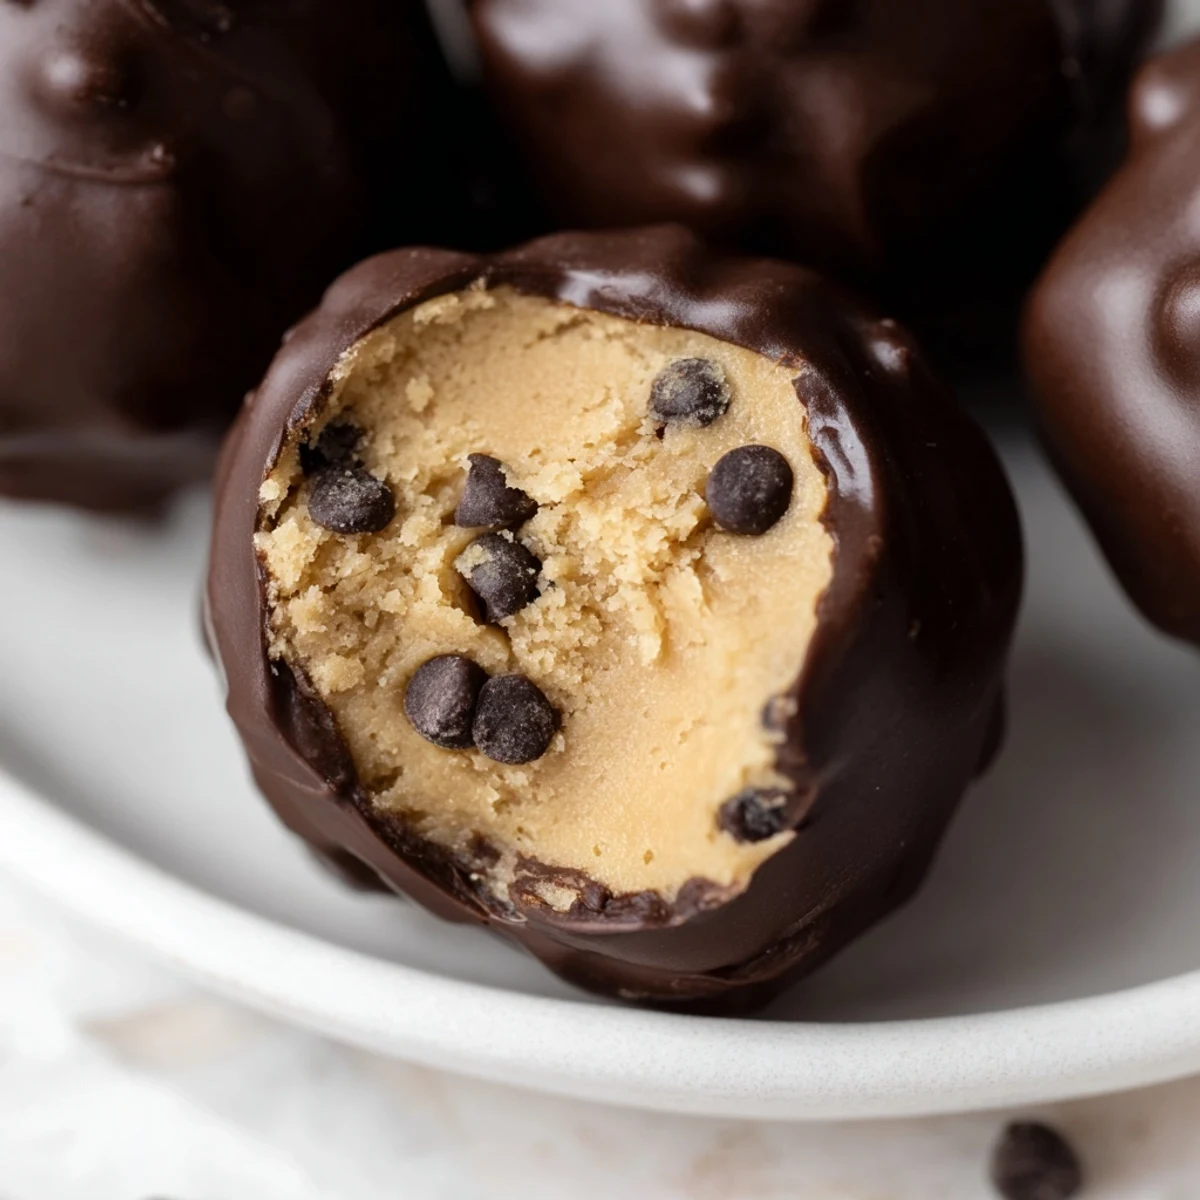
 These little bites of joy bridge the gap between nostalgic comfort food and elegant dessert, making them perfect for any occasion from casual gatherings to formal celebrations. Each truffle carries a hint of childhood cookie dough sneaking combined with grown up chocolate appreciation, wrapped up in one irresistible bite.
Frequently Asked Questions
- → Why is heat-treated flour necessary in this preparation?
-
Heat-treating flour eliminates potential bacteria that could pose food safety risks when consuming raw dough. Spread flour on a baking sheet and bake at 160°C (325°F) for 5 minutes, then cool completely before incorporating into your dough mixture.
- → Can I substitute the mini chocolate chips?
-
Absolutely. Use regular-sized chocolate chips, chopped dark chocolate, or even mix in crushed cookies, nuts, or sprinkles to customize the dough filling. Maintain the same 100g quantity for best results.
- → How long do these truffles keep?
-
Store your finished truffles in an airtight container in the refrigerator for up to 1 week. For extended storage, freeze them for up to 1 month. Allow frozen truffles to soften at room temperature for 5-10 minutes before serving.
- → What's the purpose of coconut oil in the chocolate coating?
-
Coconut oil or vegetable shortening thins the melted chocolate slightly, making it easier to dip and creating a smoother, thinner coating. This step is optional but recommended for a more elegant finish and easier handling.
- → Can I make these ahead for an event?
-
Yes, these truffles are excellent for advance preparation. Make them 3-5 days ahead and store in the refrigerator, or prepare and freeze up to 1 month in advance. This advance preparation is ideal for gift-giving or entertaining.
- → What chocolate varieties work best?
-
Semisweet and milk chocolate are classic choices, but you can experiment with dark chocolate for deeper richness or white chocolate for a lighter option. Choose quality chocolate with cocoa butter for the smoothest melting and coating.
