 Save to Pinterest
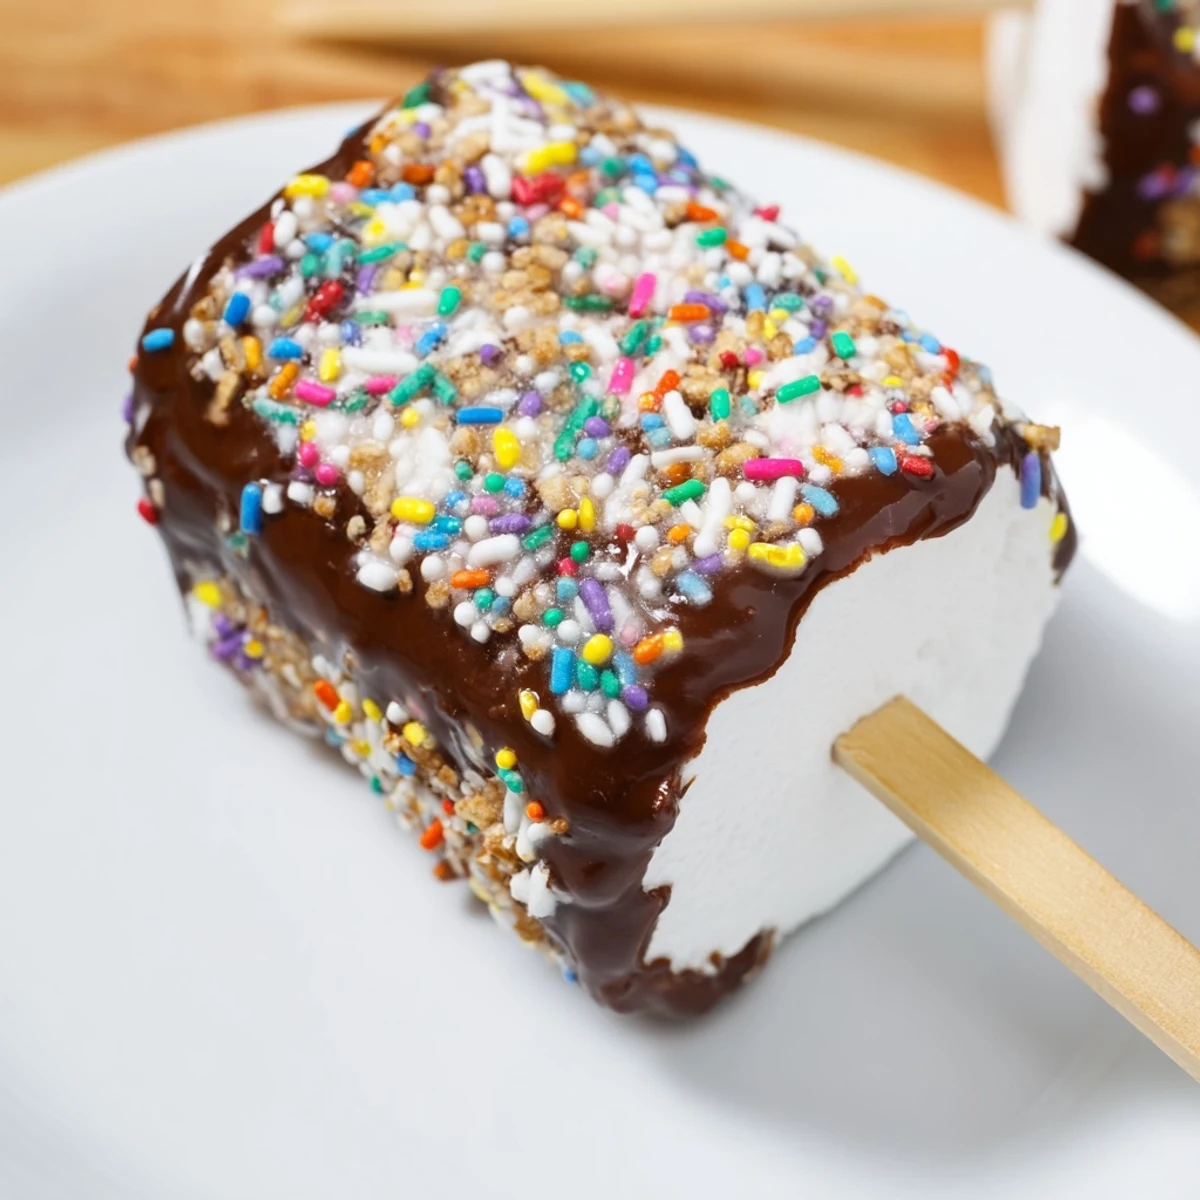
 Enjoy fluffy marshmallows mounted on sticks and dipped in melted chocolate for a smooth, rich coating. Adding toppings like crushed nuts, sprinkles, or shredded coconut enhances texture and flavor. Chill the dipped marshmallows until the coating sets firmly, creating a fun and festive treat ideal for parties or gifts. Using different chocolate types or optional coconut oil allows customization. The process is quick and simple, involving melting chocolate, dipping, decorating, and chilling for a perfect finish.
There's something about chocolate-covered marshmallows that instantly transports me back to my cousin's backyard party one summer—the kind where someone thought it would be fun to make desserts on sticks and suddenly everyone wanted to help. I'd never made them before, but watching the melted chocolate cascade over fluffy white pillows felt like edible magic. Twenty minutes later, we had a dozen little treasures lined up like tiny monuments to sugar and cocoa, and I realized this was the easiest way to impress a crowd I'd ever discovered.
My neighbor brought store-bought marshmallow pops to a potluck once, and I genuinely felt bad for her—not because they were bad, but because homemade ones taste so infinitely better. The chocolate stays snappy when you bite into it, and the marshmallow has this tender give that just doesn't compare. Now when I make a batch, I always make extra because people ask for the recipe and then come back asking for more.
Ingredients
- Large marshmallows: Start with 12 quality ones—the bigger, the better for dipping because they're easier to coat evenly without the stick breaking through.
- Semi-sweet or milk chocolate, chopped: About 200g gives you plenty for coating without waste; dark chocolate works too if you want less sweetness to balance the marshmallow.
- Coconut oil or unsalted butter: This optional tablespoon is the secret to silky chocolate that clings beautifully instead of pooling in thick clumps.
- Sprinkles, crushed nuts, or shredded coconut: Use what you love—these go on while chocolate is still wet, so timing matters here.
- Wooden sticks: Cake pop sticks or regular wooden skewers work; push them in confidently about halfway or they'll wobble during dipping.
Instructions
- Prep your workspace:
- Line a baking sheet with parchment paper so your finished pops have somewhere safe to land. This tiny step saves you from chocolate-stuck-to-metal frustration later.
- Stick the marshmallows:
- Push a wooden stick into each marshmallow until it goes about halfway through—they'll feel fragile but they're tougher than you think. A confident push works better than tentative wiggling.
- Melt the chocolate:
- Either use a double boiler (heatproof bowl over simmering water) or microwave in 20-second bursts, stirring after each one until the chocolate is completely smooth. The double boiler is gentler on chocolate, but the microwave is faster if you watch carefully.
- Dip with confidence:
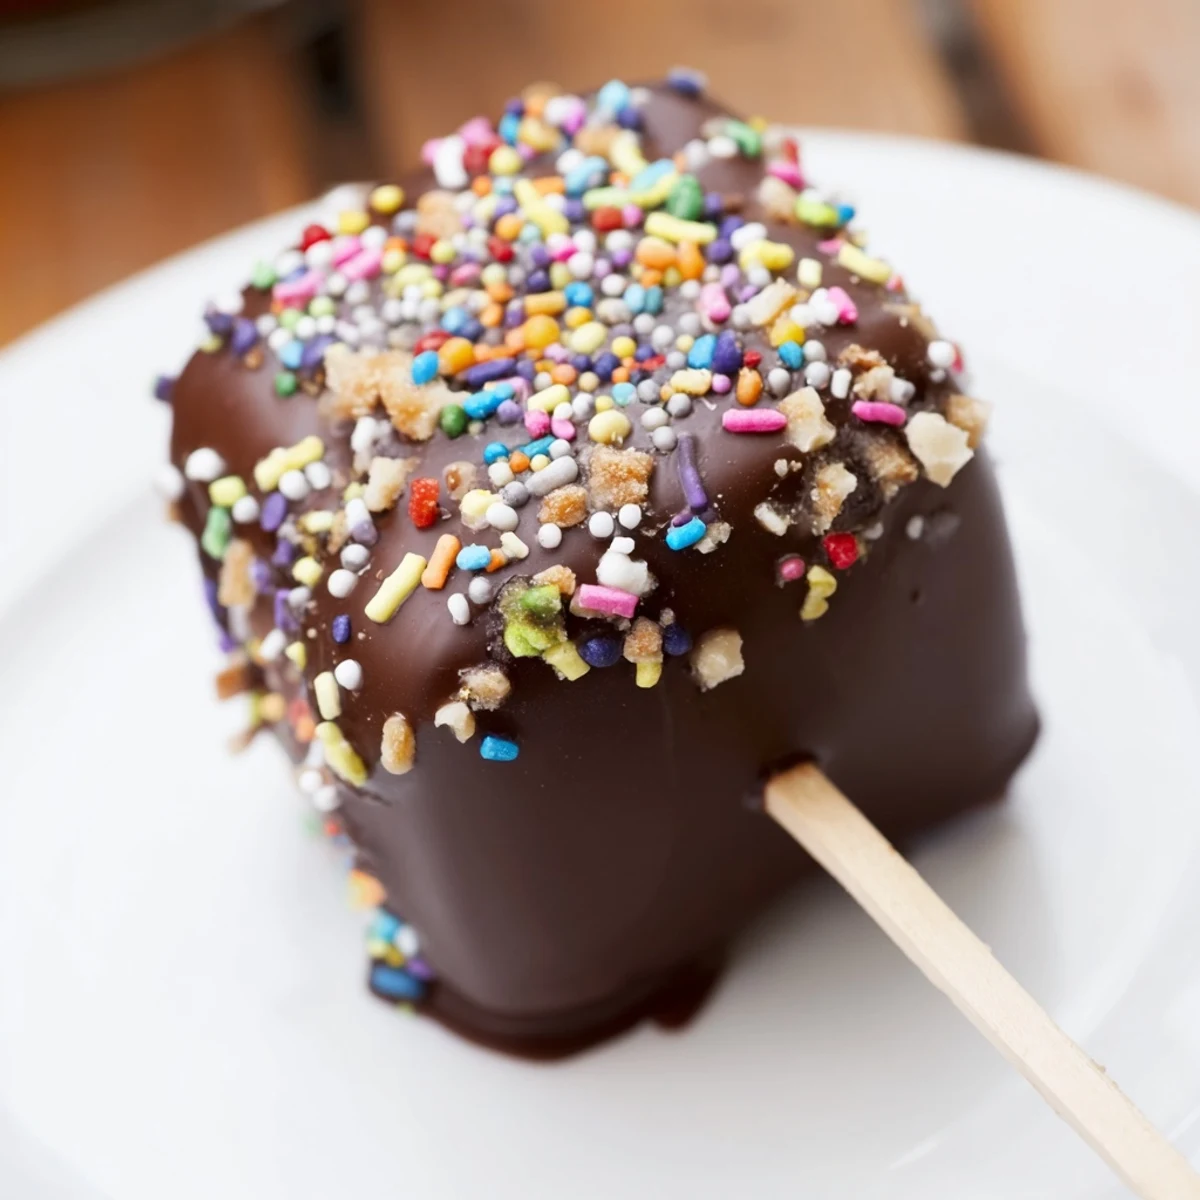
- Hold each marshmallow by its stick and plunge it into warm chocolate, giving it a little swirl to coat all sides. Let the excess drip off for a few seconds—you want a thin, elegant shell, not chocolate pooling at the base.
- Add toppings immediately:
- Sprinkle your chosen topping onto wet chocolate while it's still tacky, working quickly before it sets. The chocolate acts like glue here, so everything sticks beautifully.
- Set and chill:
- Lay each pop on parchment paper and pop the whole tray into the fridge for at least 30 minutes. The chocolate hardens into that satisfying snap you're after.
 Save to Pinterest
 I made these once for my friend's daughter's fifth birthday, and watching her carefully examine each pop like she'd discovered buried treasure made me understand why people love this recipe. It wasn't fancy or complicated, but it was pure joy on a stick.
Flavor Variations That Actually Work
The beauty here is that you're not locked into semi-sweet chocolate—dark chocolate makes them sophisticated and less sweet, white chocolate makes them delicate and elegant, and milk chocolate keeps them classically indulgent. I've also melted dark chocolate with a pinch of sea salt and it elevated the whole thing. The marshmallow itself stays constant, so the chocolate carries all the personality you want to add.
Topping Strategies That Stick
The window between wet chocolate and set chocolate is maybe thirty seconds, which sounds short until you realize it forces you to actually be present and pay attention. I've tried every topping imaginable—crushed cookies, sprinkles, freeze-dried fruit, toasted coconut, even finely chopped pretzels for salty contrast. Some stick better than others, but the ones that appeal to you will probably stick the hardest because you're dipping with intention.
When These Become Gifts
Homemade marshmallows on sticks feel special because they're clearly handmade, even though they barely require hands. Wrap them individually in cellophane, tie with ribbon, and suddenly you have gifts that taste better than they look. People remember these longer than fancy store-bought treats because there's something about knowing someone sat down and dipped each one.
- Let chocolate set completely before wrapping, or it'll stick to the plastic and ruin the whole presentation.
- Keep them in a cool spot because soft chocolate and warm weather don't mix well.
- They last about a week refrigerated, though they rarely survive that long.
 Save to Pinterest
 These deserve to be in your regular rotation, not just party food. There's real comfort in something so simple that tastes this good, and that's what cooking is really about.
Frequently Asked Questions
- → What types of chocolate work best for coating?
-
Semi-sweet, milk, or dark chocolate can be used. Adding coconut oil or butter helps create a smoother coating.
- → How can I decorate the chocolate coating?
-
Sprinkles, crushed nuts, and shredded coconut are popular toppings applied immediately after dipping to stick well.
- → What is the best method to melt chocolate smoothly?
-
Use a double boiler or microwave in short bursts, stirring frequently to avoid burning.
- → How long should the coated marshmallows chill?
-
Chill for at least 30 minutes until the chocolate coating sets completely and becomes firm.
- → Can I use this technique for vegan options?
-
Yes, use dairy-free chocolate and vegan marshmallows to make a vegan-friendly variation.
