 Save to Pinterest
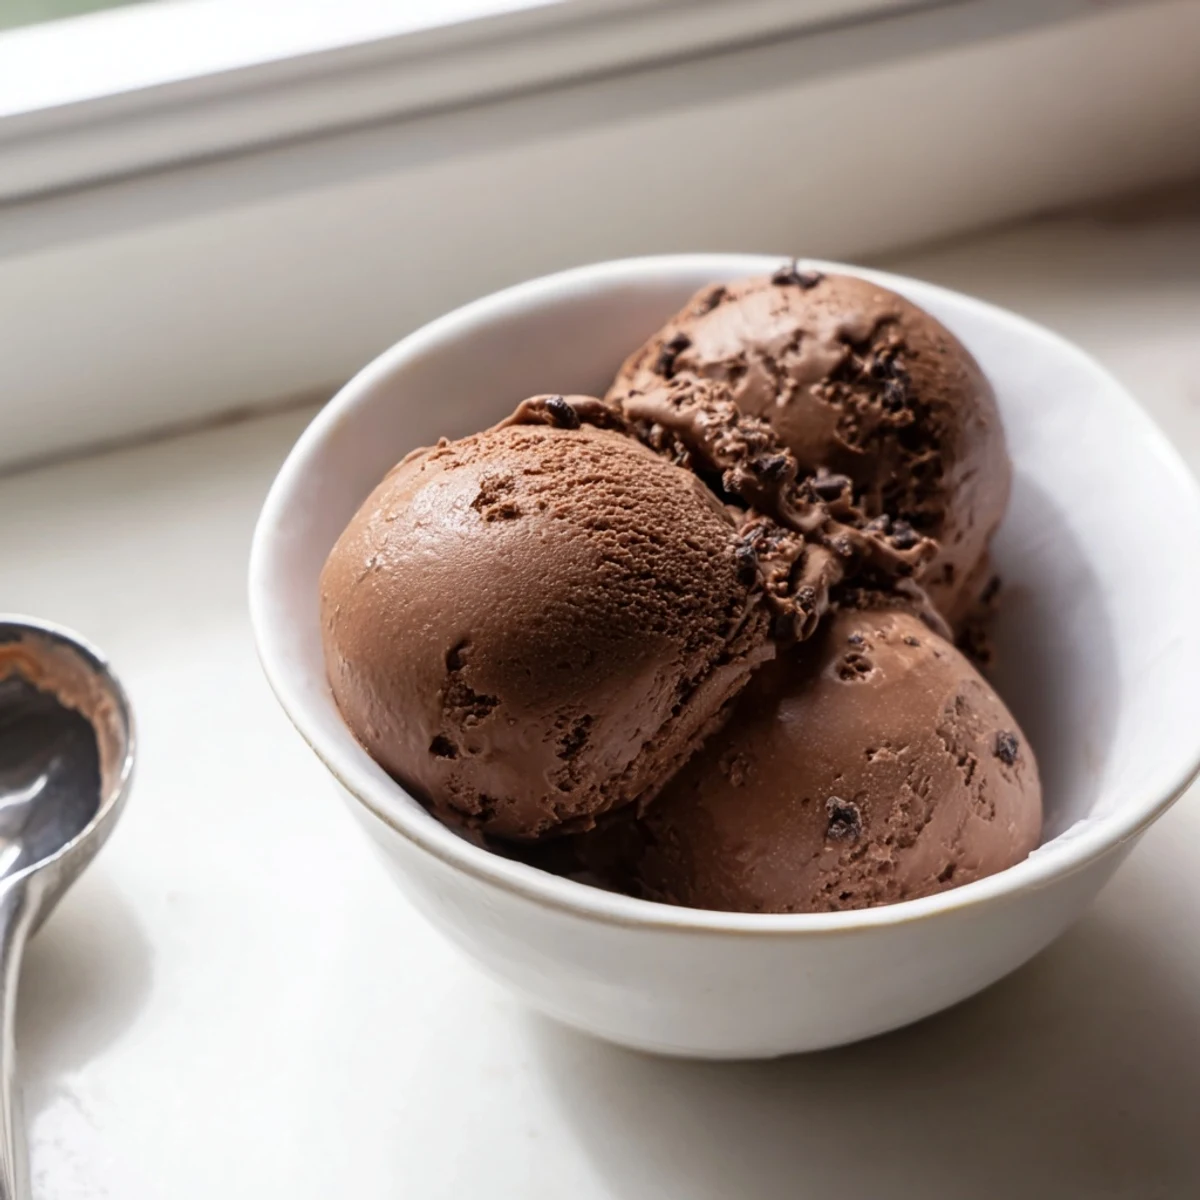
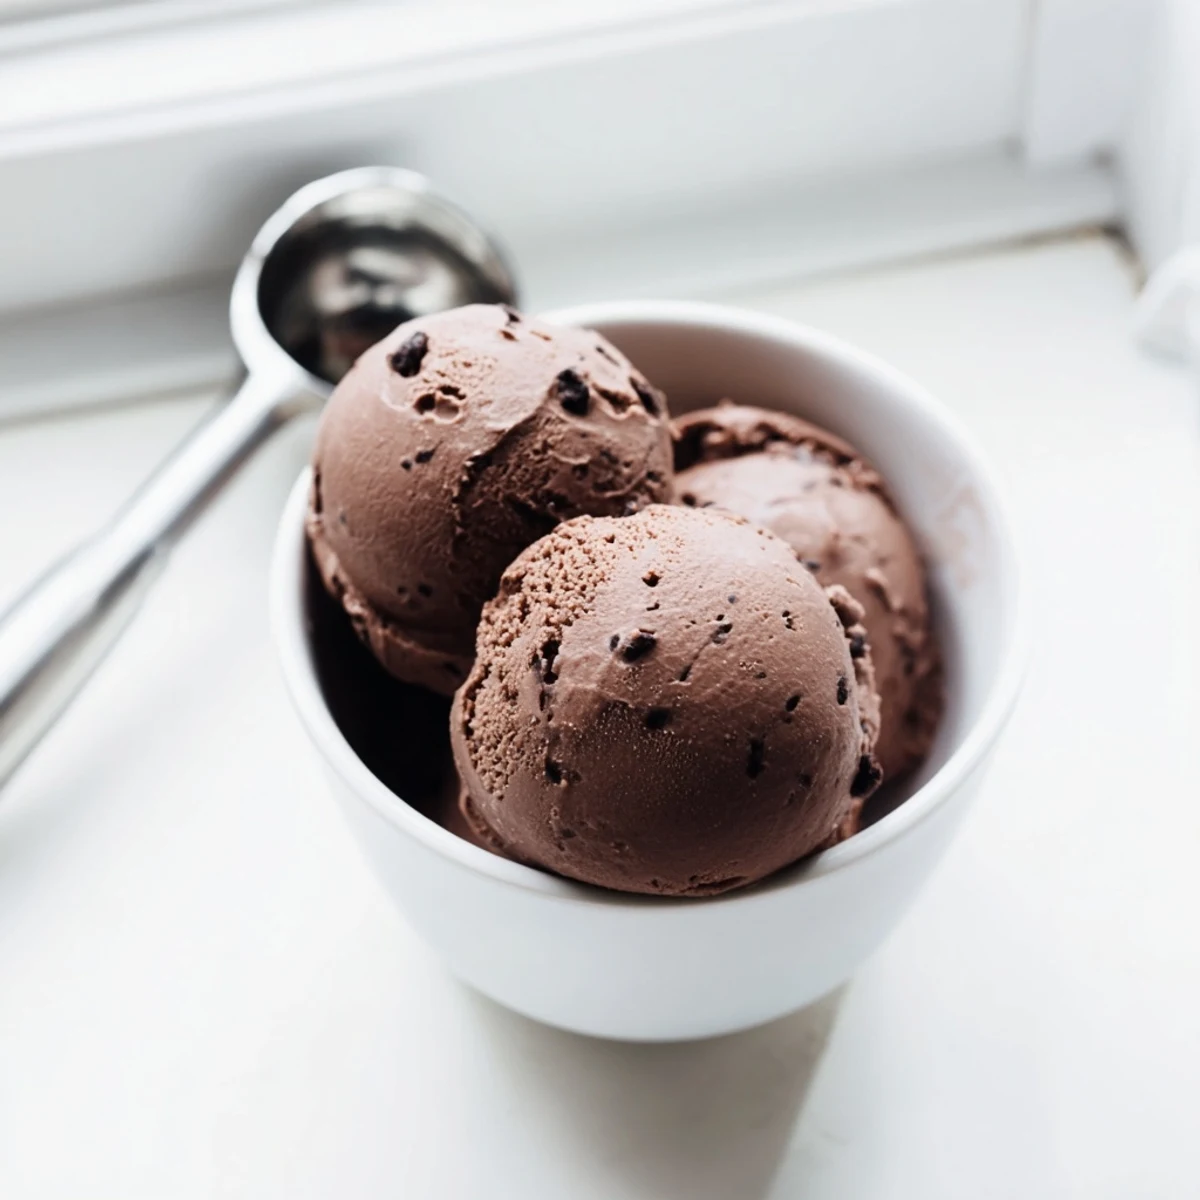
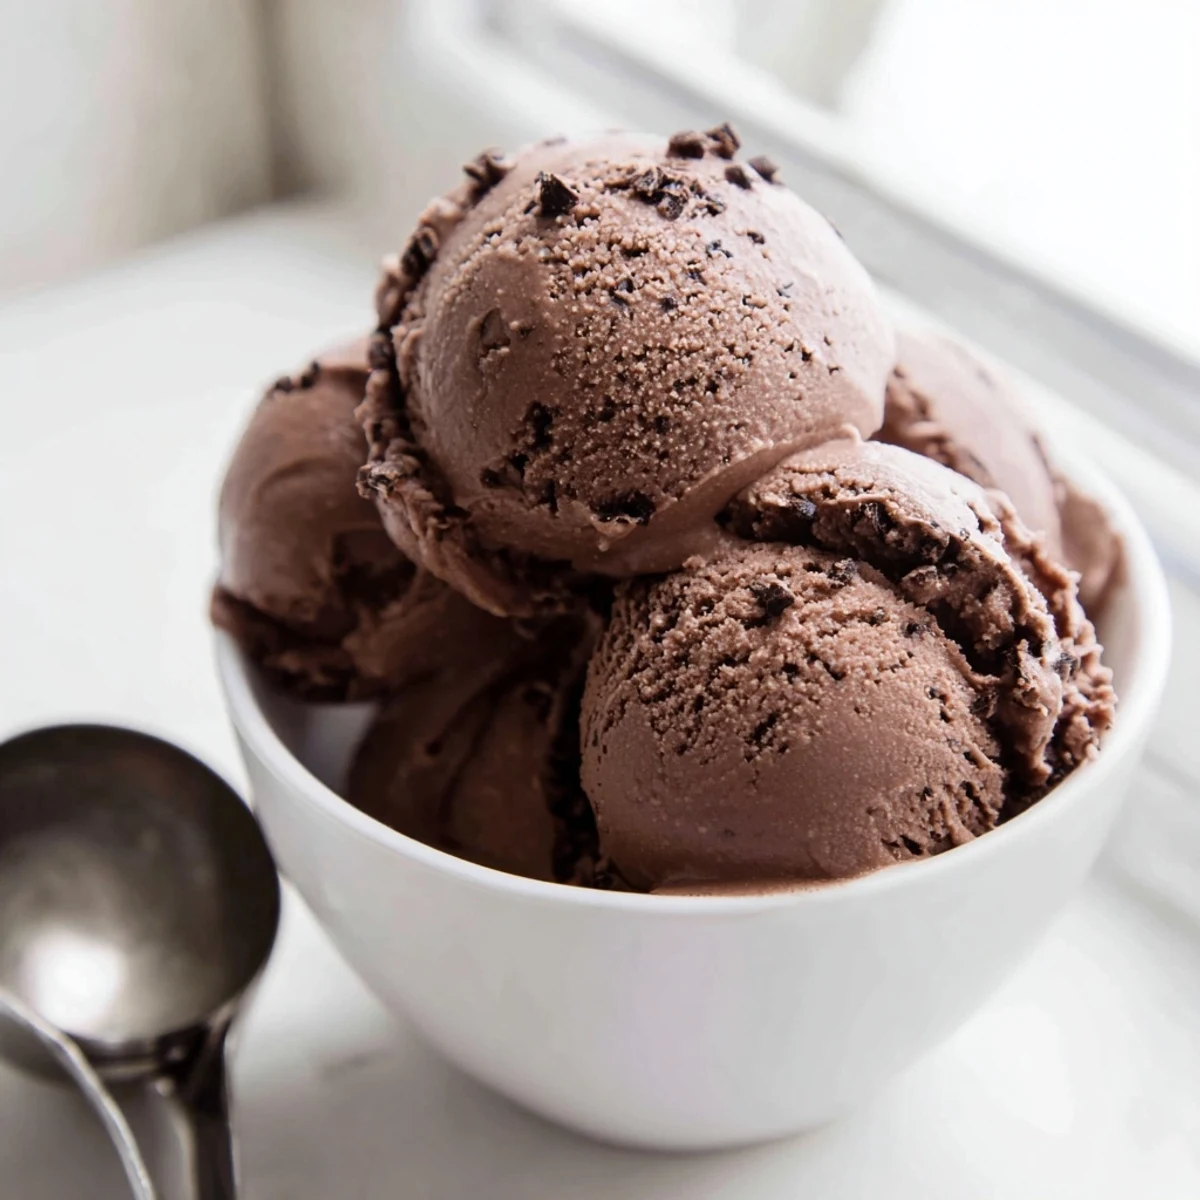
 Experience the unexpected harmony of dark chocolate and fermented sourdough in this innovative frozen dessert. The combination creates a sophisticated treat where the slight tang of sourdough starter enhances chocolate's depth, resulting in a creamy confection that's both familiar and excitingly new.
My ice cream maker sat untouched for two years until a Tuesday night experiment changed everything. I had leftover sourdough discard on the counter and a half eaten bar of dark chocolate in the pantry, and something about that combination sparked a wild idea. The result was a frozen dessert so unexpectedly complex that my partner looked up from the bowl and said, what is this sorcery. That tangy, earthy undertone cutting through rich chocolate was nothing short of a revelation.
I brought a batch of this to a backyard dinner party last August, and people literally hovered around the freezer asking when seconds would be ready. One friend who claims to dislike both sourdough and dark chocolate went back for a third scoop. There is something about serving people a flavor they cannot quite place that makes the whole room lean in closer.
Ingredients
- Whole milk (1 1/2 cups): The backbone of creamy texture, and whole milk really matters here because lower fat versions leave you with ice crystals.
- Heavy cream (1 1/2 cups): This is what gives the ice cream that luxurious mouthfeel, so do not skimp or substitute.
- Granulated sugar (1/2 cup): Just enough sweetness to balance the bitter chocolate and tangy starter without overwhelming either.
- Egg yolks (4 large): They create a custard base that holds everything together and adds richness you simply cannot get from a no cook method.
- Salt (1/4 tsp): A tiny pinch that wakes up every other flavor in the bowl.
- Dark chocolate, 70% cacao (4 oz, chopped): Use the good stuff here because this is the star, and chopped bars melt more evenly than chips.
- Unsweetened cocoa powder (1/4 cup): It deepens the chocolate flavor without adding extra sugar or fat.
- Active sourdough starter, unfed or discard (1/2 cup): This is the secret weapon, and a bubbly tangy discard at room temperature blends in smoothly and delivers the best flavor.
Instructions
- Warm the dairy:
- Pour the milk, cream, and half the sugar into a medium saucepan and heat gently over medium until you see steam rising but no bubbles forming. You want it hot enough to temper the yolks but not so hot that it scorches on the bottom.
- Whisk the yolks:
- In a mixing bowl, beat the egg yolks with the remaining sugar and salt until the mixture looks pale and slightly thickened. This step builds the custard foundation so take your time and whisk with confidence.
- Temper carefully:
- Slowly pour the hot dairy into the yolk mixture in a thin stream while whisking constantly so the eggs warm gradually without scrambling. Then pour everything back into the saucepan.
- Cook the custard:
- Stir the mixture over low heat with a spatula, scraping the bottom constantly, until it thickens enough to coat the back of a spoon and reaches 170 degrees Fahrenheit. This takes patience but the velvety result is worth every second.
- Melt in the chocolate:
- Take the pan off the heat and drop in the chopped chocolate and cocoa powder, stirring until the mixture turns into a glossy dark pool with no lumps remaining. The residual heat melts everything beautifully.
- Strain and cool:
- Pour the base through a fine sieve into a clean bowl to catch any stray egg bits, then let it sit until it reaches room temperature. Do not rush this part because adding cold starter to hot custard is a bad idea.
- Add the sourdough:
- Once the base is cool, whisk in the sourdough starter until it disappears completely into the chocolate. You will notice the aroma shift slightly, taking on a funky bakery quality that is exactly what you want.
- Chill thoroughly:
- Cover the bowl and tuck it into the refrigerator for at least four hours, though overnight is even better if you can wait. The flavors meld and deepen while the base chills to the perfect temperature for churning.
- Churn it up:
- Pour the cold base into your ice cream maker and churn according to the directions until it looks like soft serve ice cream. This usually takes about twenty minutes and the texture at this stage is almost too tempting to resist.
- Freeze to finish:
- Transfer the churned ice cream to a lidded container and freeze for at least two hours so it firms up into scoopable perfection. Let it sit on the counter for five minutes before serving for the best texture.
 Save to Pinterest
 There is a specific kind of joy in watching someone taste this ice cream for the first time and trying to identify that mystery flavor. It becomes a game, a conversation, and a reason to linger at the table just a little longer.
Picking Your Chocolate
Not all dark chocolate behaves the same way in a custard base, and I learned this the hard way after using a bar that was 90 percent cacao and wondering why the result tasted more bitter than rich. Something in the 65 to 72 percent range gives you deep flavor with enough natural sweetness to keep everything balanced. Taste your chocolate before you chop it, because if you enjoy eating it plain, it will reward you in the ice cream.
Understanding Sourdough Discard
The discard you pull from the fridge after a week of neglect will taste sharper and more acidic than something only a day old, and both work but give different results. I prefer a starter that has been sitting out unfed for about 24 hours because the tang is present but not aggressive. If your discard has a gray liquid on top called hooch, just pour that off and stir the rest before measuring.
Serving and Storing
Homemade ice cream freezes harder than store bought because it lacks the stabilizers and emulsifiers that keep commercial pints soft. Letting it rest on the counter for a few minutes before scooping makes all the difference in the world. A sprinkle of flaky sea salt on top is not optional in my house, it is the law.
- Store in an airtight container with plastic wrap pressed directly against the surface to minimize ice crystals.
- Consume within one week for the best flavor and texture.
- Press a piece of parchment paper between the lid and the ice cream for extra protection against freezer burn.
 Save to Pinterest
 This ice cream is proof that the best recipes come from curiosity and a willingness to play with unexpected ingredients. Share it generously and enjoy the smiles.
Frequently Asked Questions
- → What does sourdough add to ice cream?
-
The sourdough starter introduces subtle tangy notes and fermented complexity that balances chocolate's richness. Similar to how buttermilk enhances baked goods, sourdough creates depth and sophistication while contributing to a smoother, creamier texture.
- → Can I taste the sourdough flavor?
-
The sourdough presence is subtle rather than overpowering. You'll notice a gentle tang that complements dark chocolate's bitterness, creating a more complex flavor profile without tasting distinctly like bread.
- → Should I use fed or unfed starter?
-
Unfed discard starter works perfectly and actually develops more pronounced tangy notes. The starter should be at room temperature and active (bubbly) for best incorporation into the custard base.
- → How long does this need to freeze?
-
After churning, freeze for at least 2 hours to achieve scoopable consistency. For firmer texture, overnight freezing yields the best results, allowing flavors to meld and mature.
- → Can I make this without an ice cream maker?
-
While an ice cream maker creates optimal texture, you can freeze the mixture in a shallow container, whisking every 30 minutes for the first 3 hours to break ice crystals. The result will be slightly less creamy but still delicious.
- → What type of chocolate works best?
-
Dark chocolate around 70% cacao provides ideal balance. Higher percentages may become too bitter when combined with tangy sourdough, while milk chocolate lacks depth needed to stand up to the fermented notes.
