 Save to Pinterest
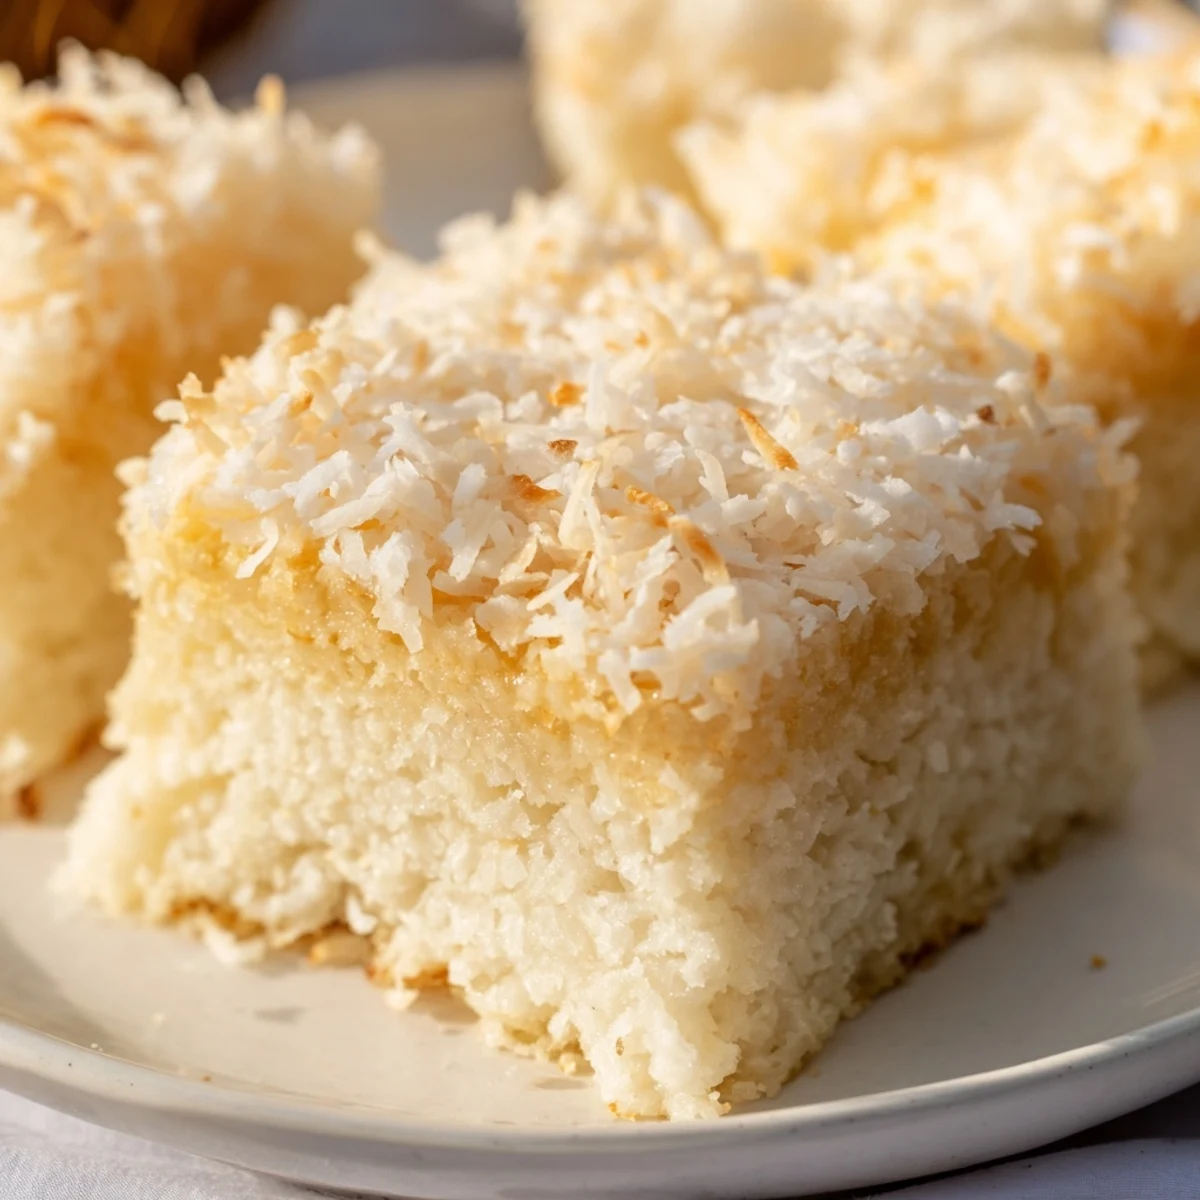
 This chewy coconut mochi cake combines sweet rice flour with creamy coconut milk for a uniquely textured dessert. The balance of granulated sugar and pure vanilla creates a lightly sweet profile that pairs beautifully with the tropical coconut essence.
Baking at 350°F for about an hour yields golden edges and a tender center. The shredded coconut topping adds delightful crunch and intensifies the coconut flavor throughout each slice.
Perfect for gatherings or afternoon tea, this gluten-free treat comes together quickly and stores well for several days. The mochi-style texture comes from sweet rice flour, creating that signature chewy bite that makes this Hawaiian-inspired confection so memorable.
The first time I encountered coconut mochi cake was at a potluck where everyone kept asking about the chewy, coconut-scented squares that disappeared within minutes. I had no idea mochiko flour could create something so satisfying, with that irresistible bounce between cake and candy. Now it is my go-to when I need a dessert that feels special but does not require hours of fussing in the kitchen.
I made this for my neighbor who was recovering from surgery, and she texted me before she even took her first bite to say how incredible her kitchen smelled while it baked. Something about toasted coconut warming in the oven just makes a house feel like home. That batch earned me three requests for the recipe before the week was over.
Ingredients
- Sweet rice flour (mochiko): This glutinous rice flour creates the signature chewy texture, and regular rice flour simply will not give you the same bounce
- Granulated sugar: Sweetens the cake just enough to let the coconut flavor take center stage without becoming cloying
- Baking powder: Provides a subtle lift so the cake is not dense while maintaining its characteristic chew
- Fine salt: A pinch balances the sweetness and helps all the flavors sing together
- Coconut milk: Full-fat coconut milk adds richness and that authentic coconut taste throughout every bite
- Whole milk: Lightens the batter slightly while keeping the texture tender, though non-dairy milk works beautifully too
- Eggs: Structure and richness that keeps the cake moist and helps it set properly while baking
- Unsalted butter: Melted butter adds depth and a subtle richness that coconut oil alone cannot replicate
- Pure vanilla extract: Rounds out the coconut flavor and adds that comforting, bakery-style aroma
- Unsweetened shredded coconut: Creates a beautiful toasted topping that adds crunch and intensifies the coconut flavor
Instructions
- Preheat your oven and prepare the pan:
- Heat the oven to 350°F (175°C) and grease a 9x13-inch baking pan, then line it with parchment paper so you can lift the whole cake out easily later
- Whisk together the dry ingredients:
- In a large bowl, combine the sweet rice flour, sugar, baking powder, and salt until they are evenly distributed
- Mix the wet ingredients separately:
- In another bowl, whisk the coconut milk, whole milk, eggs, melted butter, and vanilla extract until completely smooth
- Combine wet and dry mixtures:
- Pour the wet ingredients into the dry ingredients and stir gently with a spatula or whisk just until combined and smooth, being careful not to overmix
- Pour and prepare for baking:
- Transfer the batter to your prepared pan and tap it gently on the counter a few times to release any trapped air bubbles
- Add the coconut topping:
- Sprinkle the shredded coconut evenly over the surface of the batter so it will toast beautifully in the oven
- Bake until golden:
- Bake for 55 to 60 minutes until the edges are golden brown and a toothpick inserted in the center comes out mostly clean
- Cool completely before slicing:
- Let the cake cool completely in the pan on a wire rack, then slice into squares or bars and serve
 Save to Pinterest
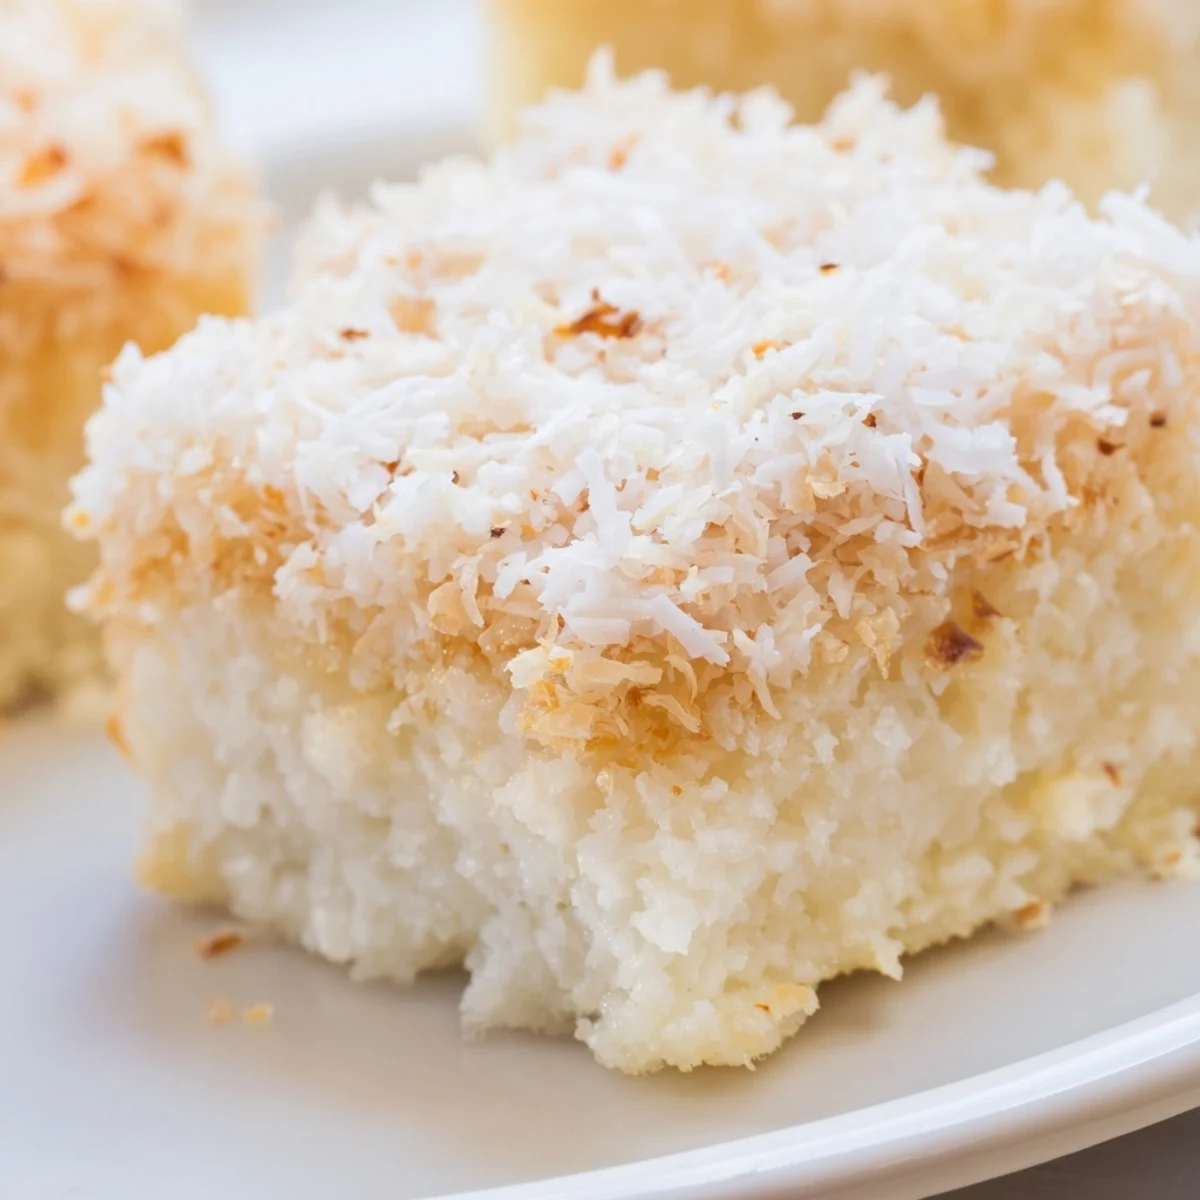
 This cake has become my secret weapon for potlucks and dinner parties because it always elicits the same reaction from first-timers, a look of pleasant surprise followed by an immediate request for seconds. There is something so comforting about the combination of chewy texture and coconut warmth that feels like a hug in dessert form.
Make It Your Own
I have tried swirling red bean paste through the batter for a Hawaiian twist, and the contrast between the slightly earthy beans and sweet coconut is absolutely delicious. You could also fold in fresh mango cubes or a handful of chocolate chips. The beauty of this recipe is how well it adapts to whatever flavors you love.
Storage and Serving
This cake stays incredibly moist at room temperature for up to two days, though the texture becomes even more chewy and satisfying on day two. If you need to keep it longer, refrigerate it in an airtight container for up to five days, though I recommend letting it come to room temperature before serving for the best texture. I love serving it slightly warmed with a scoop of vanilla ice cream for dessert, or alongside a cup of tea in the afternoon.
Perfecting the Texture
The key to achieving that perfect mochi bounce is actually in the cooling process. While it is tempting to slice into the cake as soon as it comes out of the oven, letting it cool completely allows the starches to set properly. I learned this the hard way after cutting into a warm cake that was delicious but slightly gummy. Patience during the cooling phase pays off with the most satisfying, chewy texture that holds its shape beautifully.
- Use room temperature eggs to help them incorporate evenly into the batter
- Tap the pan on the counter firmly to release air bubbles before baking
- Check for doneness around the 55-minute mark to avoid overbaking, which can dry out the edges
 Save to Pinterest
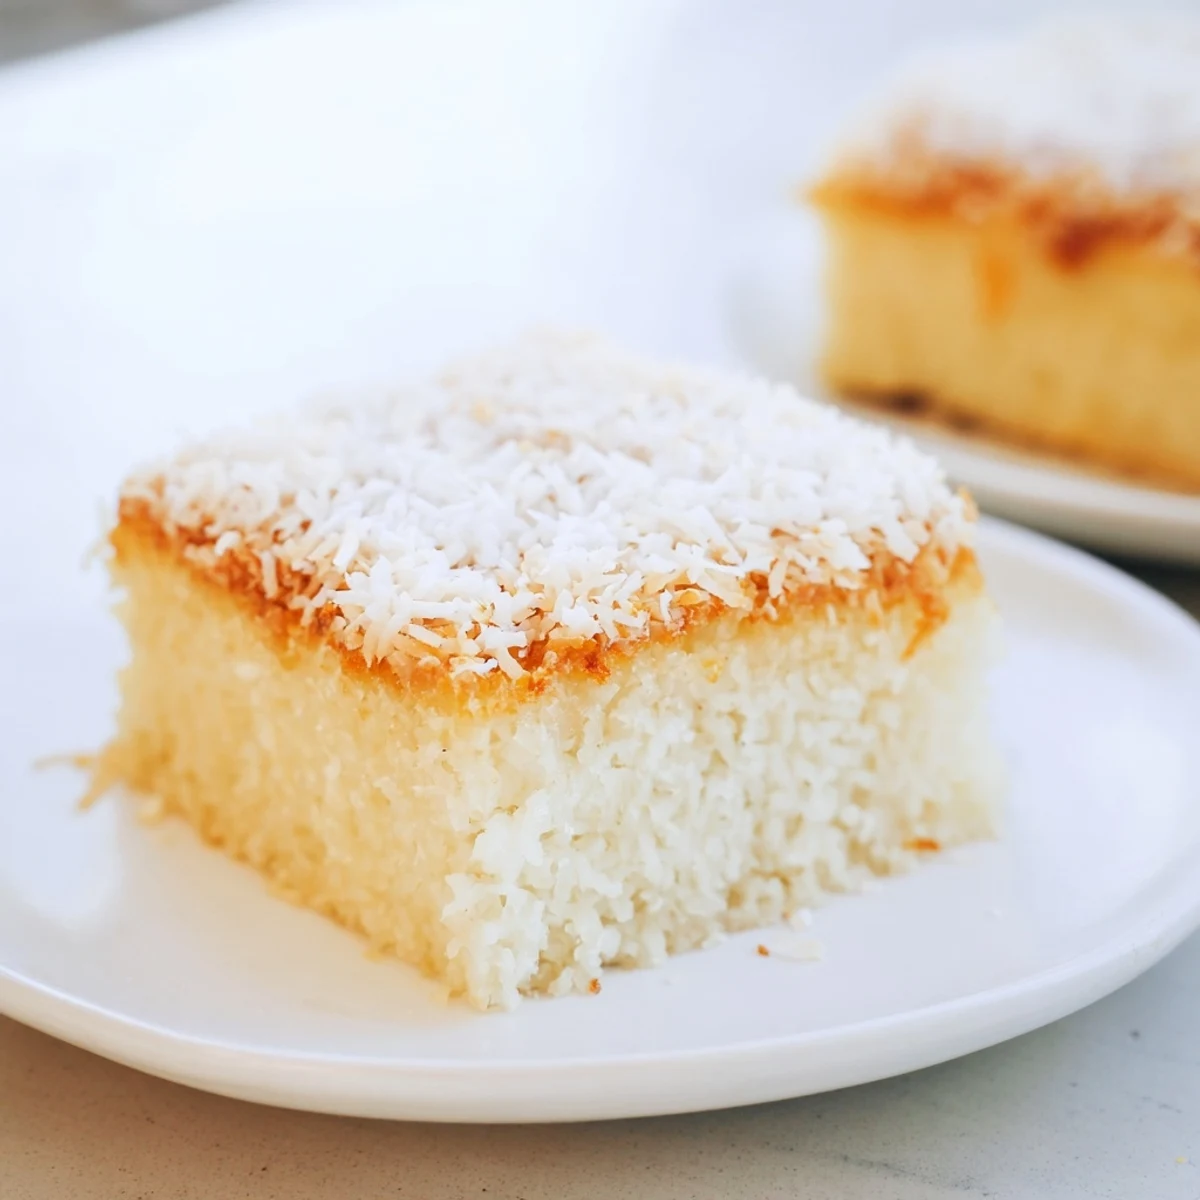
 Whether you are serving it at a party or enjoying a quiet slice with afternoon tea, this coconut mochi cake has a way of making any moment feel a little more special.
Frequently Asked Questions
- → What gives mochi cake its chewy texture?
-
The chewy texture comes from sweet rice flour, also known as mochiko. This glutinous rice flour creates a uniquely elastic, tender crumb unlike wheat-based cakes.
- → Can I make this dairy-free?
-
Yes, substitute whole milk with additional coconut milk and replace butter with melted coconut oil. The coconut flavor becomes even more pronounced with these substitutions.
- → How should I store leftover mochi cake?
-
Keep in an airtight container at room temperature for up to 2 days, or refrigerate for up to 5 days. The texture remains pleasantly chewy when stored properly.
- → Why must the batter be smooth but not overmixed?
-
Overmixing can develop the glutinous rice proteins too much, resulting in a tough rather than chewy texture. Mix just until combined for optimal results.
- → Can I add other flavors to the batter?
-
Sweetened red bean paste swirled through creates a traditional Hawaiian variation. You can also fold in fresh fruit or chocolate chips for different flavor profiles.
- → What's the best way to tell when it's done baking?
-
Look for golden brown edges and a center that springs back when touched. A toothpick should come out mostly clean—moist crumbs are fine, but wet batter needs more time.
