 Save to Pinterest
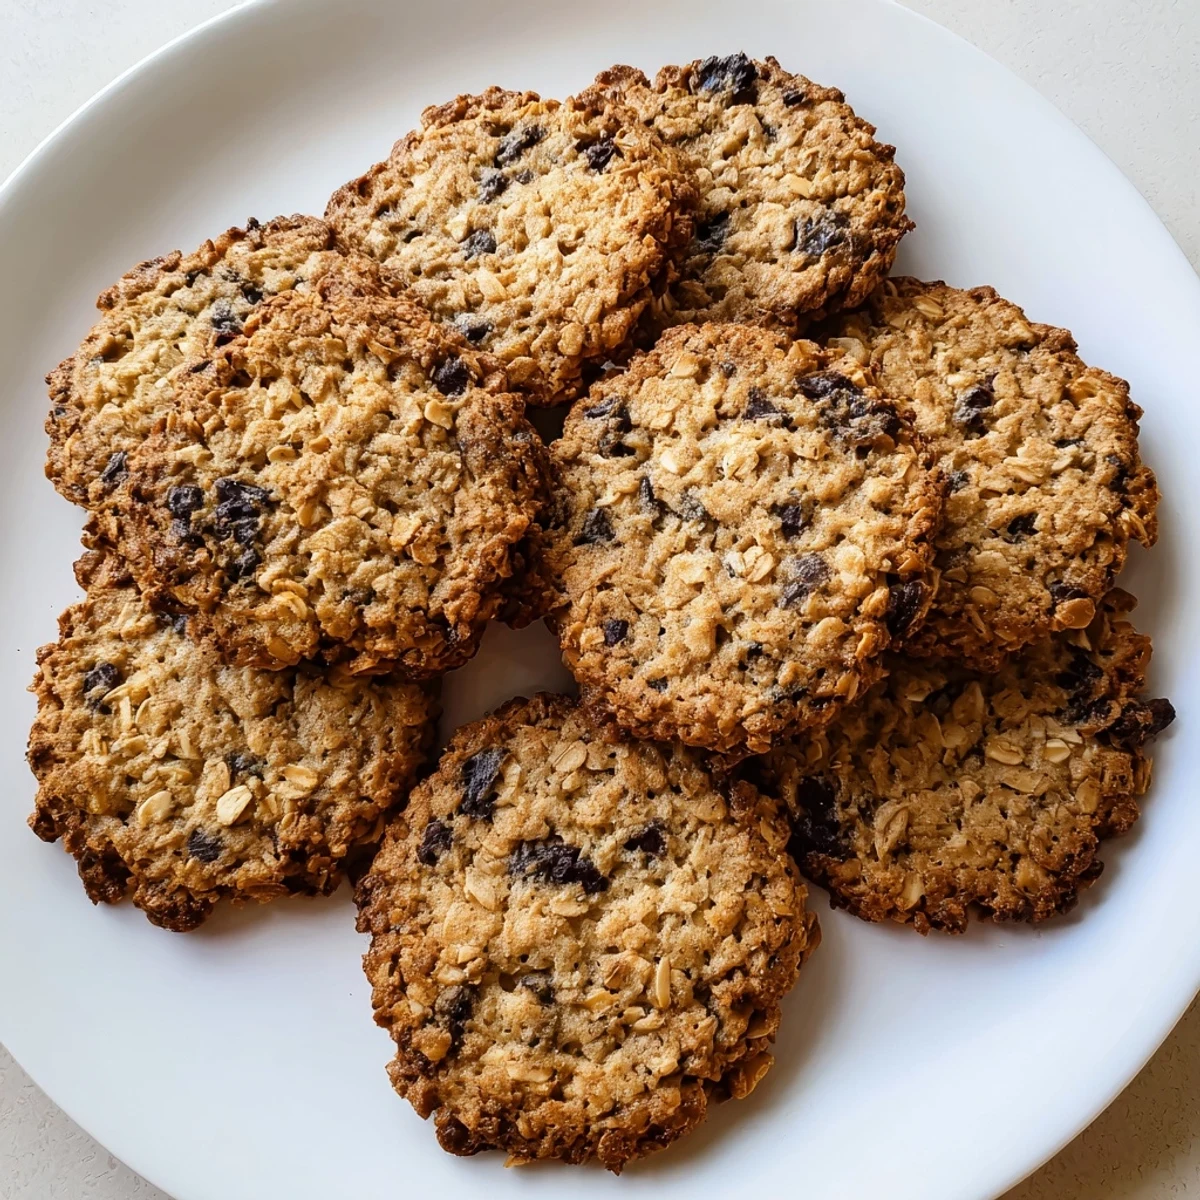
 These irresistibly crunchy treats combine wholesome rolled oats with rich dark chocolate chips for the perfect quick dessert. With only four pantry staples and 25 minutes total time, you can bake up a batch of golden-edged cookies that are crispy outside, tender inside. The melted butter and brown sugar create a caramelized sweetness while the oats add satisfying texture and nuttiness.
Ideal for last-minute cravings or lunchbox treats, these versatile cookies allow easy customization—swap chocolate varieties, add sea salt, or toast the oats first for enhanced crunch. They stay fresh for a week, making them perfect for batch cooking on weekends.
One rainy Sunday afternoon, I found myself craving something sweet but refused to make another grocery run. These cookies became my kitchen salvation, born from that familiar what-can-I-make-right-now moment that every home cook knows intimately.
My teenage daughter walked in during that first experimental batch, skeptical about the minimalist ingredient list. One bite later, she was already planning which chocolate variations to try next, proving that sometimes the most satisfying recipes are the ones that embrace less.
Ingredients
- Old-fashioned rolled oats: These provide the essential structure and that satisfying hearty crunch, while quick oats would make the cookies too dense and soft
- Dark chocolate chips: The intense chocolate flavor balances the oats sweetness perfectly, and they create those irresistible melty pockets throughout
- Unsalted butter: Melted butter coats every oat and helps achieve those golden crispy edges we all want in a cookie
- Brown sugar: The molasses in brown sugar adds depth and moisture that white sugar simply cannot provide
Instructions
- Preheat and prepare:
- Set your oven to 350°F and line a baking sheet with parchment paper, making cleanup effortless and preventing sticking
- Mix the dry ingredients:
- Combine the oats and chocolate chips in a large bowl, ensuring the chocolate will be evenly distributed throughout every cookie
- Add the wet ingredients:
- Pour in the melted butter and brown sugar, stirring until the mixture is uniformly coated and holds together when you press it
- Shape the cookies:
- Scoop tablespoon portions onto the prepared sheet, flattening each slightly with a spoon back for even baking
- Bake to perfection:
- Bake for 12 to 15 minutes until the edges turn golden brown and the centers are set
- Cool completely:
- Let them rest on the baking sheet for 5 minutes before transferring to a wire rack, where they will crisp up beautifully
 Save to Pinterest
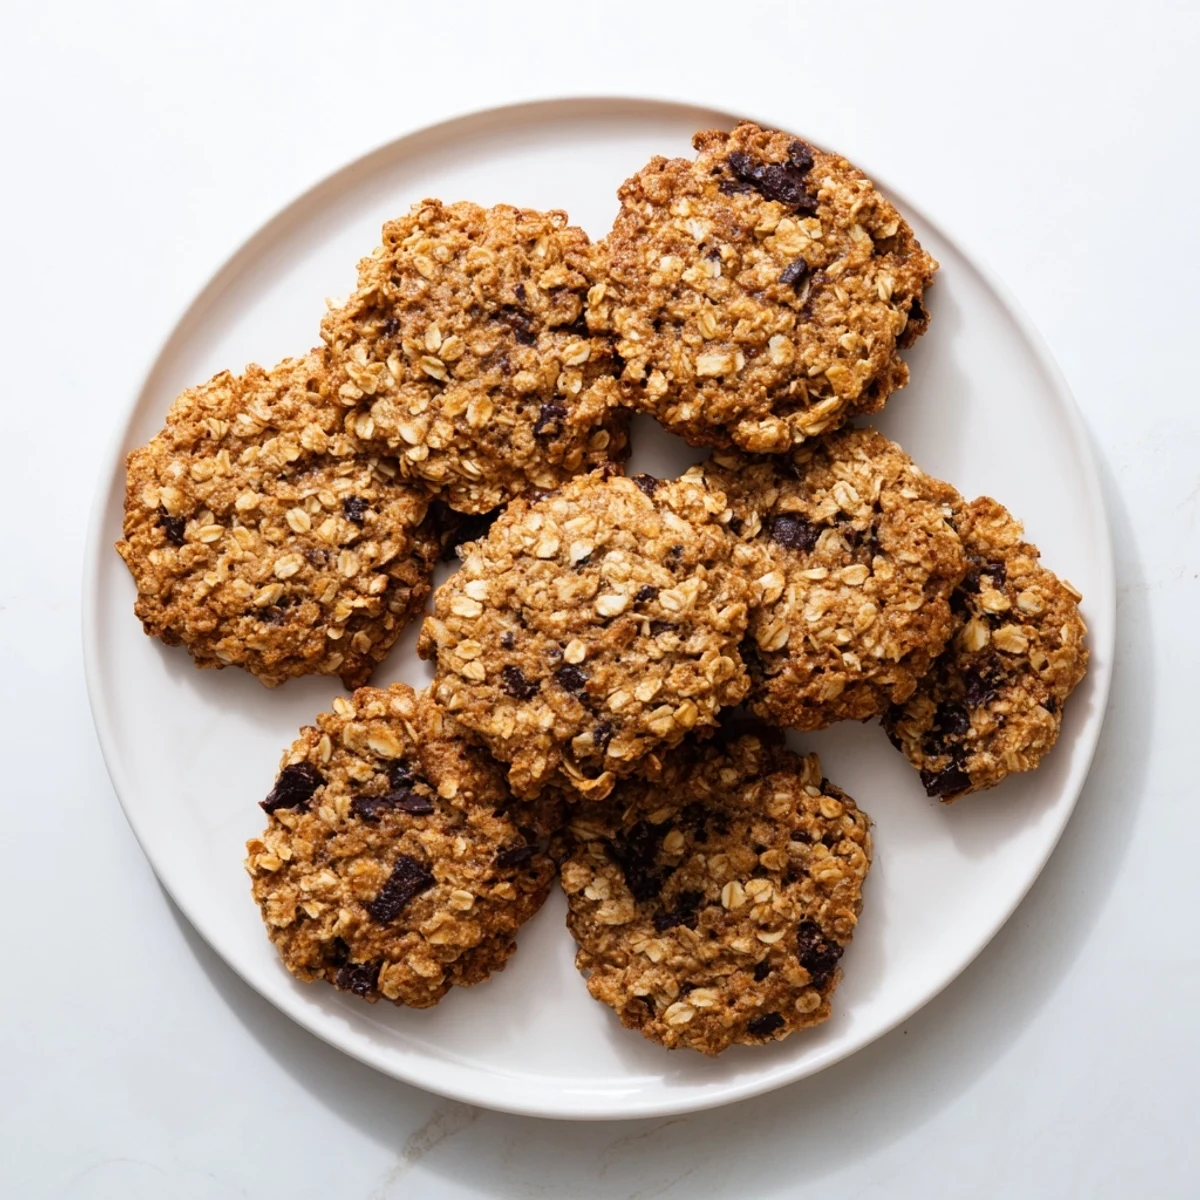
 These have become my go-to when friends drop by unexpectedly, always sparking conversations about how something so incredibly simple can taste so exceptionally good and thoughtful.
Getting That Perfect Crunch
Toasting the oats in a dry skillet for 2 to 3 minutes before mixing adds an incredibly deep nutty flavor that elevates these humble cookies to something quite special. The extra step is worth every second.
Chocolate Variations
While dark chocolate is my personal favorite, milk chocolate creates a sweeter treat and white chocolate offers a completely different flavor profile. A pinch of flaky sea salt on top before baking transforms them entirely.
Storage and Make-Ahead Tips
These cookies stay perfectly crisp in an airtight container at room temperature for up to a week, making them ideal for weekend meal prep. The texture actually improves after a day.
- Double the batch and freeze portioned dough on a baking sheet before transferring to a bag
- Add chopped nuts or dried fruit for extra texture and flavor dimensions
- Re-crisp day-old cookies in a 300°F oven for 5 minutes if needed
 Save to Pinterest
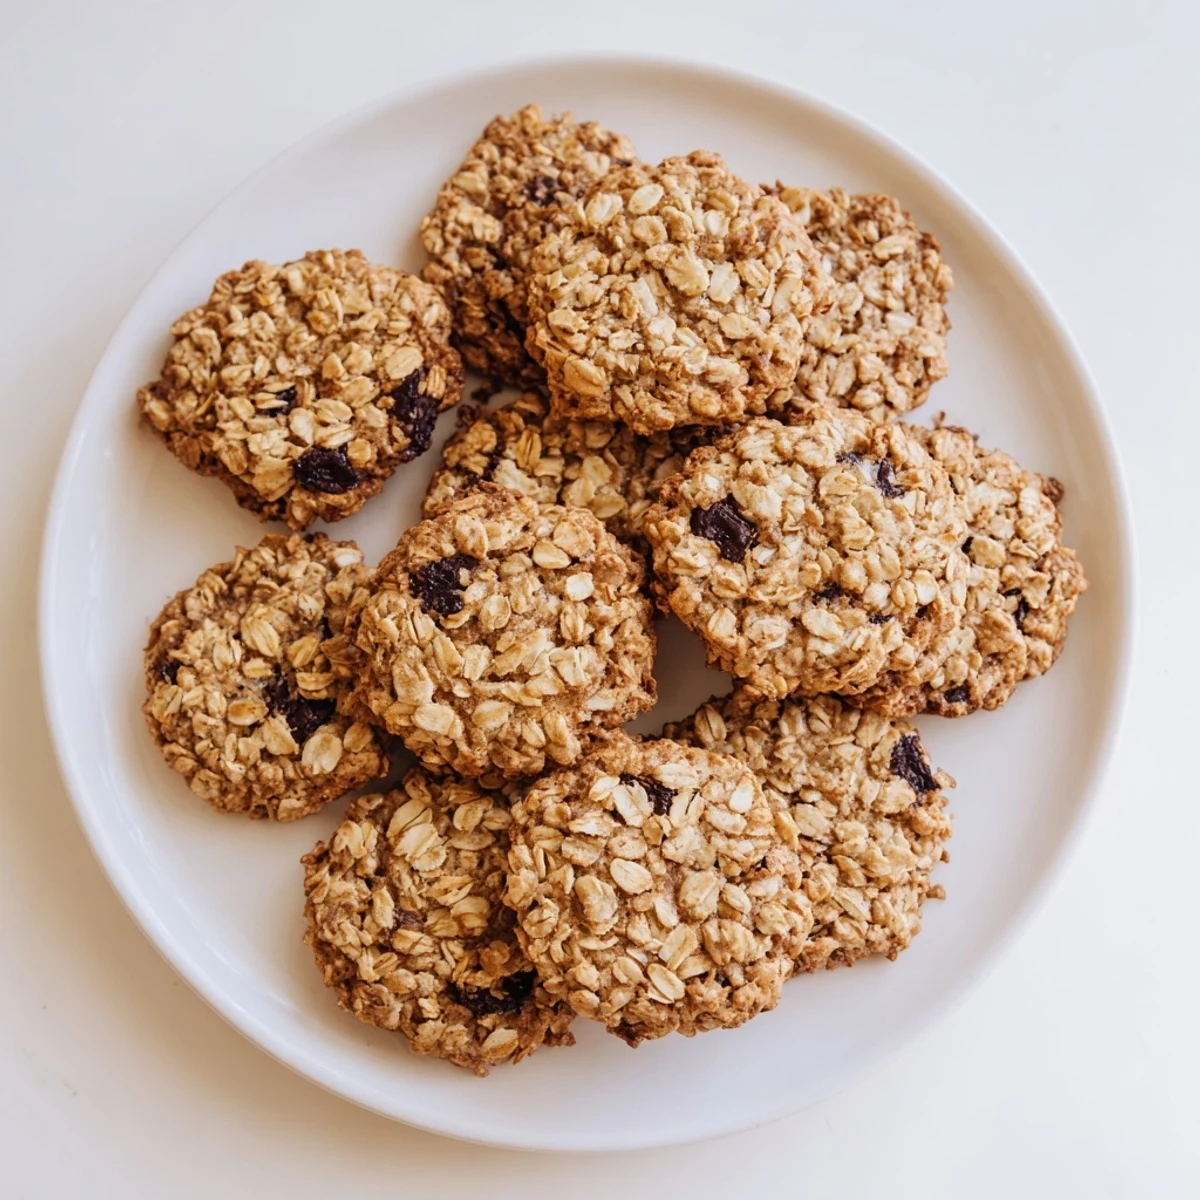
 Sometimes the most unassuming recipes become the ones we return to again and again, proving that remarkable flavor does not require remarkable complexity.
Frequently Asked Questions
- → Why do my cookies fall apart?
-
If your mixture isn't holding together, the butter may not have been evenly distributed. Make sure to stir thoroughly until every oat is coated and the mixture clumps when pressed. Adding an extra teaspoon of melted butter can help bind dry ingredients.
- → Can I use quick oats instead of old-fashioned?
-
Old-fashioned rolled oats provide better texture and structure. Quick oats may make the treats too soft and less crispy. If you only have quick oats, reduce the amount slightly and expect a more tender texture.
- → How do I know when they're done baking?
-
Look for golden brown edges around the perimeter. The centers should appear set but still slightly soft. They'll continue firming up during the 5-minute cooling period on the baking sheet. Overbaking leads to hard, dry results.
- → Can I make these dairy-free?
-
Substitute the butter with melted coconut oil or vegan butter sticks. Use dairy-free chocolate chips labeled vegan. The texture will remain similar, though coconut oil may add subtle coconut flavor depending on the brand used.
- → Why toast the oats beforehand?
-
Lightly toasting oats in a dry skillet enhances their natural nutty flavor and creates an extra crispy final texture. This 2-3 minute step deepens the overall taste profile, especially if using plain oats without added seasonings.
- → How should I store these for maximum freshness?
-
Place completely cooled treats in an airtight container or resealable bag at room temperature. They'll maintain their crunch for up to one week. Avoid refrigerating as this can make them stale and lose their signature crisp texture.
