 Save to Pinterest
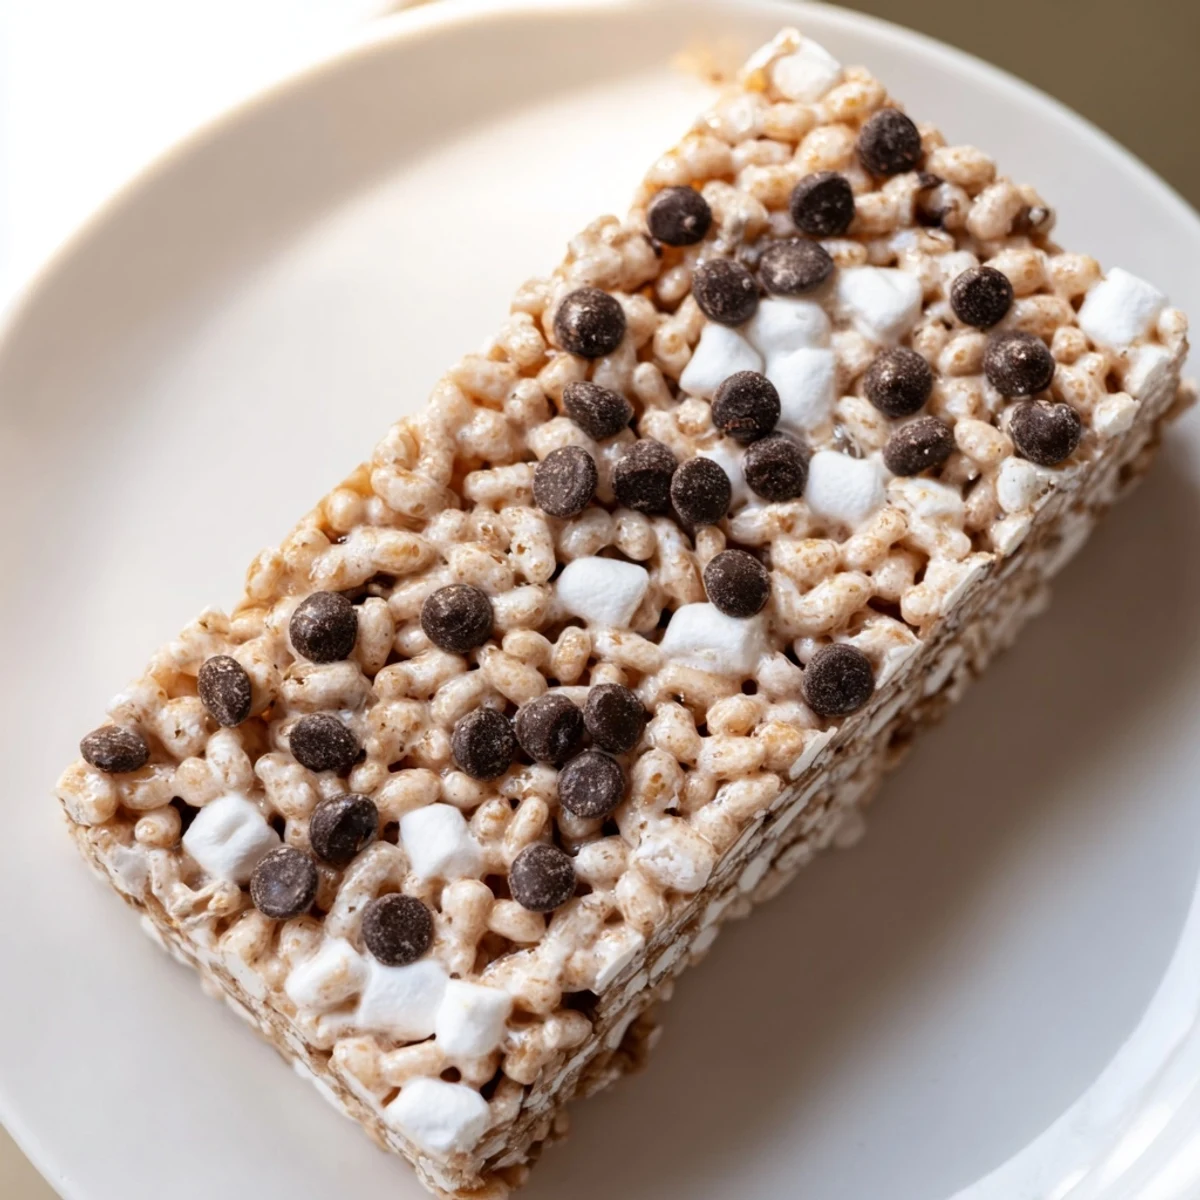
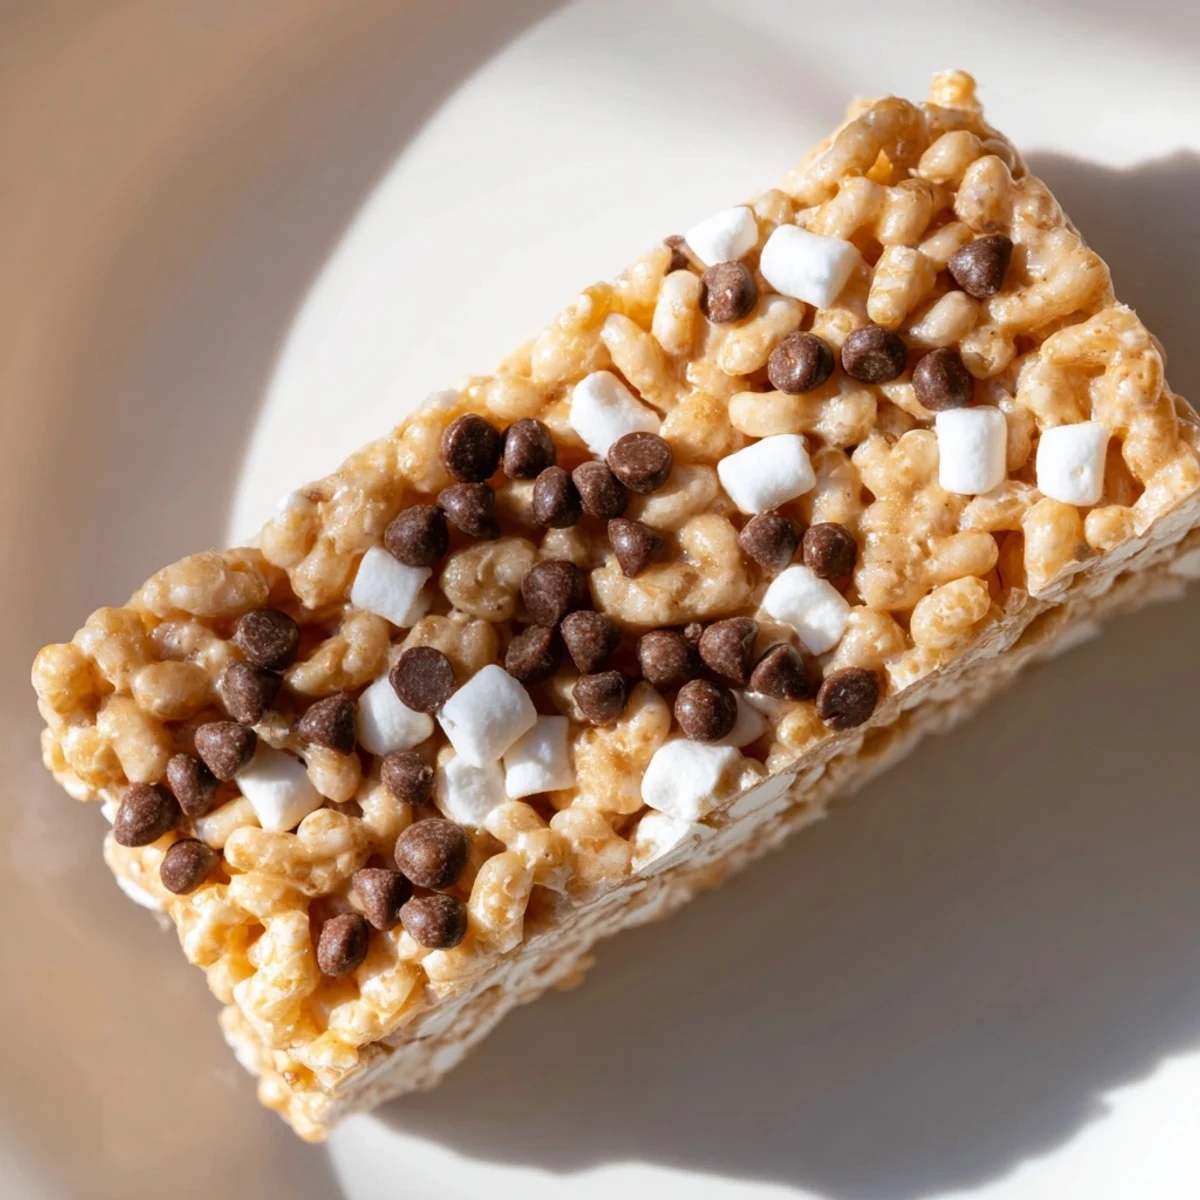
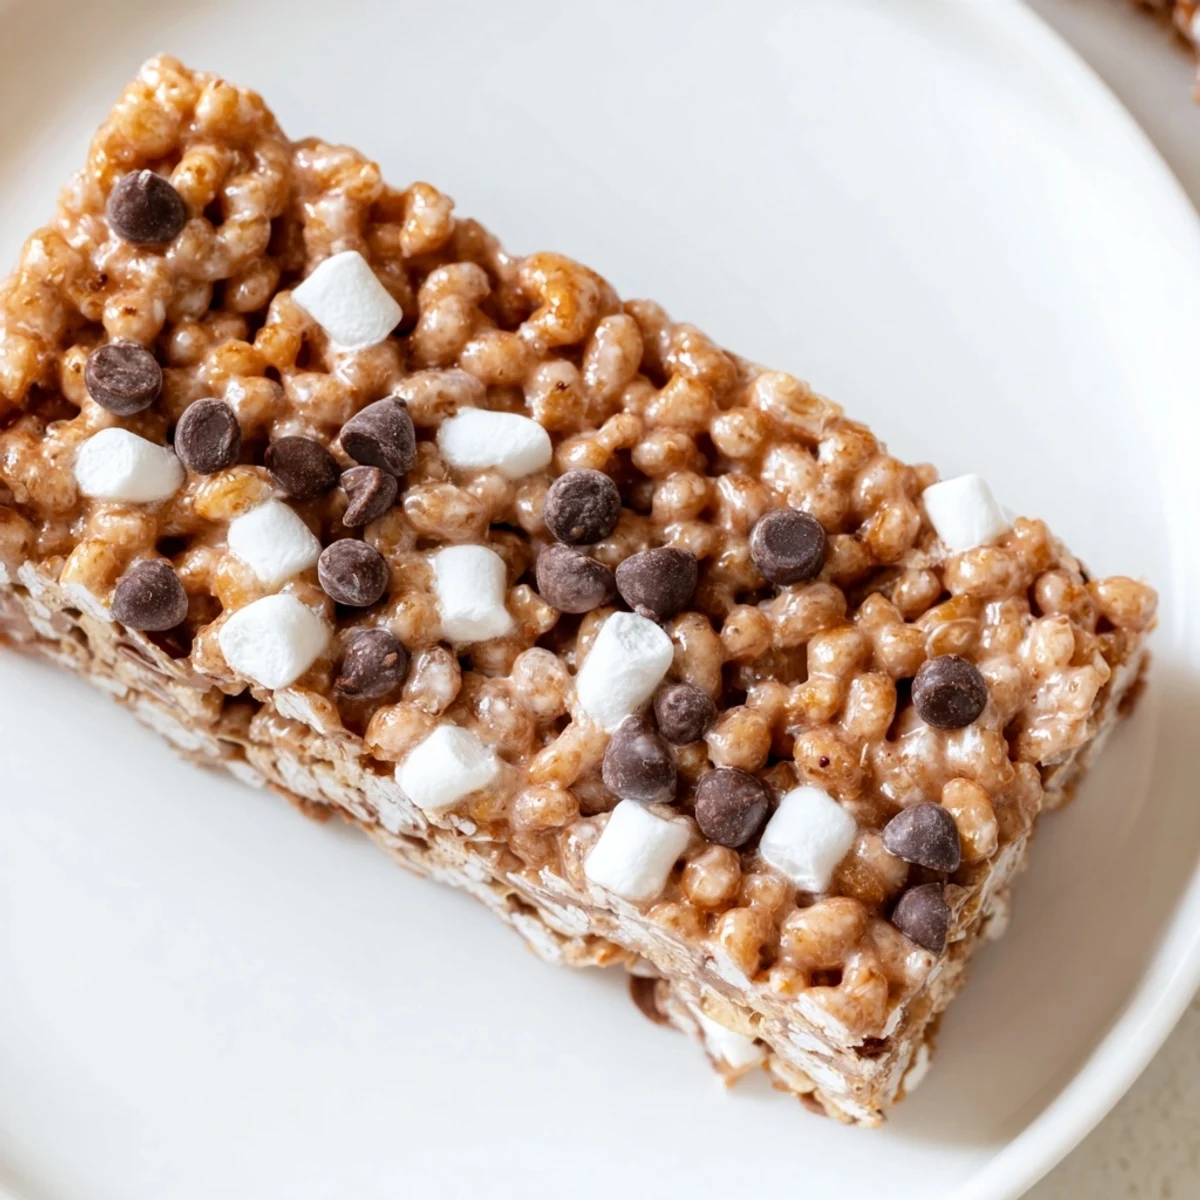
 This chewy and crunchy treat bar combines crispy rice cereal with melted marshmallows and butter, producing a nostalgic dessert perfect for any occasion. The mixture is gently folded and pressed into a pan before cooling to set. Optional vanilla, salt, and mini chocolate chips enhance texture and flavor. Ideal for easy preparation, this dessert offers versatility with add-ins like nuts or dried fruits. Cool thoroughly before cutting into 16 bars to serve. A classic, approachable snack for gatherings or casual enjoyment.
The first time I made these bars, I was scrambling to put together something for my kid's school bake sale, and honestly, I almost didn't attempt it because the recipe seemed too simple to be good. But five minutes into stirring that buttery marshmallow mixture, the kitchen filled with this sweet, toasty smell that made me stop and actually pay attention. By the time I pressed the warm cereal mixture into the pan, I realized I'd stumbled onto something magical—crispy, chewy, and made with ingredients I actually had on hand. It's become the one dessert I'm asked to remake over and over.
I remember my sister calling mid-afternoon during a summer heat wave, saying she was bringing her new boyfriend over for dessert and could I make something that didn't require turning on the oven. These bars came to mind immediately, and watching her boyfriend take that first bite—how his eyes lit up—reminded me that sometimes the simplest things leave the biggest impression. He came back three more times that summer, mostly for these bars, I suspect.
Ingredients
- Crispy rice cereal: Use a full 6 cups measured loosely; if you pack it down, you'll end up with dense, heavy bars instead of that signature crunch.
- Mini marshmallows: The smaller ones incorporate more evenly than large ones, and they melt faster, which means less stirring and a smoother finish.
- Unsalted butter: Three tablespoons is all you need—just enough to help everything bind without making the bars greasy.
- Mini chocolate chips: Completely optional, but they add a little sophistication that catches people off guard in the best way.
- Vanilla extract: A half-teaspoon is subtle but makes the whole thing feel a touch more intentional than plain.
- Salt: A tiny pinch balances the sweetness and makes you wonder what the secret ingredient is.
Instructions
- Set up your stage:
- Line a 9x13-inch pan with parchment paper so cleanup becomes almost effortless and lifting the bars out later feels smooth as silk. If parchment feels fancy, a light grease works just fine.
- Melt butter and marshmallows:
- Put the butter in a large saucepan over low heat—low is crucial here because high heat will cause the marshmallows to bubble and brown instead of melt into that glossy, gooey texture you're after. Once the butter is melted, add the marshmallows and stir continuously, watching them transform from fluffy clouds into a smooth, pourable mixture that clings beautifully to the spoon.
- Season and flavor:
- Remove from heat and stir in the vanilla extract and salt if you're using them. This is when the mixture smells almost too good, and the urge to taste it will be strong.
- Bring the cereal in:
- Add all 6 cups of crispy rice cereal and fold gently—not stirring aggressively, but folding, which keeps the cereal intact instead of crushing it into tiny pieces. You want every piece coated in marshmallow but still recognizable as cereal.
- Press into the pan:
- Working quickly before everything cools and firms up, transfer the mixture to your prepared pan and press it down evenly using a buttered spatula or even a piece of wax paper. This is where a light hand matters; press firmly enough to hold everything together but not so hard that you're compressing the air out of it.
- Add chocolate if you want:
- If using chocolate chips, sprinkle them across the top while everything is still slightly warm and give them a gentle press so they stick.
- Cool completely:
- Let it sit at room temperature for at least 30 minutes before cutting. This patience is non-negotiable; cutting too early means bars that fall apart.
- Cut and serve:
- Use a sharp knife and a gentle sawing motion to divide into 16 bars. Wiping the knife between cuts keeps edges clean.
 Save to Pinterest
 There's something quietly comforting about making these bars on a random Tuesday afternoon, knowing they'll bring a small smile to whoever eats them. It's one of those recipes that doesn't ask for much but gives back generously, every single time.
Why These Bars Never Disappoint
Part of what makes these bars so reliable is how forgiving they are of small mistakes, yet how much they reward attention to detail. The ratio of butter to marshmallows to cereal is balanced perfectly—not a formula that needs tweaking but a ratio that works because it respects the nature of each ingredient. I've made these in humid kitchens, dry kitchens, and even at altitude with slightly different results, but the basic approach holds steady.
Playing With Texture and Flavor
Once you've made these once or twice and understand how they work, the variations practically suggest themselves. A handful of chopped pecans or almonds stirred in with the cereal adds a sophisticated crunch; a quarter-teaspoon of almond extract instead of vanilla shifts the entire flavor profile toward something almost elegant. I've made versions with crushed pretzels folded in for extra salt-and-sweet complexity, and I've sprinkled brown sugar on top before pressing everything down for a subtle caramel note. The beauty is that the base recipe is so solid that it gives you confidence to experiment.
Storage and Keeping Them Fresh
These bars keep beautifully in an airtight container at room temperature for about a week, though they rarely last that long in my house. For gatherings, I often make them a day or two ahead, which actually improves them slightly as the flavors meld and the texture settles into something almost chewy-crispy instead of just crispy. If you want them firmer before cutting, a quick 15 to 20 minutes in the refrigerator works perfectly and feels like a small secret that elevates the whole experience.
- Stack them between parchment paper layers if storing in a container so they don't stick to each other or get dusty.
- Avoid refrigerating too long—cold makes them stale faster than room temperature storage.
- If they do soften slightly after a few days, a minute in the toaster oven brings back a hint of crispness without overdoing it.
 Save to Pinterest
 These bars are the kind of recipe that earns a permanent spot in your kitchen rotation, not because they're fancy but because they're genuinely good and unfailingly kind to whoever's making them. Make them, share them, and watch how something so simple becomes someone's favorite memory.
Frequently Asked Questions
- → How do I achieve the perfect chewy texture?
-
Slowly melt butter and marshmallows over low heat and mix thoroughly to ensure even coating on the cereal, preserving chewiness.
- → Can I add flavors to enhance the bars?
-
Yes, vanilla extract and a pinch of salt provide subtle depth, while mini chocolate chips add richness and texture.
- → What’s the best way to cut the bars cleanly?
-
Allow the bars to cool completely at room temperature or chill briefly to firm up before slicing with a sharp knife for clean edges.
- → How can I make these bars firmer?
-
Refrigerate the set bars for 15–20 minutes before cutting to help them hold their shape better.
- → Are there alternatives to butter or marshmallows?
-
For dietary preferences, vegan or flavored marshmallows can be used, and plant-based butter substitutes work well in place of unsalted butter.
- → What tools are needed for preparation?
-
A saucepan for melting, spatula for mixing and pressing, parchment-lined baking pan, and a knife for cutting are essential.
