 Save to Pinterest
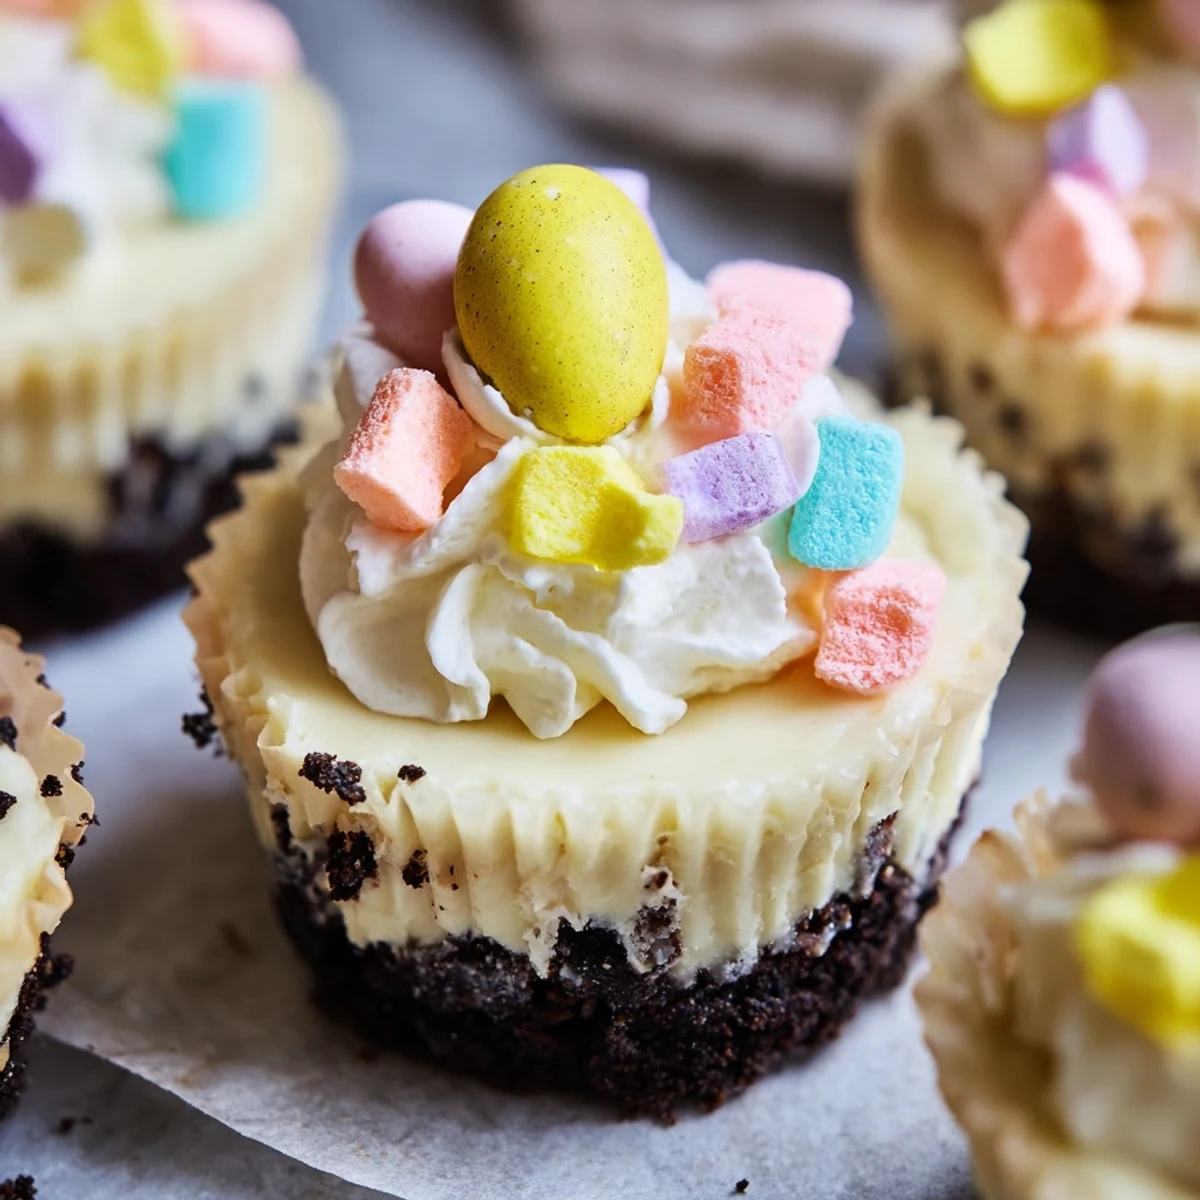
 These charming mini cheesecakes combine a rich chocolate cookie base with silky cream cheese filling, topped with whipped cream and crunchy Cadbury Mini Eggs. The individual portions make them perfect for spring parties and Easter dessert spreads.
Each bite features the smooth, tangy cheesecake balanced by sweet chocolate crust and the signature pastel chocolate eggs that make them instantly festive. With just 20 minutes of prep time, you can create a bakery-worthy dessert that looks impressive and tastes absolutely delicious.
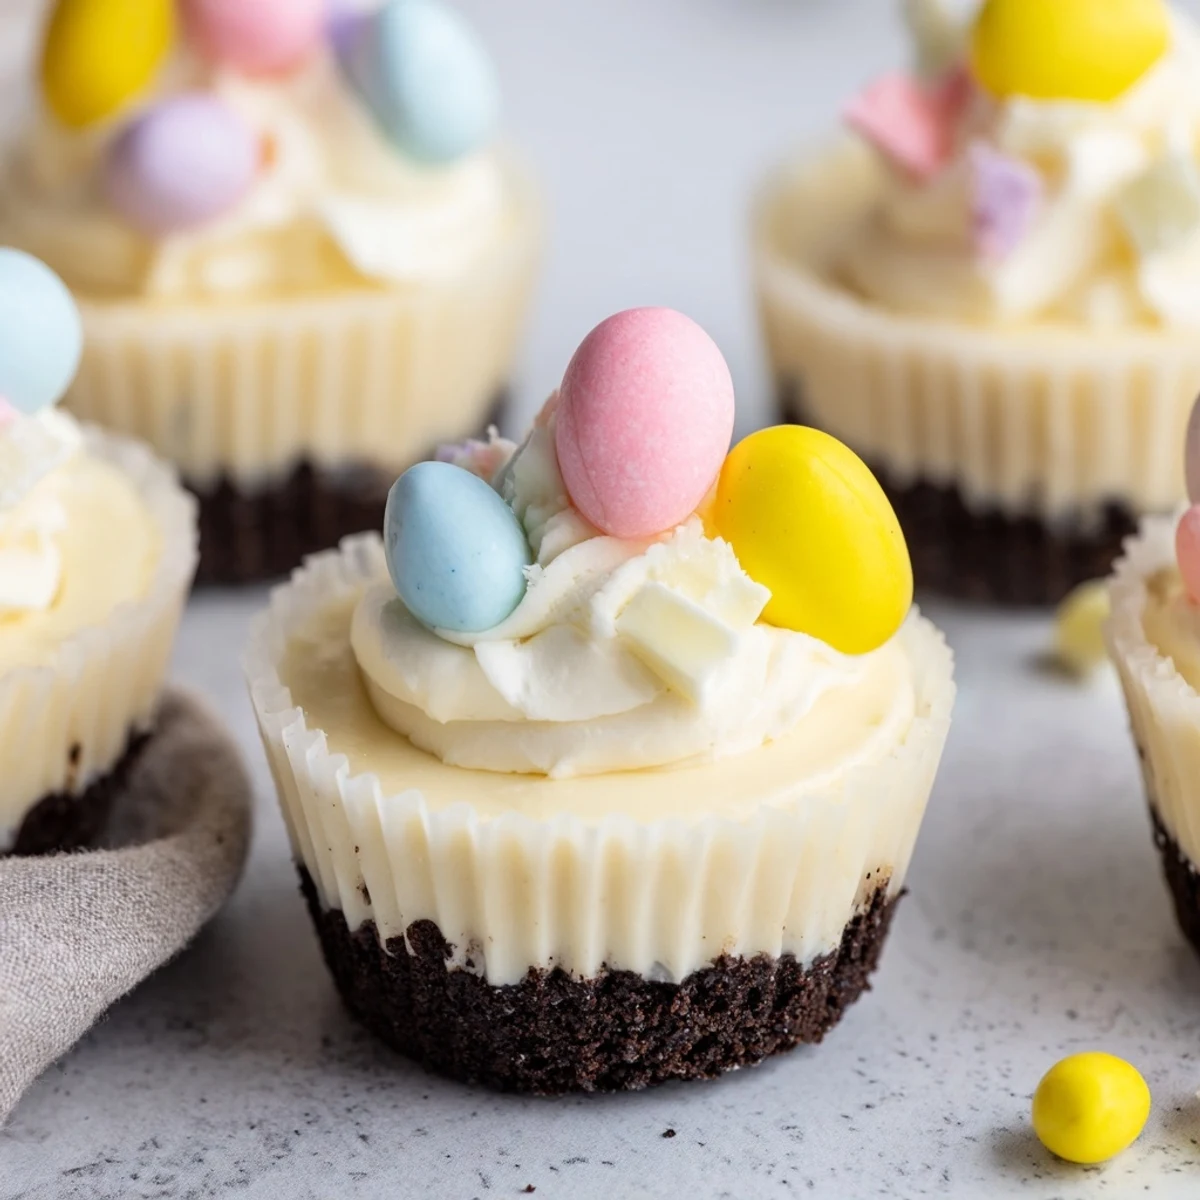
The Easter brunch table looked complete until my sister suggested these mini cheesecakes, and suddenly everyone was hovering around the oven watching them bake. There's something magical about the speckled candy shells peeking through clouds of whipped cream that makes them disappear faster than you can say spring has arrived.
Last year I made these for my book club and three people asked for the recipe before even finishing their first bite. The best part was watching my friend Sarah, who claims she hates desserts, go back for seconds and then very casually ask if there were any leftovers she could take home.
Ingredients
- Chocolate sandwich cookies: The dark, sandy crumbs create an intensely fudgy base that needs nothing else to shine
- Unsalted butter: Melted and pressed into the crumbs, this creates the foundation that holds everything together beautifully
- Cream cheese: Full fat and properly softened makes all the difference between silky smooth and grainy disappointment
- Granulated sugar: Just enough sweetness to let the cream cheese tang shine through without overwhelming your palate
- Egg: Room temperature eggs incorporate seamlessly into the batter, preventing those dreaded cheesecake cracks
- Vanilla extract: Pure vanilla adds that warm, comforting background note that makes people ask what your secret ingredient is
- Sour cream: The secret weapon that adds tang and keeps the cheesecake lusciously creamy even after chilling
- Heavy cream: Cold straight from the refrigerator, this whips into clouds that balance the dense cheesecake perfectly
- Powdered sugar: A gentle sweetener for the whipped cream that dissolves instantly without any grainy texture
- Cadbury Mini Eggs: The unmistakable crunch of that candy shell followed by creamy chocolate is non negotiable here
Instructions
- Preheat and prepare:
- Heat your oven to 160°C (325°F) and line a 12 cup muffin tin with paper liners, taking a moment to appreciate how perfectly these little cups will hold your creations
- Build the crust foundation:
- Combine crushed chocolate sandwich cookies and melted butter until every crumb glistens with buttery potential, then press about one tablespoon into each liner with the back of a spoon until firmly packed
- Prepare the creamy filling:
- Beat softened cream cheese and granulated sugar until completely smooth and no lumps remain, then add egg, vanilla, and sour cream, mixing just until combined and being careful not to overmix
- Fill and bake to perfection:
- Spoon about two tablespoons of cheesecake filling over each crust, smooth the tops, and bake for 16 to 18 minutes until centers are just set with a slight wobble, then cool in the tin for 30 minutes before refrigerating
- Create the crown glory:
- Whip cold heavy cream with powdered sugar until stiff peaks form, pipe or dollop generously onto each chilled cheesecake, and finish with chopped or whole Mini Eggs and any sprinkles that make your heart sing
 Save to Pinterest
 My daughter now requests these for every celebration, not just Easter, and has started suggesting different candy toppings for each holiday. Somehow these tiny cheesecakes became the way we mark special moments throughout the year, one colorful candy at a time.
Making Them Ahead
The cheesecakes actually improve after chilling overnight, so feel free to bake them up to two days before your event. Just wait to add the whipped cream and Mini Eggs until a couple hours before serving to keep everything fresh and crisp.
Customization Ideas
Swap the chocolate cookies for golden Oreos or graham crackers if you prefer a lighter crust that lets the filling take center stage. During other seasons, try crushed candy canes, chopped peanut butter cups, or fresh berries instead of the traditional Mini Eggs.
Serving Suggestions
These beauties shine on any dessert table but especially alongside fresh berries or a light fruit salad to balance their richness. Arrange them on a tiered stand with pastel linens and watch your guests faces light up when they realize each one is theirs alone.
- Let the cheesecakes sit at room temperature for 15 minutes before serving for the creamiest texture
- Keep any leftovers covered in the refrigerator for up to three days, though they rarely last that long
- Package a few in a cute box with ribbon for an unexpected gift that feels like spring itself
 Save to Pinterest
 Whether for Easter brunch or a simple Tuesday treat, these little cheesecakes have a way of making ordinary moments feel celebratory. Hope they bring as much joy to your table as they have to mine.
Frequently Asked Questions
- → Can I make these ahead of time?
-
Yes, these mini cheesecakes actually improve when made ahead. Prepare them up to 2 days in advance and store in the refrigerator. Add whipped cream and Mini Egg garnish just before serving for the freshest presentation.
- → What if I can't find Cadbury Mini Eggs?
-
You can substitute with any pastel-colored chocolate candies, M&M's, or even regular chocolate eggs. The festive colors are what make them perfect for Easter, so choose any spring-colored chocolate topping you enjoy.
- → Why did my cheesecakes crack?
-
Cracking usually happens from overmixing the batter or overbaking. Mix just until combined and remove from the oven when centers are slightly jiggly—they'll continue setting as they cool. Opening the oven door frequently can also cause cracks.
- → Can I freeze these cheesecakes?
-
Absolutely! Freeze the plain cheesecakes without whipped cream topping for up to 1 month. Thaw overnight in the refrigerator, then add fresh whipped cream and Mini Eggs before serving.
- → How do I know when they're done baking?
-
The centers should be just set with a slight jiggle, like gelatin. They'll firm up completely during chilling. If they still look liquid, bake another 2-3 minutes, but be careful not to overbake or they'll become dry.
