 Save to Pinterest
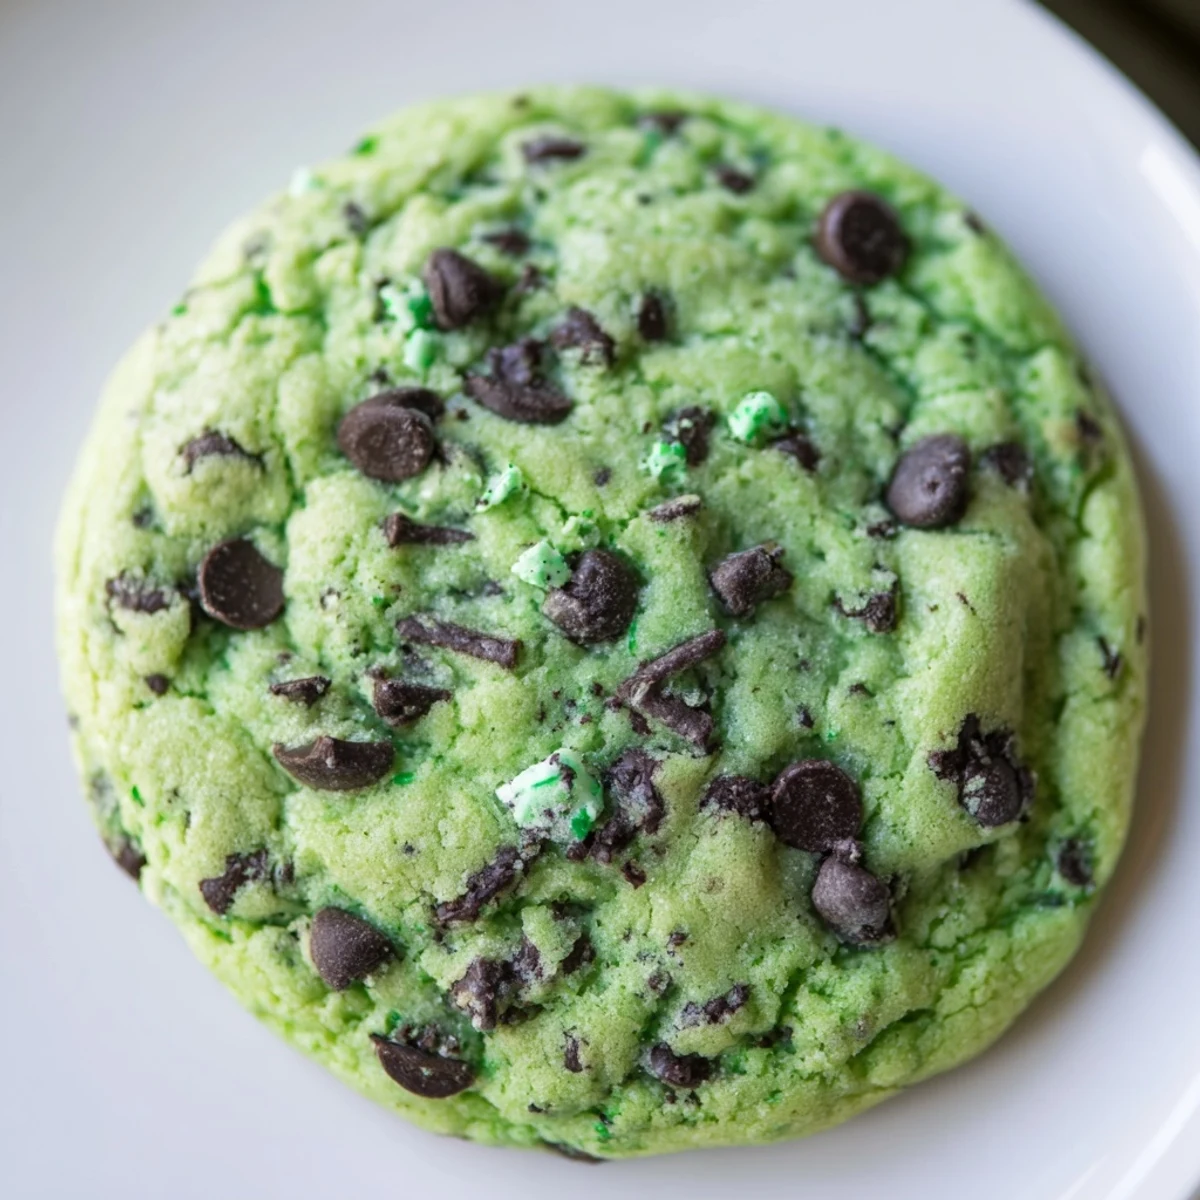
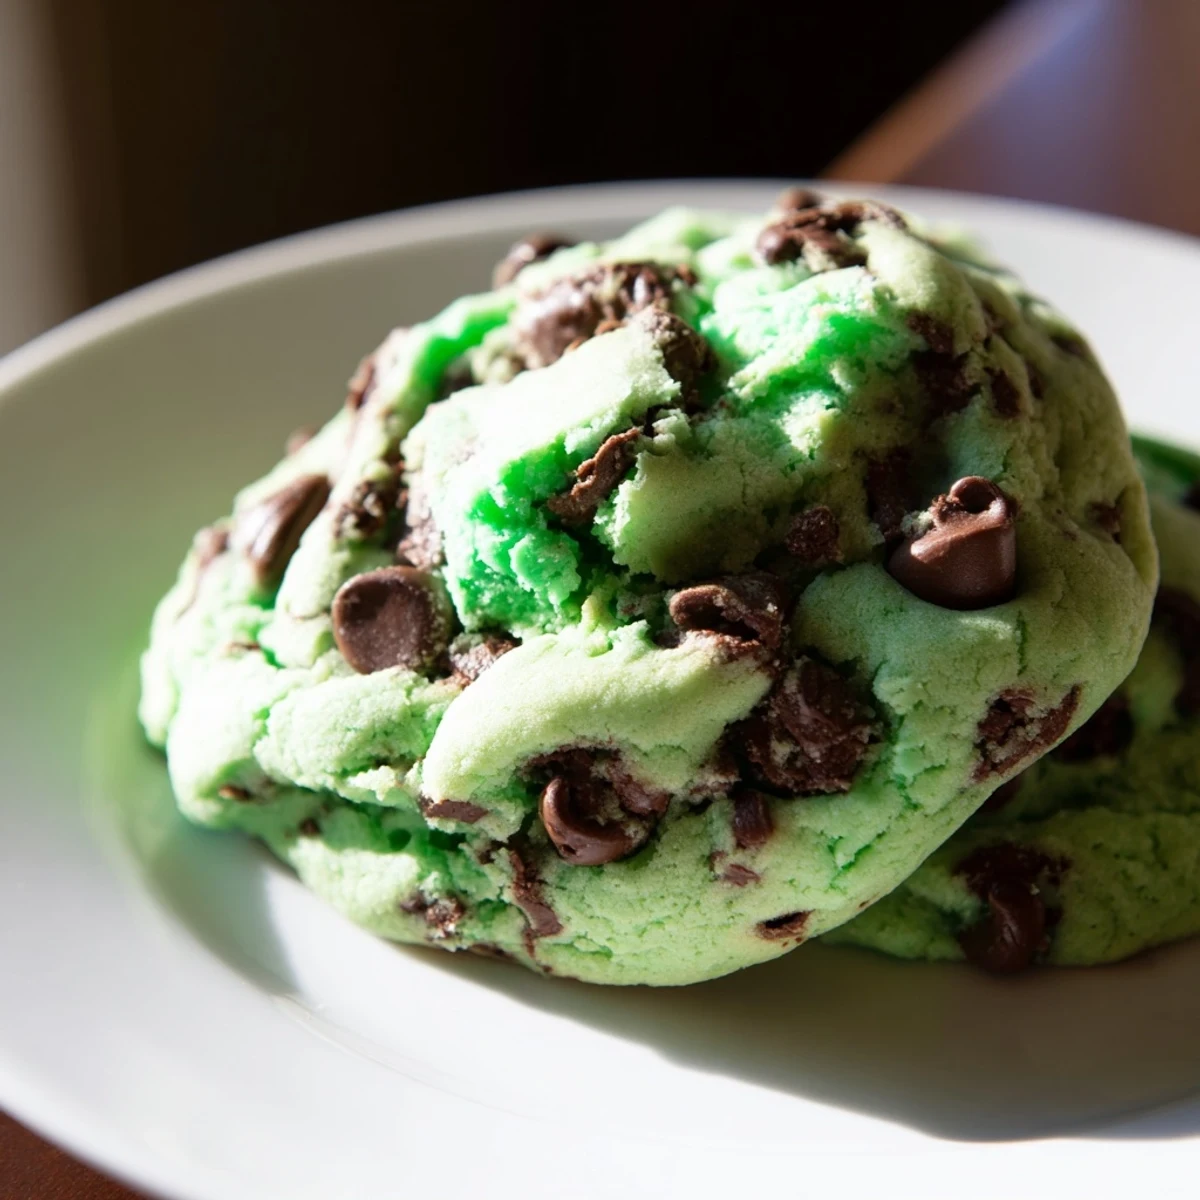
 Soft, chewy cookies with a refreshing mint and chocolate flavor profile. Easily whip up a batch using pantry staples like flour, butter, sugar, and eggs, enhanced with mint and vanilla extracts. Green food coloring is optional for that vibrant 'Emerald Isle' look.
The process involves creaming butter and sugars, then blending in eggs and extracts. Dry ingredients are gradually added before folding in semisweet chocolate chips and optional Andes mints. Bake until edges are set for a perfect soft center.
I remember a particularly blustery St. Patrick's Day when the kids were home from school, and the usual green-dyed treats just weren't cutting it. The idea of something truly "emerald" and utterly delicious sparked, and these cookies were born from that desire for a comforting, vibrant bite. The scent of mint quickly filled the kitchen, chasing away the grey day outside. They became an instant favorite, a little whisper of spring even in the chilliest March.
We had a small gathering that evening, just close family, and the moment I pulled the first tray from the oven, a hush fell over the room. My niece, who usually picks at everything, snagged one almost before it had a chance to cool. Her eyes lit up, green cookie in hand, and she declared them "the best cookies ever!" It was a small, silly moment, but it cemented their place in our family's recipe box.
Ingredients
- All-purpose flour: The foundation for our soft, chewy texture. Make sure to measure it correctly, don't pack it down!
- Baking soda: This little wonder gives our cookies that perfect lift and a slight chewiness, reacting beautifully with the brown sugar.
- Salt: Just a pinch balances all the sweetness and really makes the chocolate and mint flavors pop.
- Unsalted butter: Creamed soft, it's the key to a tender cookie; using unsalted lets us control the salt content precisely.
- Granulated sugar: Provides crispness to the edges and contributes to that delightful golden hue.
- Packed light brown sugar: This is where a lot of the chewiness and depth of flavor comes from, thanks to its molasses content.
- Large eggs: They bind everything together and add richness, ensuring a well-structured cookie.
- Pure mint extract: Go for pure mint, not peppermint, for that authentic cool, refreshing taste that defines these cookies. A little goes a long way!
- Pure vanilla extract: A classic enhancer that rounds out the flavors, don't skip it!
- Green food coloring (optional): For that vibrant "Emerald Isle" look; start with a few drops and add more until you reach your desired shade.
- Semisweet chocolate chips: A classic choice that offers a balanced sweetness and delightful pockets of melty chocolate.
- Chopped Andes mints or mint chocolate chunks (optional): These are the secret weapon for an extra burst of minty chocolate goodness; they melt wonderfully into the cookies.
Instructions
- Get Ready, Get Set:
- Preheat your oven to a cozy 350°F (175°C) and line two baking sheets with parchment paper; this makes cleanup a breeze and prevents sticking.
- Whisk the Dry Bits:
- In a medium bowl, gently whisk together your flour, baking soda, and salt until they're perfectly combined. Set this aside for a moment.
- Cream the Sweetness:
- In a large bowl, using an electric mixer, beat together the softened butter, granulated sugar, and brown sugar until the mixture is beautifully light and fluffy, about two to three minutes.
- Add the Liquids & Color:
- Beat in the eggs one at a time, making sure each is fully incorporated before adding the next. Then, stir in the mint extract, vanilla extract, and any green food coloring you're using.
- Combine Gently:
- Gradually add the dry ingredients to the wet mixture, mixing on low speed until everything is just combined. Be careful not to overmix!
- Fold in the Goodies:
- With a spatula, gently fold in the semisweet chocolate chips and the chopped Andes mints, if you're using them. Distribute them evenly throughout the dough.
- Shape & Space:
- Drop rounded tablespoons of dough onto your prepared baking sheets, leaving about two inches between each cookie to give them room to spread.
- Bake to Perfection:
- Bake for 10-12 minutes, or until the edges are just set and lightly golden, but the centers still look wonderfully soft. Don't overbake!
- Cool & Enjoy:
- Let the cookies cool on the baking sheet for about five minutes to firm up before carefully transferring them to a wire rack to cool completely.
 Save to Pinterest
 One winter afternoon, my best friend dropped by unexpectedly, looking a bit down. I had a batch of these cookies cooling on the counter, and without a word, I handed her one with a warm mug of tea. The simple act of sharing something so homemade and comforting seemed to lift her spirits, and we ended up laughing and chatting for hours. It taught me that sometimes, the best medicine is a freshly baked cookie and a good friend.
The Magic of Mint
Choosing pure mint extract over peppermint can make a subtle but significant difference in the flavor profile. Peppermint can sometimes taste a bit like toothpaste, while pure mint offers a more natural, refreshing coolness that pairs beautifully with chocolate. It's a small detail, but one that truly elevates these cookies.
Achieving the Perfect Chew
The secret to these cookies' incredible chewiness lies in the combination of brown sugar and careful baking. Brown sugar adds moisture and tenderness, while pulling them from the oven when the edges are just set but the centers are still soft ensures they'll be perfectly chewy once cooled.
Storage & Gifting Ideas
These cookies hold up wonderfully, making them perfect for meal prep or gifting. Once completely cooled, store them in an airtight container at room temperature for up to five days to maintain their freshness and softness.
- For a delightful present, stack them in a cellophane bag tied with a green ribbon; they make a fantastic host gift.
- Don't forget, they freeze beautifully too!
- If freezing, place parchment between layers to prevent sticking.
 Save to Pinterest
 I hope these Emerald Isle Mint Chocolate Chip Cookies bring as much joy and comfort to your kitchen as they do to mine. Happy baking, friends!
Frequently Asked Questions
- → Can I adjust the mint flavor?
-
Yes, you can increase the mint extract to 2 teaspoons for a stronger taste, but be careful not to overpower the other flavors.
- → What kind of chocolate works best?
-
Semisweet chocolate chips are recommended, but dark chocolate chips can be used for a richer flavor. You can also add chopped Andes mints or mint chocolate chunks.
- → How do I store these treats?
-
Once cooled, store them in an airtight container at room temperature for several days. They also freeze well for up to two months.
- → Can I skip the green food coloring?
-
Absolutely! The green food coloring is optional and primarily for visual appeal, reminiscent of the 'Emerald Isle.' The taste will be the same without it.
- → What's the best way to ensure soft centers?
-
Bake for 10-12 minutes, or until the edges are just set but the centers still look slightly soft. They will continue to firm up as they cool on the baking sheet.
- → Are there any common allergens?
-
These treats contain wheat (gluten), eggs, and dairy (butter, chocolate). If you have nut allergies, ensure your chocolate and mint products are nut-free.
