 Save to Pinterest
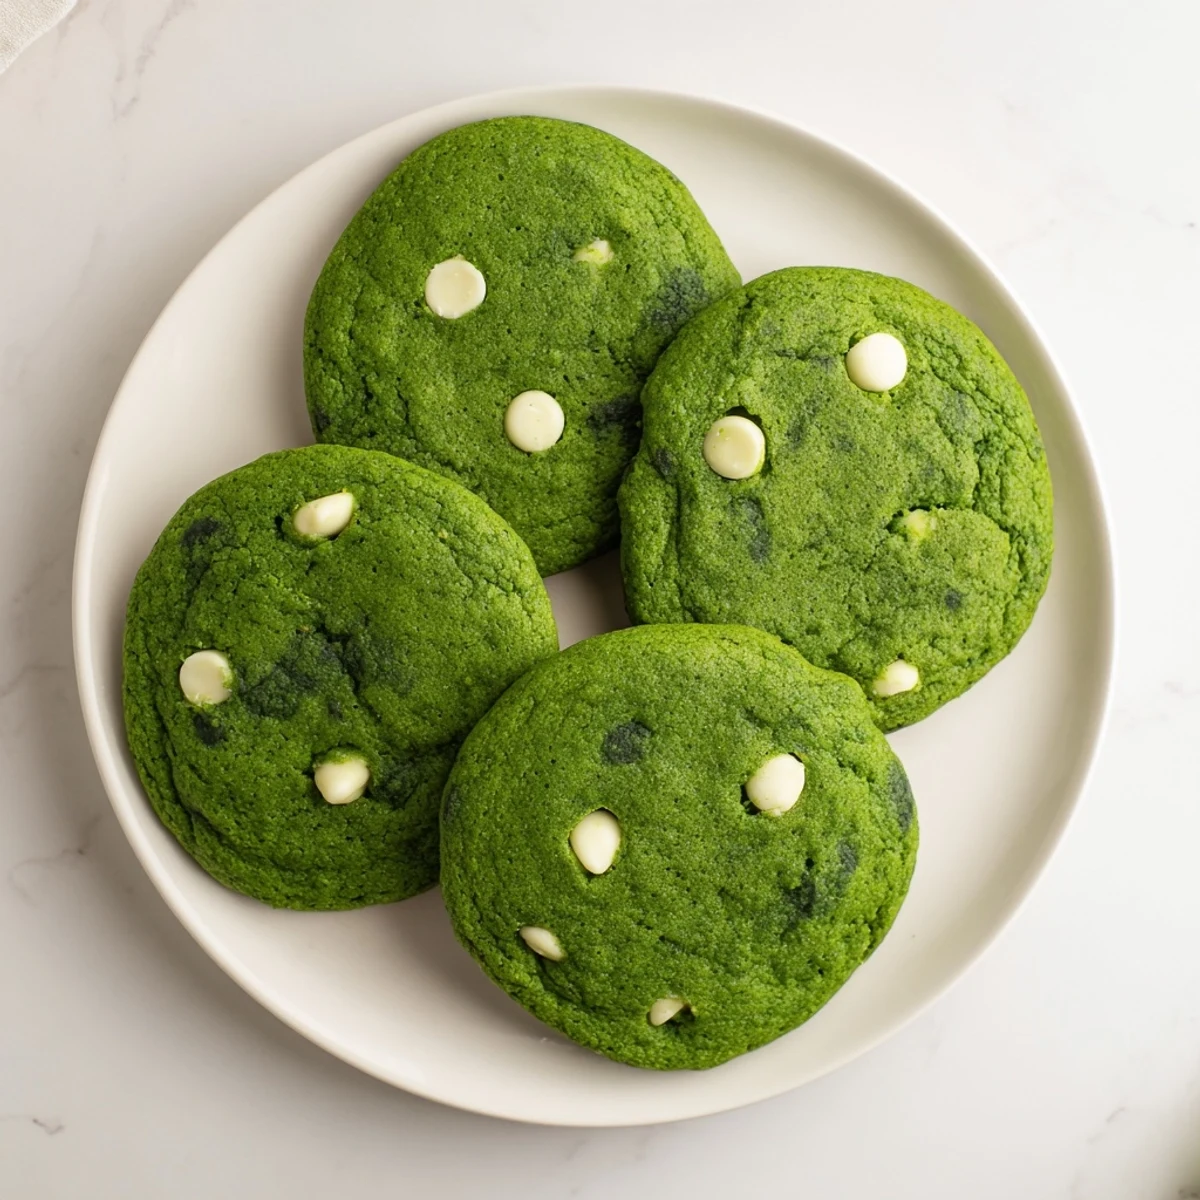
 These vibrant green velvet cookies combine the soft, chewy texture you love with a subtle hint of cocoa and creamy white chocolate chips. The striking color makes them perfect for St. Patrick's Day, Christmas, or any festive gathering. With just 20 minutes of prep and 12 minutes in the oven, you'll have 24 impressive treats that taste as good as they look.
The first time I made green velvet cookies, my roommate walked into the kitchen and asked if I was conducting a science experiment. The dough looked so shockingly vibrant against my pale yellow mixing bowls that I honestly second guessed myself for a moment. But then that first tray came out of the oven, soft and pillowy with tiny rivers of melted white chocolate running through them, and all my doubts vanished into the most delicious chocolatey scent imaginable.
I brought these to a St. Patricks Day party last year, and they disappeared faster than anything else on the dessert table. My friends friend actually approached me with wide eyes asking if I could please teach her how to make them because her daughter has been begging for green cookies since seeing them on social media. Something about that color just sparks joy in people, especially kids.
Ingredients
- All purpose flour: The backbone of these cookies, providing structure while still keeping them tender. Measure by weight if you can for consistent results.
- Unsweetened cocoa powder: Just enough to give depth without overpowering the delicate flavor profile. Sift it first to avoid clumps in your dough.
- Baking soda: This is what gives the cookies their slight rise and helps create those perfect crackly edges.
- Salt: Never skip the salt. It intensifies the chocolate flavor and balances all that sugar.
- Unsalted butter: Softened to room temperature so it creams properly with the sugars. I take mine out about an hour before baking.
- Granulated and brown sugar: The combination creates texture. Brown sugar adds moisture and chew while white sugar helps the edges crisp up beautifully.
- Large eggs: Bring these to room temperature too. Cold eggs can cause the butter to seize up, making your dough curdle.
- White vinegar: This might seem odd, but it reacts with the baking soda and enhances the red velvet style flavor profile.
- Green food coloring: Gel coloring gives the most vibrant hue without adding too much liquid. Start with a little and add more until you reach your desired shade.
- White chocolate chips: The creamy sweetness pairs perfectly with the subtle cocoa and looks stunning against the green dough.
Instructions
- Preheat and prepare your baking space:
- Set your oven to 350°F and line two baking sheets with parchment paper. I learned the hard way that greasing the pan alone makes these cookies spread too much.
- Whisk together the dry ingredients:
- In a medium bowl, combine the flour, cocoa powder, baking soda, and salt. Whisk them together thoroughly so everything is evenly distributed.
- Cream the butter and sugars:
- Beat the softened butter with both sugars until the mixture looks pale and fluffy. This usually takes about 3 minutes of beating and creates that perfect cookie texture.
- Add the eggs and flavorings:
- Add the eggs one at a time, beating well after each addition. Mix in the milk, vanilla, vinegar, and green food coloring until everything is fully combined and the color is uniform.
- Combine wet and dry ingredients:
- Gradually add the dry mixture to the wet ingredients, mixing just until you no longer see visible flour. Overmixing at this stage will make your cookies tough.
- Fold in the white chocolate chips:
- Gently fold in the chips by hand. The dough will be tinted a beautiful shade of green that becomes even more vibrant as it bakes.
- Scoop and space the dough:
- Drop tablespoon sized balls onto your prepared baking sheets, leaving about 2 inches between each. They will spread as they bake, so give them room to breathe.
- Bake to perfection:
- Bake for 10 to 12 minutes until the edges are set but the centers still look slightly soft. This is exactly when you want to pull them out for that ideal chewy texture.
- Cool and enjoy:
- Let the cookies rest on the baking sheet for 5 minutes before transferring them to a wire rack. This cooling period helps them set properly without becoming hard.
 Save to Pinterest
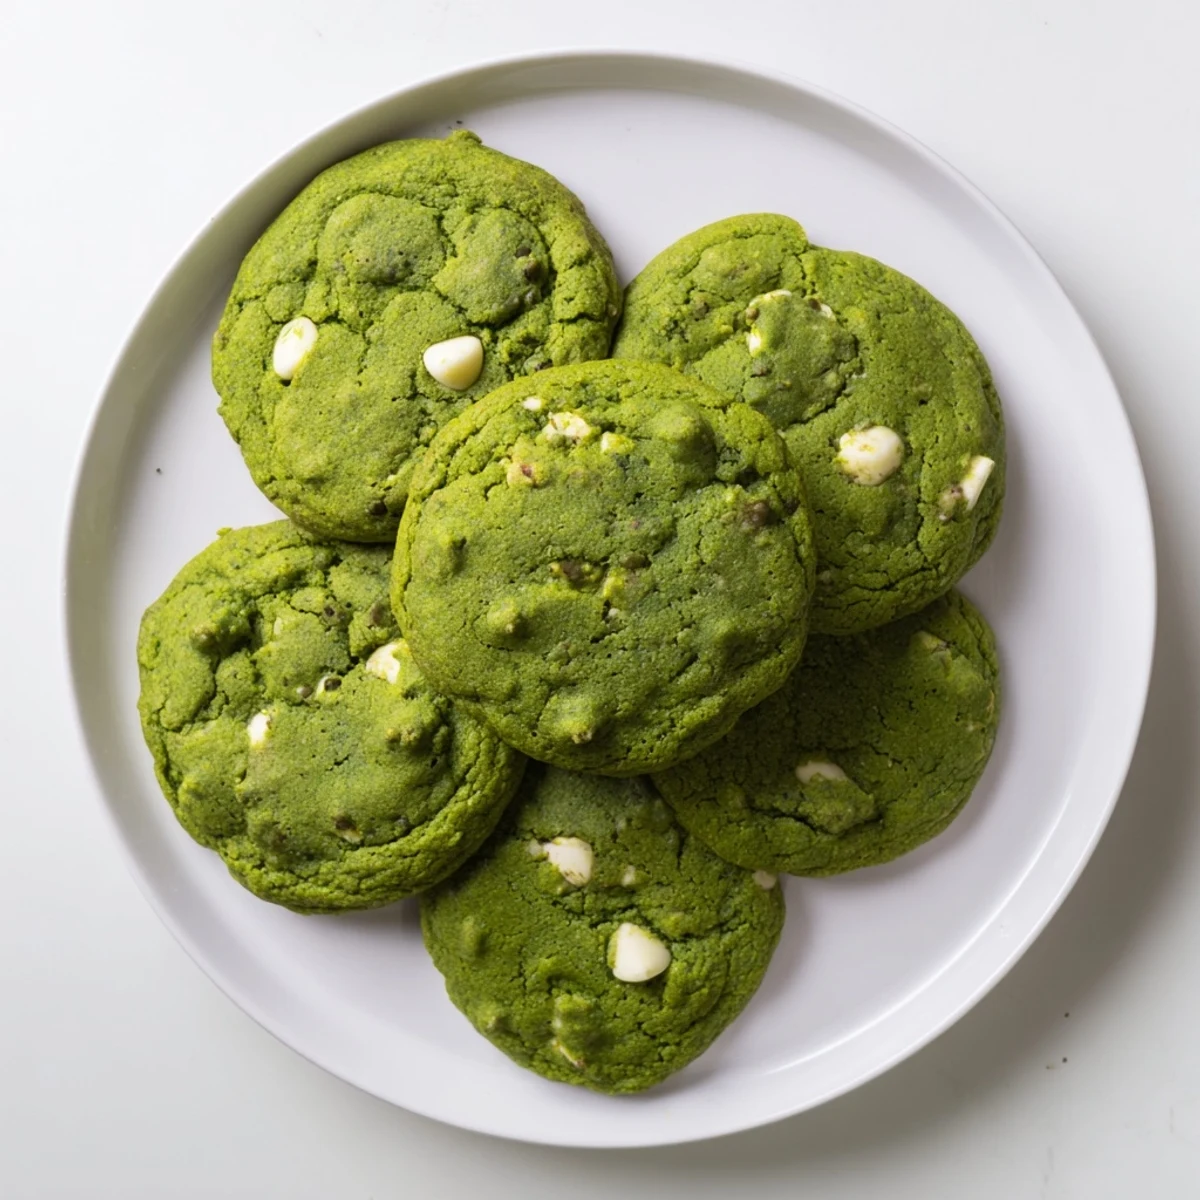
 My daughter now requests these for every school function and holiday gathering. There is something magical about seeing a platter of bright green cookies that makes people smile before they even take a bite. They have become our signature bring along dish, the one people always ask about.
Getting The Perfect Green Color
I have found that gel food coloring gives the most vibrant results without thinning out the dough. Liquid coloring can work too, but you might need to add a touch more flour to compensate. Start with less than you think you need, you can always add more but you cannot take it back once it is in there.
Storage And Freshness
These cookies stay surprisingly soft when stored in an airtight container at room temperature. I have kept them for up to five days and they are still just as chewy as the first day. You can also freeze the dough balls and bake them fresh whenever the craving strikes.
Making Them Your Own
Once you have mastered the basic recipe, do not be afraid to experiment with variations. The base dough is incredibly forgiving and adaptable.
- Try adding chopped pecans or walnuts for a satisfying crunch
- Mix in some crushed peppermint candies during winter holidays for a minty twist
- Swap the white chocolate for dark chocolate if you prefer a more intense chocolate flavor
 Save to Pinterest
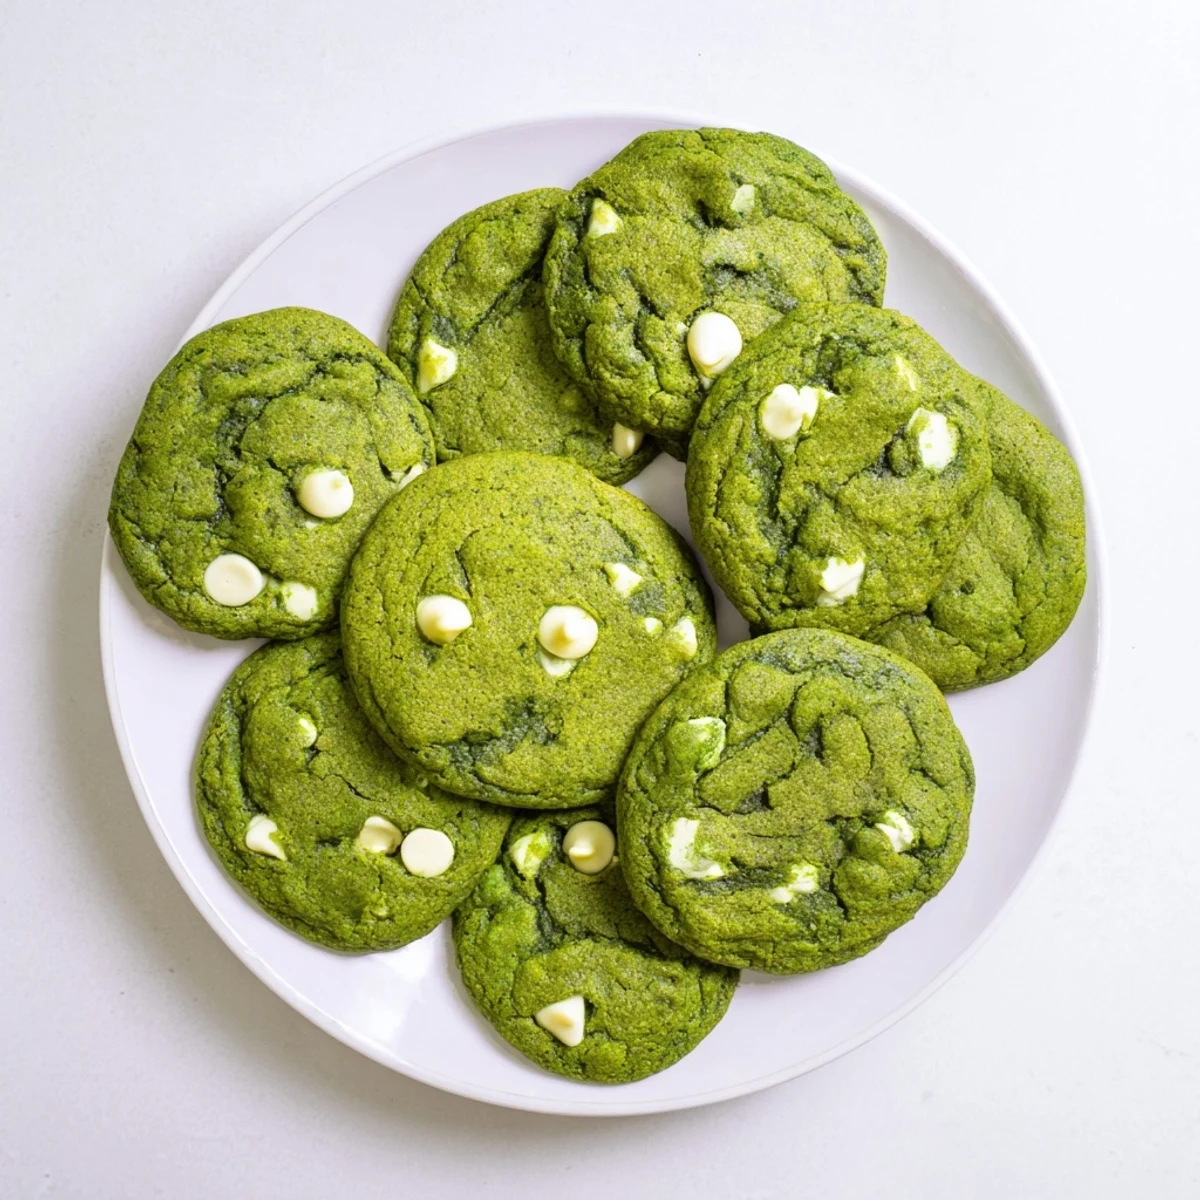
 These green velvet cookies have become more than just a recipe in our house. They are the baking project my kids actually want to help with, the treat that makes any celebration feel a little more special, and the one cookie I never get tired of eating.
Frequently Asked Questions
- → Why add vinegar to green velvet cookies?
-
White vinegar enhances the green color from food coloring and reacts with baking soda for extra tenderness, similar to traditional red velvet techniques.
- → Can I use liquid food coloring instead of gel?
-
Yes, but you'll need more liquid coloring to achieve the same vibrant hue. Gel coloring provides concentrated color without adding excess moisture to the dough.
- → Why is there cocoa powder if they're green?
-
A small amount of cocoa powder adds depth and complements the white chocolate while maintaining the signature velvet texture without overpowering the green appearance.
- → How do I know when they're done baking?
-
The edges should be set and slightly firm while centers remain soft. They'll continue cooking on the hot baking sheet, so removing them while slightly underdone ensures perfect chewiness.
- → Can I freeze the dough?
-
Scoop dough balls and freeze on a baking sheet, then transfer to a freezer bag. Bake from frozen, adding 1-2 minutes to the baking time for fresh treats anytime.
- → What other chocolate varieties work well?
-
Dark or milk chocolate chips create delicious variations, though white chocolate provides the classic color contrast. Mint chips would complement the green theme beautifully.
