 Save to Pinterest
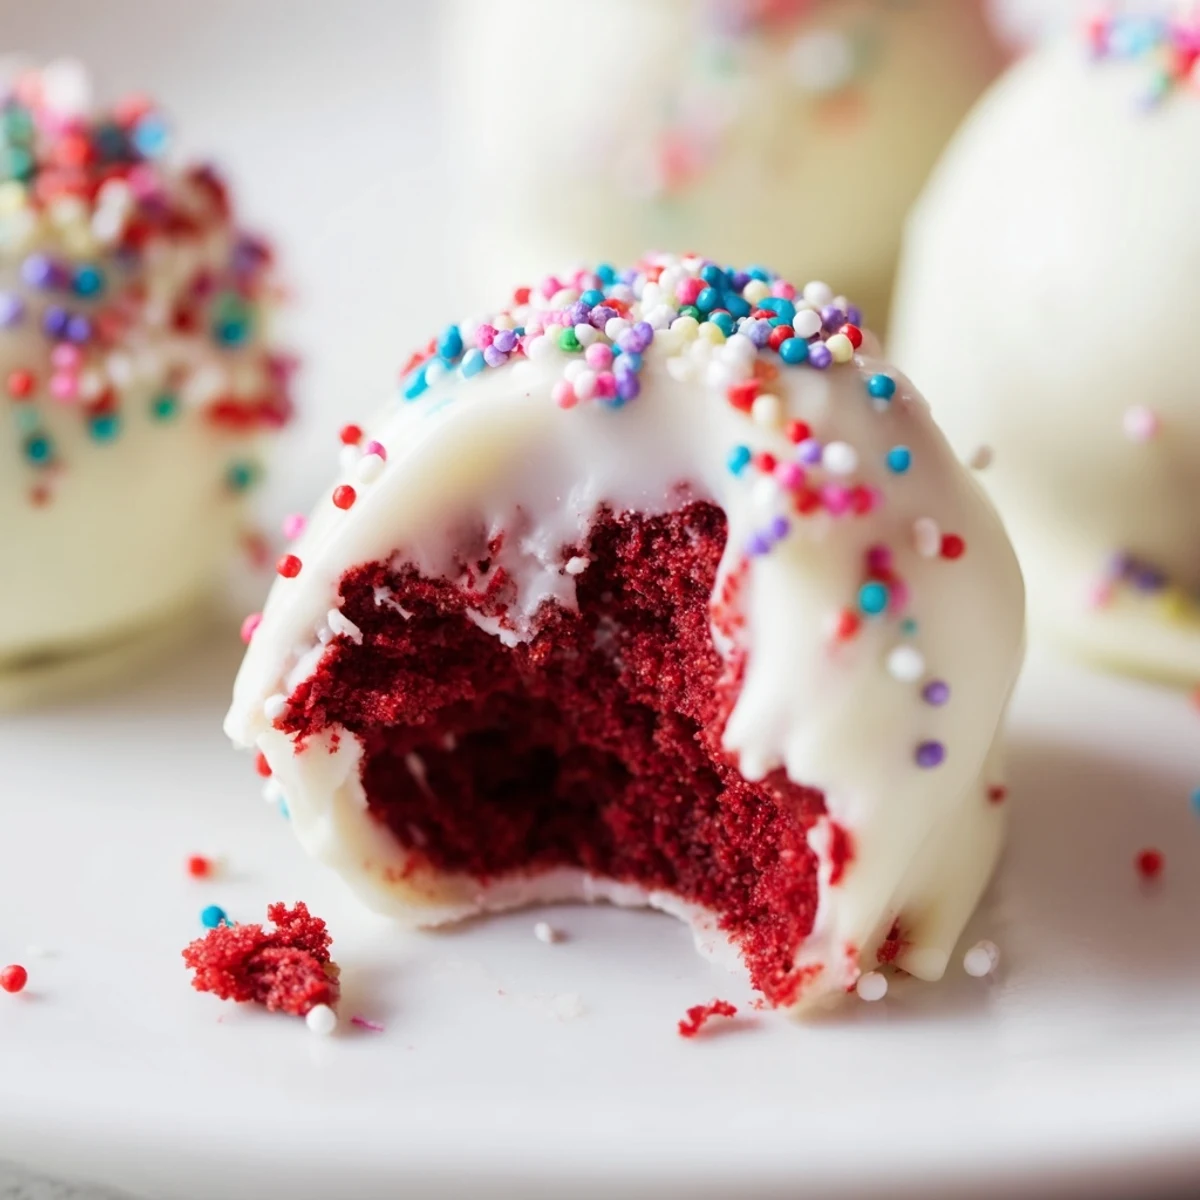
 These decadent red velvet bites are made by blending moist red velvet cake with a creamy frosting, then coating each piece in smooth white chocolate. Perfectly portioned for parties or gifting, they offer a velvety texture combined with sweet, tangy frosting and a delicate chocolate shell. Chilling before dipping ensures a firm texture, while optional sprinkles add a festive touch. Enjoy the rich flavor with subtle cocoa notes balanced by vanilla and cream cheese.
The first time I attempted cake pops, I ended up with a kitchen covered in red speckles and a batch that looked more like sad truffles than the cheerful treats I imagined. My niece had begged me to make them for her birthday party, and I was determined to get them right. After three attempts and a lot of laughter, I finally understood the secret lies in patience and the perfect cake-to-frosting ratio.
I remember standing in my kitchen at midnight, carefully dipping each pop and holding my breath as the white chocolate hardened. The way my nieces eyes lit up when she saw the tray of red and white pops made every sticky moment worth it. Now they are my go-to for any celebration that calls for something special.
Ingredients
- 1 1/4 cups all-purpose flour: The foundation that gives structure to your cake pops without making them dense
- 1 cup granulated sugar: Provides the right amount of sweetness to balance the tangy cream cheese frosting
- 1/4 cup unsweetened cocoa powder: Adds that classic red velvet depth without overpowering the delicate flavor
- 1/2 tsp baking soda: Helps the cake rise just enough to create the perfect crumb for rolling
- 1/2 tsp salt: Enhances all the flavors and balances the sweetness
- 1/2 cup buttermilk: The acid in buttermilk reacts with the cocoa to create that signature red velvet tenderness
- 1/2 cup vegetable oil: Keeps the cake incredibly moist, which is essential for smooth cake pop texture
- 2 large eggs: Bind everything together and provide structure for the cake base
- 1 tsp vanilla extract: Rounds out the flavors and adds warmth
- 1 tsp distilled white vinegar: Reacts with the baking soda for extra tenderness
- 1 tbsp red food coloring: Gives that iconic vibrant red hue that makes red velvet so striking
- 4 oz cream cheese: Creates the rich, tangy frosting that holds the cake balls together perfectly
- 2 tbsp unsalted butter: Adds richness to the frosting and helps it hold its shape
- 1 1/2 cups powdered sugar: Sweetens the frosting and creates the right consistency for mixing
- 1/2 tsp vanilla extract: Echoes the vanilla in the cake for a cohesive flavor profile
- 12 oz white chocolate: Creates a smooth, sweet coating that complements the tangy red velvet interior
- Sprinkles: Optional but highly recommended for that celebratory touch
Instructions
- Bake the red velvet cake base:
- Preheat your oven to 350°F and prepare an 8-inch square pan with grease and parchment paper. Whisk together the dry ingredients in one bowl, then mix the wet ingredients in another until smooth. Combine them gently, pour into your prepared pan, and bake for 30-35 minutes until a toothpick comes out clean. Let the cake cool completely before moving on.
- Prepare the cream cheese frosting:
- Beat the softened cream cheese and butter until completely smooth and creamy. Add the powdered sugar and vanilla, then continue beating until fluffy. This frosting is what transforms your cake crumbles into rollable dough, so take your time getting it right.
- Create the cake pop mixture:
- Crumble your completely cooled cake into fine pieces in a large bowl. Add the cream cheese frosting and mix with your hands until the texture resembles damp sand and holds together when pressed. You want it moist enough to roll but not so wet that it falls apart.
- Shape and chill the balls:
- Scoop tablespoon-sized portions and roll them between your palms to create smooth, even balls. Place them on a parchment-lined baking sheet and chill for at least one hour. This step is crucial—warm cake balls will slide right off the sticks and cause frustration.
- Prepare the chocolate coating:
- Melt the white chocolate in 30-second intervals, stirring between each to prevent seizing. The chocolate should be fluid and smooth for dipping. Dip the tip of each cake pop stick into the chocolate, then insert it halfway into each chilled cake ball. Let them set for a few minutes before the final dip.
- Dip and decorate:
- Holding the stick, dip each cake ball into the melted white chocolate, gently tapping to remove excess. Work quickly and rotate the pop as the chocolate drips off for an even coating. Add sprinkles immediately while the chocolate is still wet, then stand the pops in styrofoam or a cake pop stand to harden completely.
 Save to Pinterest
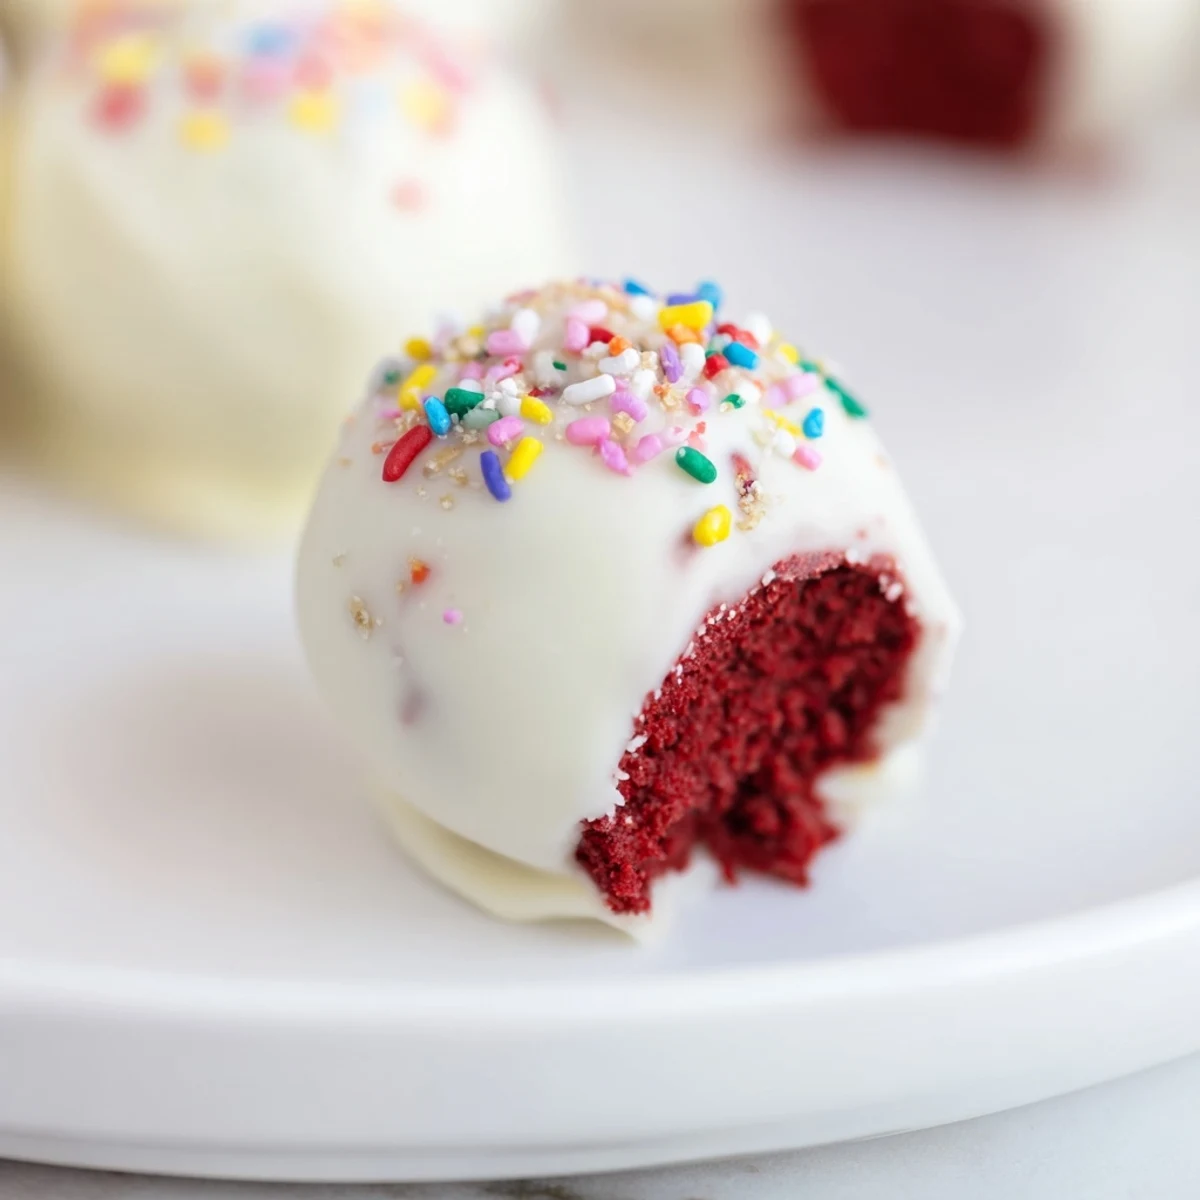
 These cake pops have become a tradition at every family gathering. My sister actually requested them instead of a birthday cake last year, and watching all the kids reach for them first was the best feeling. Something about food on a stick just makes everything more fun.
Mastering the Texture
The key to perfect cake pops is getting the cake-to-frosting ratio right. Too much frosting and they will be too soft to dip, too little and they will crumble apart. Start with less frosting than you think you need, adding gradually until the mixture holds together when squeezed.
Getting the Perfect Coating
White chocolate can be tricky because it seizes easily. If your melted chocolate suddenly becomes thick and grainy, add a teaspoon of vegetable oil and stir gently to bring it back to a smooth consistency. Work in small batches and keep the chocolate warm while dipping.
Storage and Serving Tips
Cake pops actually taste better after resting overnight in the refrigerator, as the flavors have time to meld together. Serve them at room temperature for the best texture and flavor experience.
- Store them in an airtight container with wax paper between layers to prevent sticking
- If you are making these for a party, prepare them up to two days in advance
- Never leave cake pops at room temperature for more than two hours, especially in warm weather
 Save to Pinterest
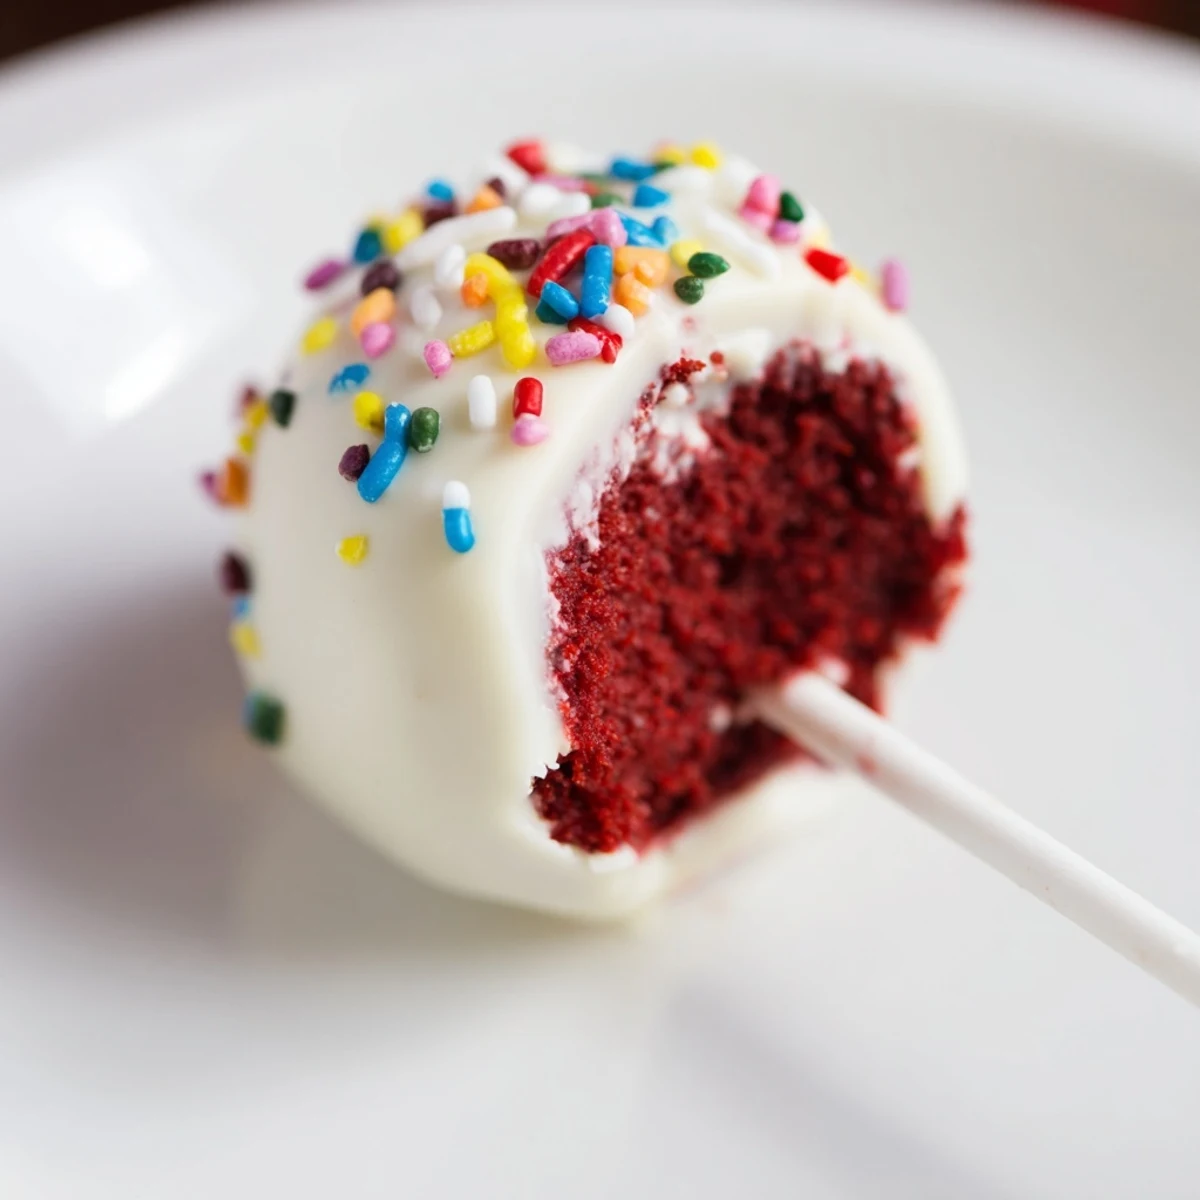
 There is something magical about biting through that crisp white chocolate shell into the soft, creamy red velvet center. Make them once and they will become your most requested treat.
Frequently Asked Questions
- → How do I ensure the cake balls hold their shape?
-
Make sure the cake is fully cooled before crumbling, then mix with cream cheese frosting until the texture resembles damp sand that holds together when pressed.
- → Can I prepare the bites in advance?
-
Yes, after dipping and decorating, store them in an airtight container in the refrigerator for up to 5 days.
- → What is the best way to melt white chocolate?
-
Melt in short intervals (30 seconds), stirring frequently to prevent scorching and ensure smooth coating.
- → Are there suggested variations for flavor?
-
Try adding cinnamon or orange zest to the cake mixture for a subtle twist in flavor.
- → What tools are essential for assembly?
-
An 8-inch cake pan, electric mixer, parchment paper, microwave-safe bowl, and cake pop sticks are key for easy preparation and coating.
