 Save to Pinterest
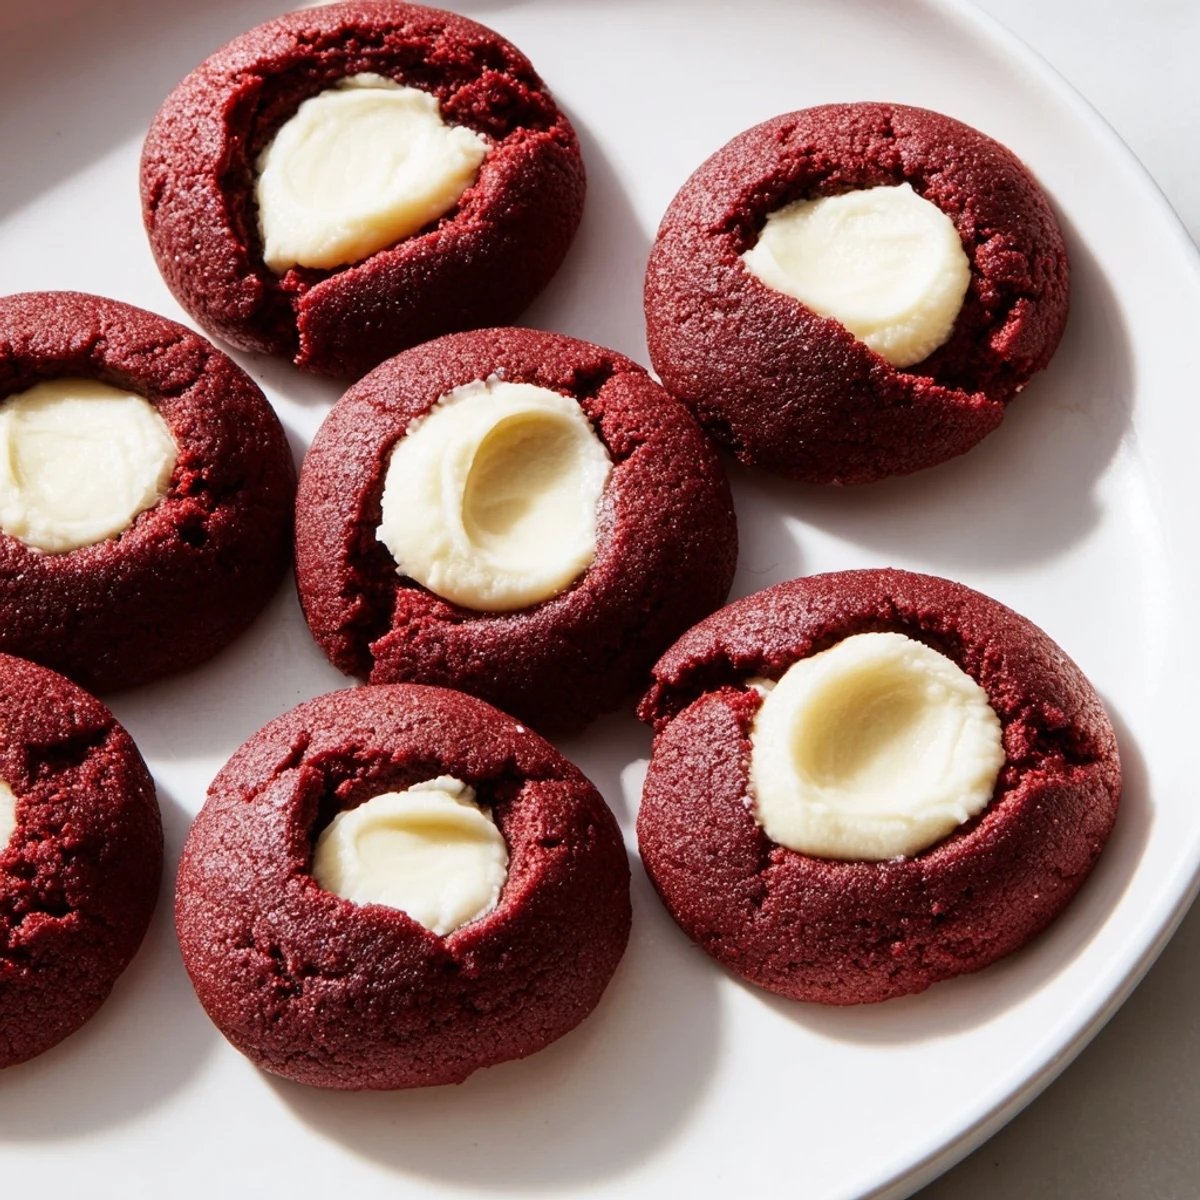
 These delicate red velvet thumbprint cookies feature a rich cocoa dough that bakes up tender and cakey, with classic red velvet flavor in every bite. The centers are filled with a smooth cream cheese mixture that adds a tangy sweetness, perfectly complementing the chocolate notes. Each cookie is hand-rolled and pressed with your thumb to create the signature well that holds the creamy filling.
Baking at 350°F for just 12 minutes produces cookies with set edges while maintaining a soft interior. The dough comes together quickly with basic pantry staples, requiring only 20 minutes of prep before hitting the oven. For variation, swap the cream cheese filling for white chocolate ganache or add festive sprinkles before baking.
The first time I made these, my kitchen looked like a crime scene with red food coloring everywhere, but one bite of that tangy cream cheese center against the chocolate crumb made all the cleanup worth it. I was experimenting for a Christmas cookie exchange and wanted something that felt festive but different from the standard sugar cookies everyone brings. Now they are the first cookies to disappear at every gathering, and I have started making double batches just to keep up.
Last December I made six dozen of these for my office holiday party, and I actually caught people hovering near the platter waiting for fresh ones to come out of the oven. My coworker Sarah said they reminded her of the red velvet cupcakes her grandmother used to make, but somehow even better because the filling to cookie ratio was so satisfying. Someone even asked if I would accept payment to make them for their wedding.
Ingredients
- All-purpose flour (160 g): The structure here is everything, do not pack it down or your cookies will turn into little red hockey pucks
- Unsweetened cocoa powder (15 g): Use Dutch processed for a smoother chocolate flavor that does not fight with the vanilla
- Baking soda (1/4 tsp): Just enough to give them a slight lift without losing that classic thumbprint density
- Salt (1/4 tsp): Essential for making the chocolate taste deeper and the cream cheese filling pop
- Unsalted butter (115 g): Room temperature is non negotiable here, cold butter will not give you that tender crumb
- Granulated sugar (150 g): Cream this thoroughly with the butter, those air pockets are what makes the cookie melt in your mouth
- Egg yolk: Using only the yolk adds richness and helps create that velvety texture red velvet is known for
- Whole milk (1 tbsp): Just enough moisture to bring the dough together without making it sticky
- Vanilla extract (1 tsp): Splash out on good vanilla here, it carries the entire flavor profile
- Red food coloring (1 tsp): Gel coloring gives a deeper red without adding liquid, but liquid works if you do not mind adding a touch more flour
- Cream cheese (115 g): Full fat and completely softened, no shortcuts or you will have lumpy filling
- Powdered sugar (30 g): Sift this first or your filling will have tiny sugar specks, trust me on this one
- Vanilla extract (1/2 tsp): This second dose of vanilla in the filling is what ties everything together
Instructions
- Get your oven ready:
- Preheat to 350°F (175°C) and line your baking sheets with parchment paper, those red stains are not coming off bare metal
- Whisk the dry team:
- In a medium bowl, combine flour, cocoa powder, baking soda, and salt until everything looks uniform
- Cream butter and sugar:
- Beat them together for a full 2 minutes until the mixture looks pale and fluffy, this step is worth every second
- Add the wet ingredients:
- Pour in the egg yolk, milk, vanilla, and red food coloring, mixing until the dough turns that gorgeous deep red
- Combine everything:
- Gradually mix in the dry ingredients just until you no longer see white streaks, overmixing will make them tough
- Make the filling:
- Whisk together the softened cream cheese, powdered sugar, and vanilla until completely smooth and set it aside
- Shape the cookies:
- Roll dough into 1 inch balls and place them 2 inches apart on your prepared sheets
- Create the thumbprint:
- Press your thumb gently into the center of each ball, but do not go all the way through to the baking sheet
- Fill the centers:
- Spoon about half a teaspoon of cream cheese filling into each indentation, being careful not to overfill
- Bake to perfection:
- Slide them into the oven for 11 to 13 minutes until the edges look set but the centers still seem slightly soft
- Let them rest:
- Cool on the baking sheet for exactly 5 minutes before moving them to a wire rack, or they will crumble apart
 Save to Pinterest
 My daughter now requests these for every school bake sale, and she has become surprisingly good at pressing the thumbprints without crushing the dough. Watching her carefully fill each center with such concentration reminds me that some of the best kitchen memories are made not when everything goes perfectly, but when you are learning together.
Making Them Ahead
I have learned through trial and error that you can freeze the shaped dough balls for up to a month, but add the filling right before baking. The cream cheese does not freeze well and will separate if you try to bake it from frozen. Just let the dough thaw for 10 minutes on the counter while your oven preheats.
The Thumbprint Technique
After making hundreds of these cookies, I have found that using the back of a rounded measuring teaspoon creates more consistent centers than my actual thumb. Dip the spoon in a little cocoa powder between presses to prevent sticking, and rotate the dough ball slightly as you press to keep the walls even. This prevents those dreaded thin spots that cause filling to leak during baking.
Storage And Serving
These cookies actually taste better on day two when the flavors have had time to mingle and the filling has set completely. Store them in the refrigerator in a single layer with wax paper between the layers, and bring them to room temperature for about 15 minutes before serving.
- Top each cookie with a tiny white chocolate pearl right after baking for an elegant touch
- Sift a little extra powdered sugar over the whole batch just before serving
- They pair beautifully with a cup of strong black coffee or vanilla latte
 Save to Pinterest
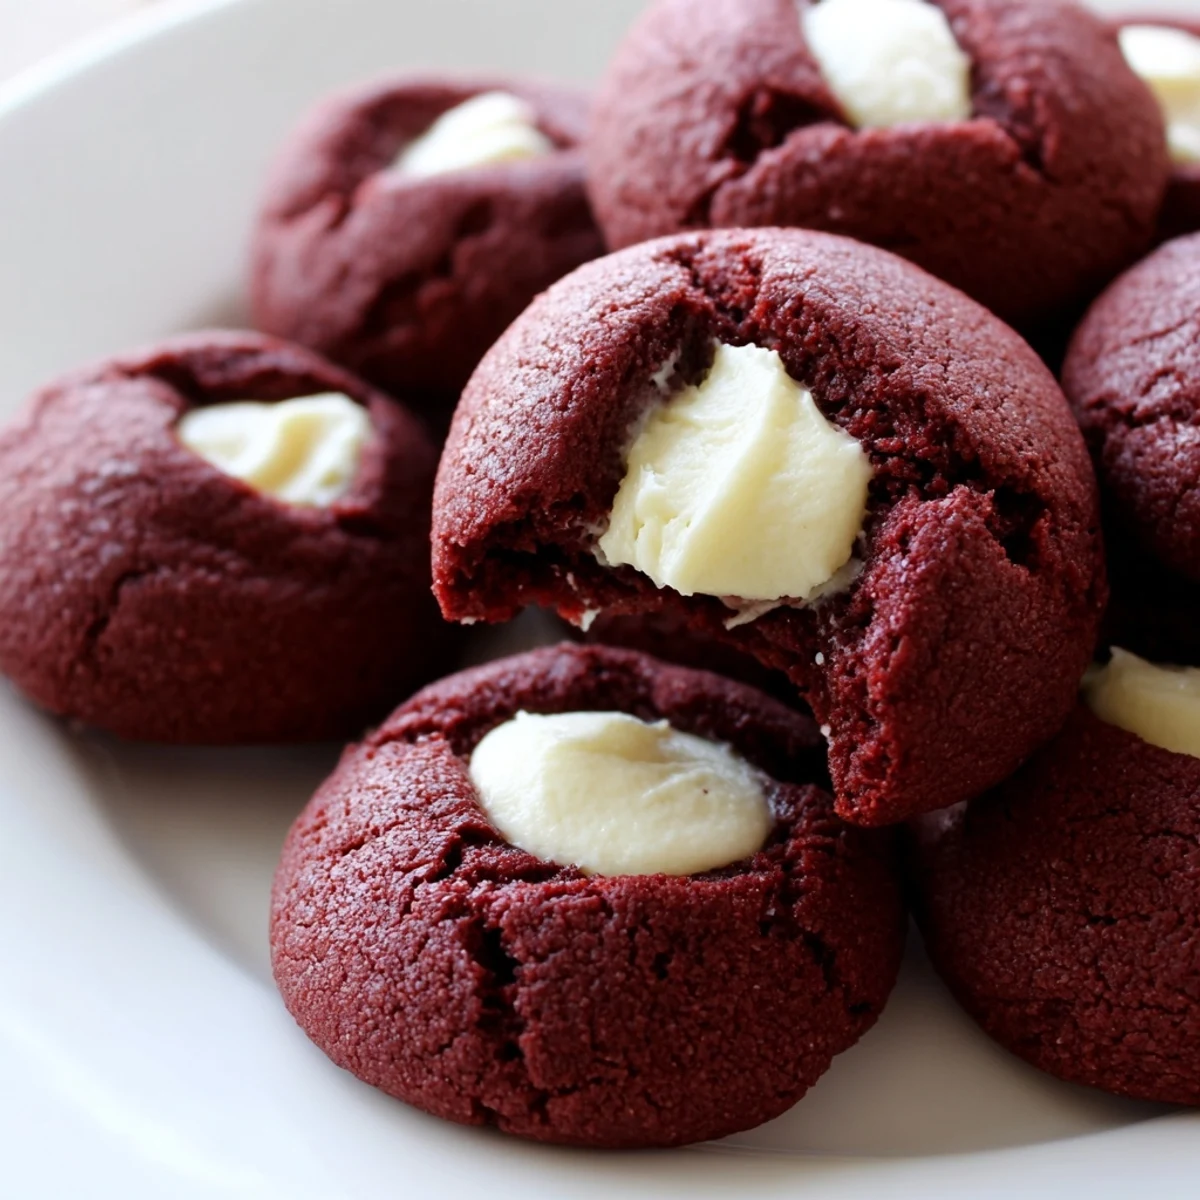
 There is something so satisfying about that first bite when you hit the cool tangy filling surrounded by the chocolate cookie, and I hope these become as beloved in your kitchen as they are in mine. Happy baking.
Frequently Asked Questions
- → Why did my cookie dough spread too much in the oven?
-
Your dough may have been too warm before baking. Chill the rolled dough balls for 15-20 minutes in the refrigerator before pressing the indentations and baking. This helps the cookies hold their shape better during baking.
- → Can I use gel food coloring instead of liquid?
-
Yes, gel food coloring works wonderfully and provides a more vibrant red hue without adding extra liquid to the dough. Use about half the amount of gel compared to liquid, adjusting to achieve your desired color intensity.
- → How do I know when the cookies are done baking?
-
The cookies are ready when the edges look set and slightly matte, while the centers may still appear soft. They will continue to firm up as they cool on the baking sheet. Avoid overbaking, as this can dry out the tender texture.
- → Can I make the dough ahead of time?
-
Absolutely. Wrap the dough tightly in plastic wrap and refrigerate for up to 2 days before baking. You can also freeze the dough balls for up to 3 months—thaw overnight in the refrigerator before baking.
- → What's the best way to fill the thumbprints without overflowing?
-
Add the filling after baking and while the cookies are still warm. The centers settle slightly during baking, creating a deeper well. Use a small spoon or piping bag to carefully deposit about half a teaspoon of filling into each indentation.
- → Why is my cream cheese filling runny?
-
The cream cheese and butter need to be softened to room temperature but not melted or overly warm. If your filling is too soft, chill it for 10-15 minutes before filling the cookies. This helps it hold its shape better.
