 Save to Pinterest
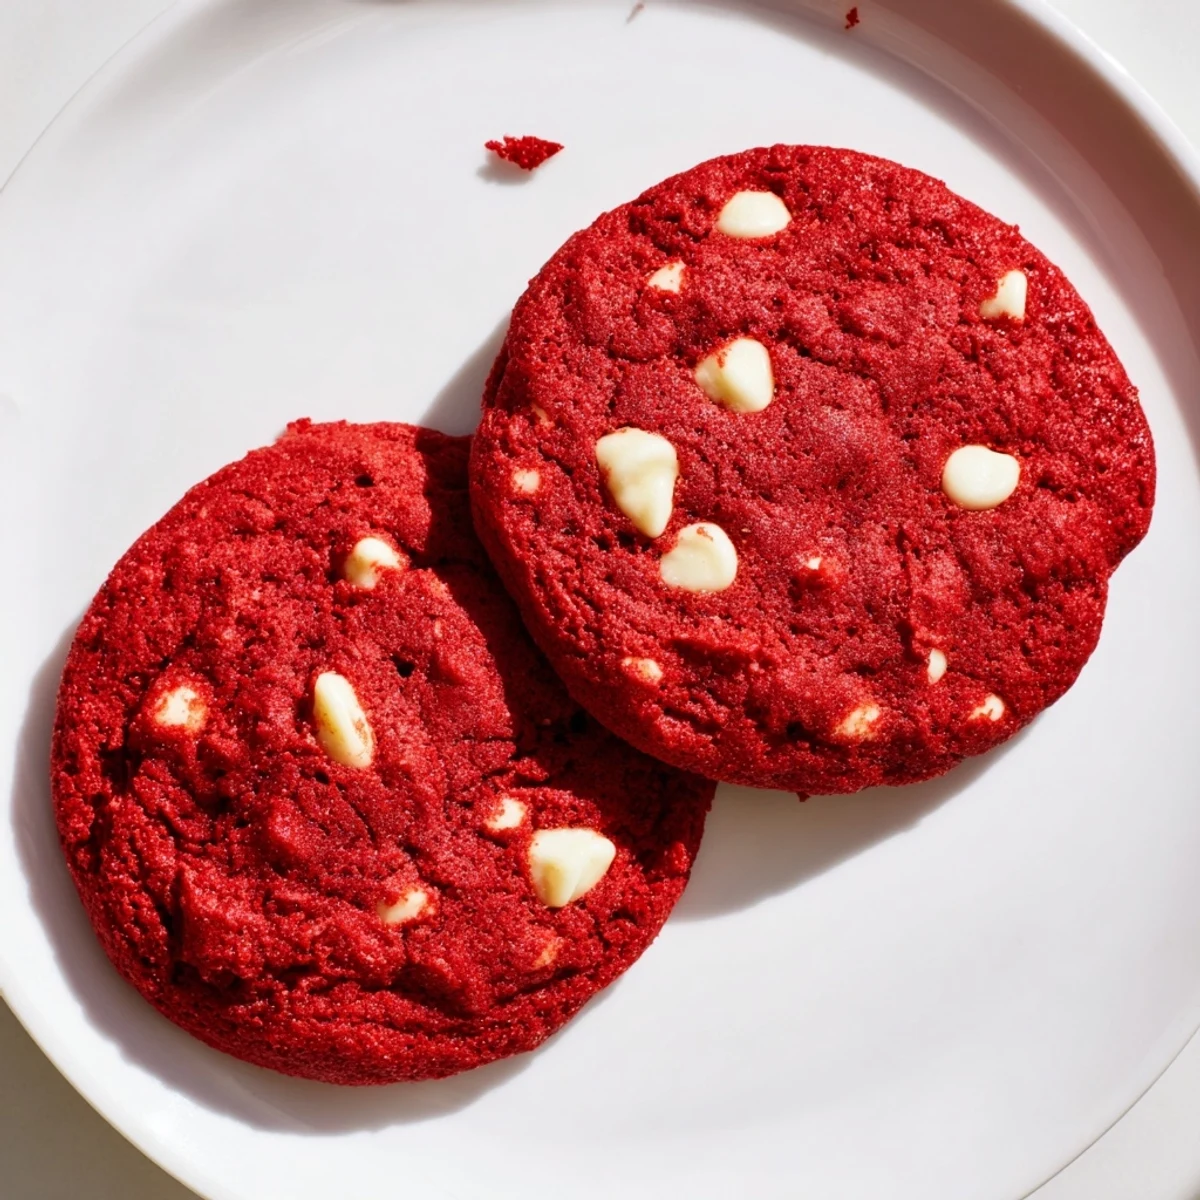
 These red velvet cookies feature the classic combination of cocoa and tangy buttermilk flavor that makes red velvet so distinctive. The dough incorporates both butter and vegetable oil for an irresistibly soft texture that stays tender days after baking. White chocolate chips add pockets of creamy sweetness that perfectly complement the subtle cocoa notes.
The signature red hue comes from food coloring, while a touch of vinegar enhances the traditional tang. Baking takes just 12 minutes, resulting in cookies with slightly crisp edges and fudgy centers. The recipe yields two dozen treats, making them ideal for sharing or gifting.
For best results, avoid overmixing the dough and pull them from the oven when centers still appear slightly soft. This ensures the perfect chewy texture. Store in an airtight container to maintain freshness for up to a week.
The first time I attempted red velvet anything, I ended up with pink cupcakes that tasted like nothing. It took me years to understand that red velvet is not just about the color but that perfect marriage of chocolate and buttermilk tang. These cookies capture everything I love about the classic cake, chewy edges and all. Now they are my go-to when I need something that looks impressive but comes together in under half an hour.
Last Christmas, I made three batches of these because they disappeared faster than I could pack them into tins. My sister-in-law actually hid a few in her purse before leaving the party. Since then, I have learned to double the recipe whenever family is involved.
Ingredients
- All-purpose flour: The structure of the cookie depends on precise measuring, so spoon and level your flour gently
- Unsweetened cocoa powder: Dutch-process cocoa gives the smoothest flavor, but regular works perfectly fine
- Baking soda: This reacts with the vinegar to create the tender crumb red velvet is famous for
- Salt: Do not skip this, it balances the sweetness and makes the chocolate flavor pop
- Unsalted butter: Soften it properly so it blends easily with the oil and sugars
- Vegetable oil: The oil is what keeps these cookies soft and chewy days later
- Granulated sugar: Creates crisp edges while the brown sugar handles the chewy center
- Light brown sugar: Packed tight adds moisture and that subtle caramel note
- Eggs: Room temperature eggs incorporate better into the dough for even baking
- Vanilla extract: Pure vanilla makes a difference you can taste in every bite
- Red food coloring: Gel coloring gives deeper color with less liquid, but either type works
- White vinegar: This is the secret ingredient that activates the baking soda for that classic red velvet tang
- White chocolate chips: Use good quality chips because they are half the flavor profile here
Instructions
- Prepare your baking space:
- Preheat oven to 350°F and line baking sheets with parchment paper to prevent sticking
- Whisk the dry mixture:
- Combine flour, cocoa powder, baking soda, and salt in a medium bowl until evenly blended
- Cream the butter mixture:
- Beat butter, oil, and both sugars together for about 2 minutes until light and creamy
- Add the wet ingredients:
- Beat in eggs one at a time, then mix in vanilla, food coloring, and vinegar until completely combined
- Combine everything:
- Gradually mix in the dry ingredients just until combined, being careful not to overmix
- Fold in the chips:
- Gently stir in the white chocolate chips until evenly distributed throughout the dough
- Scoop and space:
- Drop about 2 tablespoons of dough per cookie onto prepared sheets, leaving 2 inches between each
- Bake to perfection:
- Bake for 11 to 13 minutes until edges are set but centers still look slightly soft
- Cool completely:
- Let cookies rest on the baking sheet for 5 minutes before transferring to a wire rack
 Save to Pinterest
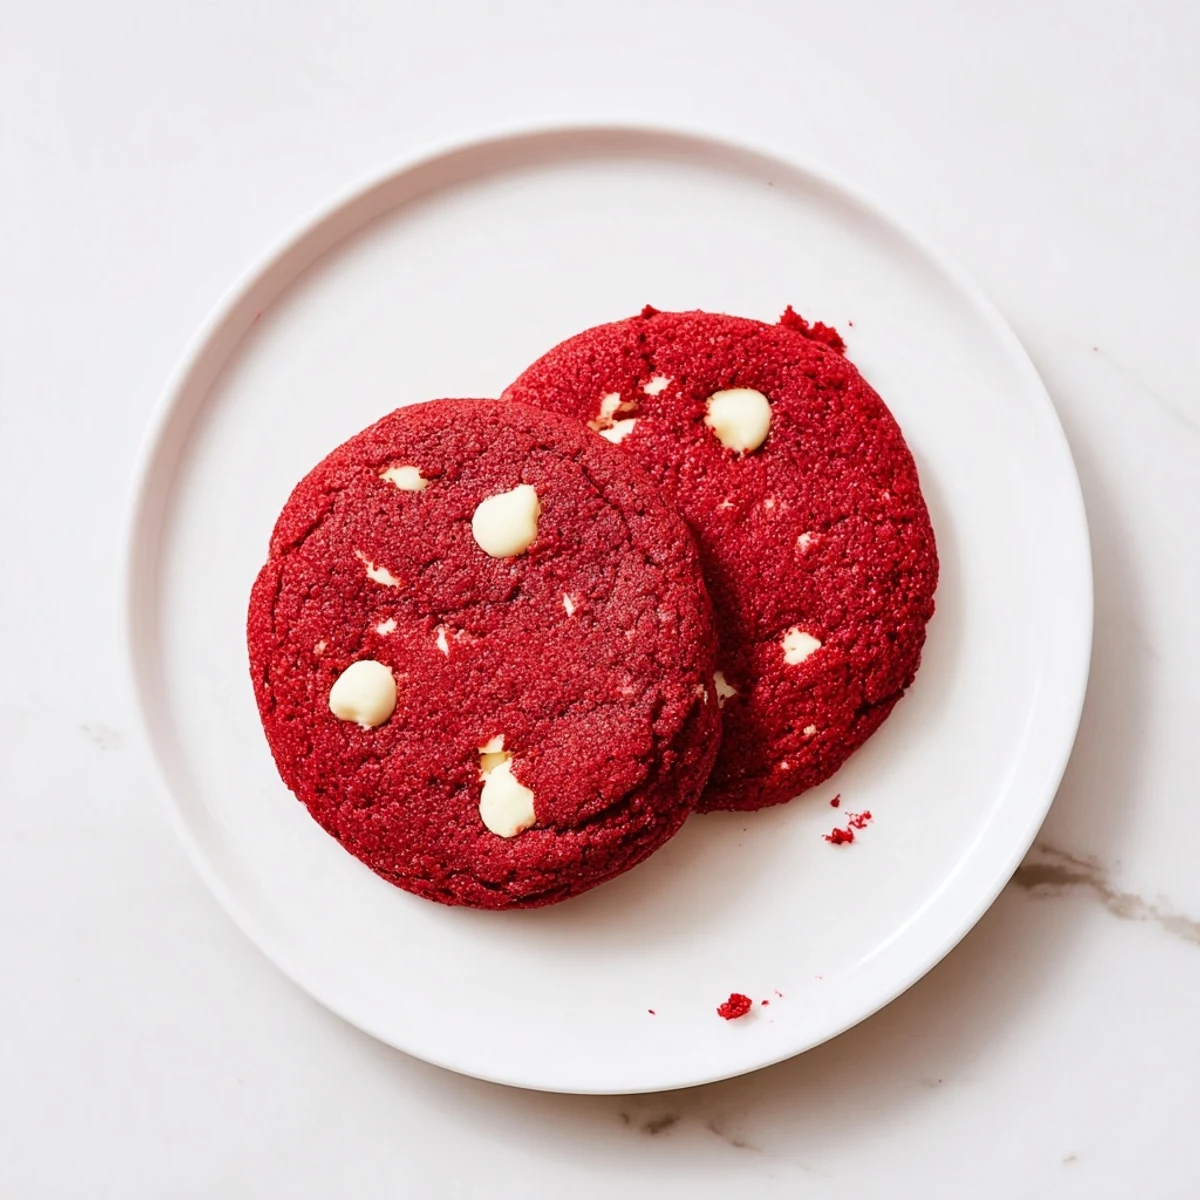
 These cookies have become my comfort baking project when I need something soothing to do with my hands. The way the red dough looks against the white chips never fails to make me smile.
Getting the Perfect Red Color
I used to add way too much food coloring trying to achieve that vibrant red, but it would throw off the texture. Gel coloring is your best friend here, you get intense color with just a small amount. If the color seems too muted after mixing, add another teaspoon and trust the process.
Storing and Freezing
These cookies keep remarkably well in an airtight container at room temperature for up to five days. For longer storage, freeze the baked cookies in layers separated by parchment paper for up to three months. The dough also freezes beautifully as scooped portions, just add a minute to the baking time when baking from frozen.
Common Questions
Can I use natural food coloring? It works but you will need more of it, and the color may bake out slightly.
- Do not substitute the vinegar with anything else, the reaction is necessary
- If you only have salted butter, reduce the added salt by half
- These cookies spread moderately, so do not flatten the dough before baking
 Save to Pinterest
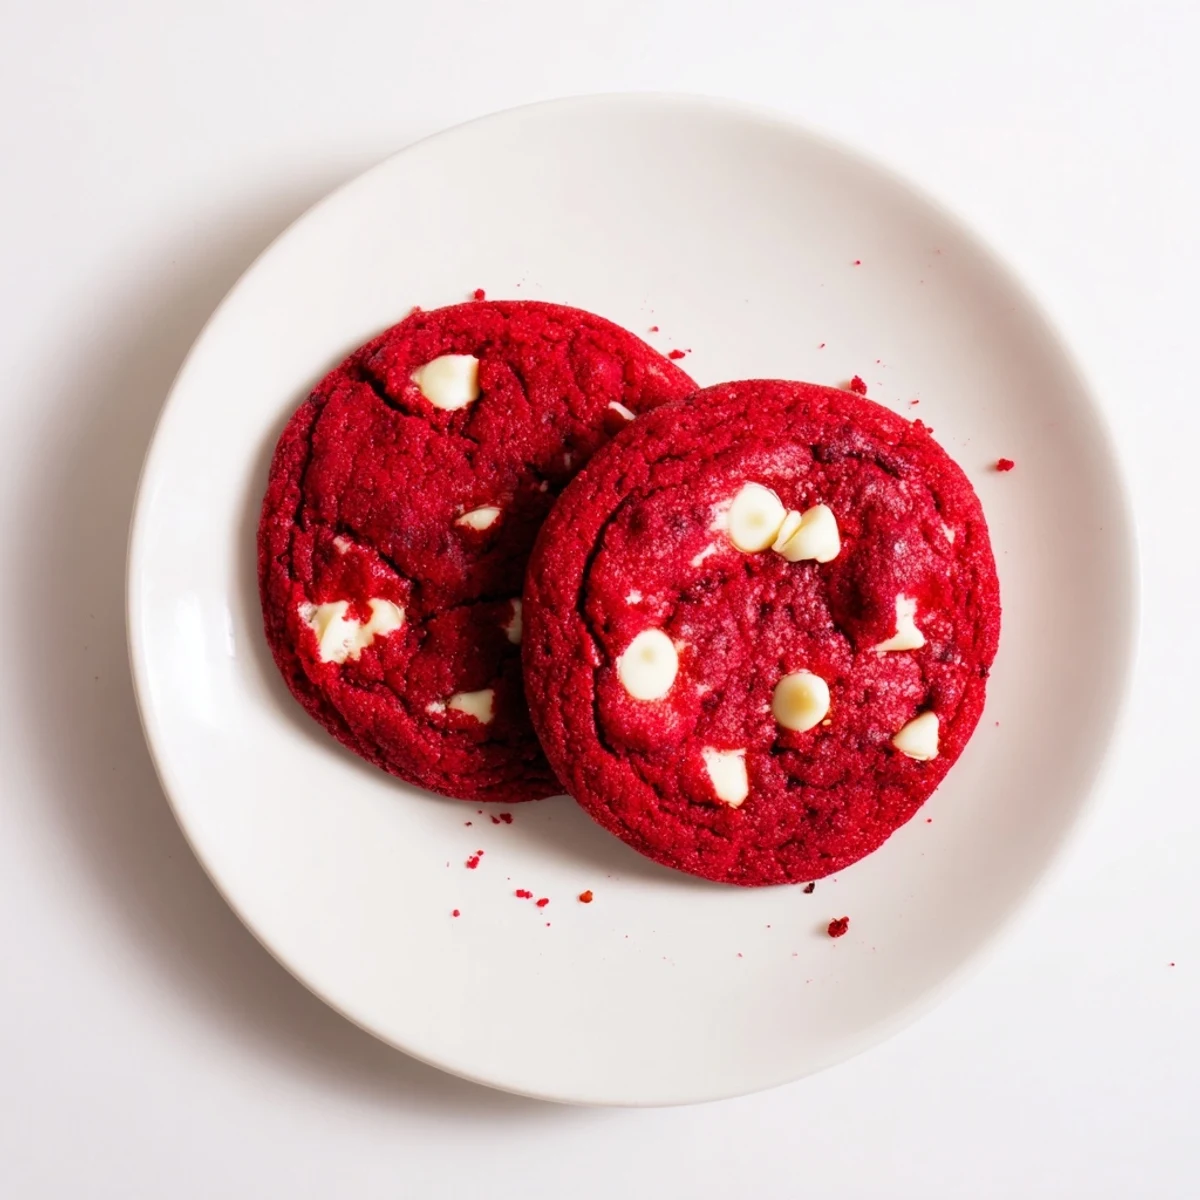
 These red velvet cookies have become the treat my family requests most often, and I am happy to oblige every single time.
Frequently Asked Questions
- → What gives red velvet cookies their distinctive flavor?
-
The combination of cocoa powder and a small amount of distilled white vinegar creates the signature tangy flavor profile. The cocoa provides subtle chocolate notes while the vinegar adds that characteristic tang reminiscent of traditional red velvet cake.
- → Can I use natural food coloring instead of artificial?
-
Beet juice or pomegranate juice can work as natural alternatives, though they may produce a more muted red hue. Gel-based natural colorings tend to be more concentrated than liquid versions. Keep in mind that natural options might require more product to achieve the same vibrant color.
- → Why does this recipe use both butter and oil?
-
Butter provides rich flavor while oil ensures the cookies remain soft and chewy for days. This combination prevents the treats from becoming hard or stale quickly, resulting in a texture that's perfectly tender with a slight crisp around the edges.
- → How do I know when the cookies are done baking?
-
The cookies are ready when the edges appear set and slightly firm, but the centers still look soft and underbaked. They typically take 11-13 minutes at 350°F. This slight underbaking is intentional and creates the perfect chewy texture as they finish cooking on the hot baking sheet.
- → Can I freeze the cookie dough?
-
Yes, scoop the dough onto a baking sheet and freeze until solid, then transfer to an airtight container. Frozen dough balls can be baked directly from the freezer, adding 1-2 minutes to the baking time. This allows you to enjoy fresh-baked treats whenever the craving strikes.
- → What other mix-ins work well with this dough?
-
Dark or milk chocolate chips make excellent alternatives to white chocolate. For added texture, consider mixing in chopped pecans or walnuts. Some bakers love adding a handful of mini marshmallows during the last minute of baking for a s'mores-inspired variation.
