 Save to Pinterest
 Cut 6-inch tortillas into rounds, brush with butter and cinnamon-sugar, then drape and bake until golden to make crisp shells. Blend cream cheese, powdered sugar and vanilla, whip heavy cream to stiff peaks and fold for a light cheesecake filling. Pulse vanilla sandwich cookies with freeze-dried strawberries and butter for a crunchy rim. Dip shell edges in butter and the crunch, pipe in filling, top with diced strawberries, and chill briefly for a firmer set. Swap berries or drizzle white chocolate for variation and serve within two hours for best texture.
The first time I tried these Strawberry Crunch Cheesecake Tacos, my kitchen was filled with the sound of 90s pop and the scent of cinnamon sugar toasting in the oven. It’s the kind of recipe I stumbled upon while craving something whimsical yet decidedly grown up. The strawberry crunch topping crackled enticingly under my spoon, drawing the family into the kitchen before I could even finish assembling. Sometimes, it’s that happy chaos which signals dessert is about to be unforgettable.
I remember one warm afternoon layering crunchy strawberry crumbs with my niece perched on the counter beside me, eagerly pressing each taco shell into the tray. Building these tacos together felt less like following a recipe and more like making edible art, especially as powdered sugar dusted our hands and laughter sprinkled the air.
Ingredients
- Small flour tortillas: I discovered that cutting them into smaller circles makes each taco bite-sized and crispier around the edges.
- Melted butter: Brushing both sides gives the tortillas a golden finish and really holds the cinnamon sugar coating.
- Granulated sugar & cinnamon: This classic mix brings those irresistible fairground vibes, but I like to nudge the cinnamon up just a little for cozy warmth.
- Cream cheese, softened: Smooth cream cheese is key for a lump-free, luscious filling–let it soften completely before starting.
- Powdered sugar: I’ve found sifting it in helps avoid surprise clumps in the cheesecake filling.
- Vanilla extract: Just a splash perks up the tangy filling without overpowering.
- Heavy cream, cold: Whipping the cream separately ensures the filling stays fluffy and pipes beautifully.
- Vanilla sandwich cookies: Choose a crisp, plain variety so the crunch doesn’t get soggy too soon.
- Freeze-dried strawberries: These concentrate pure berry flavor and keep the strawberry crunch from wilting even if made ahead.
- Unsalted butter: Helps bind the crunchy topping, and any extra is perfect for dipping taco rims.
- Fresh strawberries, diced: The fresher the better–let them dry on paper towel before topping so the shells stay crisp.
Instructions
- Shape and bake the taco shells:
- Cut tortillas into rounds, then brush them generously with melted butter and dust with cinnamon sugar while singing along to anything upbeat. Drape each over the oven rack so they hang like little hammocks; bake until golden, watching closely (they go from golden to dark faster than you think).
- Make the strawberry crunch:
- In a food processor, pulse vanilla cookies and freeze-dried strawberries until you hear the crunch go quiet, then blend in melted butter until clumps form. Spread this pink rubble onto a tray and let it air out to stay crisp.
- Whip up the cheesecake filling:
- Beat cream cheese by itself first so it's completely smooth, then blend in powdered sugar and vanilla until creamy. Whip the cold heavy cream in a separate bowl–it'll come together quicker than you think–then gently fold it into the cream cheese mixture with a spatula to keep everything airy.
- Crunch the rims:
- Brush taco shell rims with melted butter, then dip into your strawberry crunch–press gently so the crumbs stick and make a deliciously messy ring.
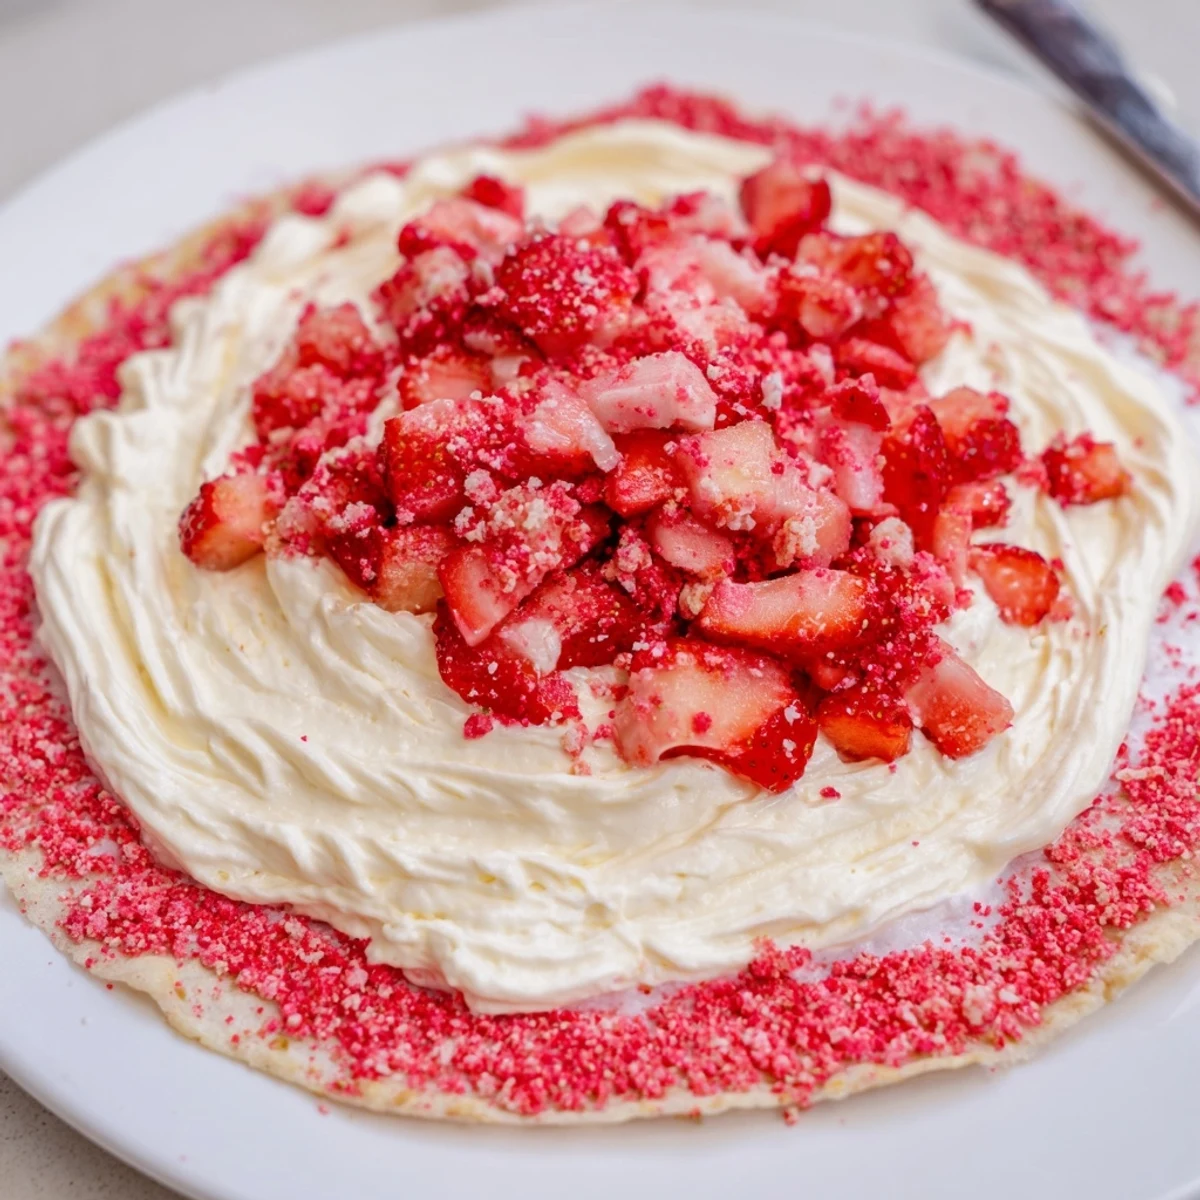
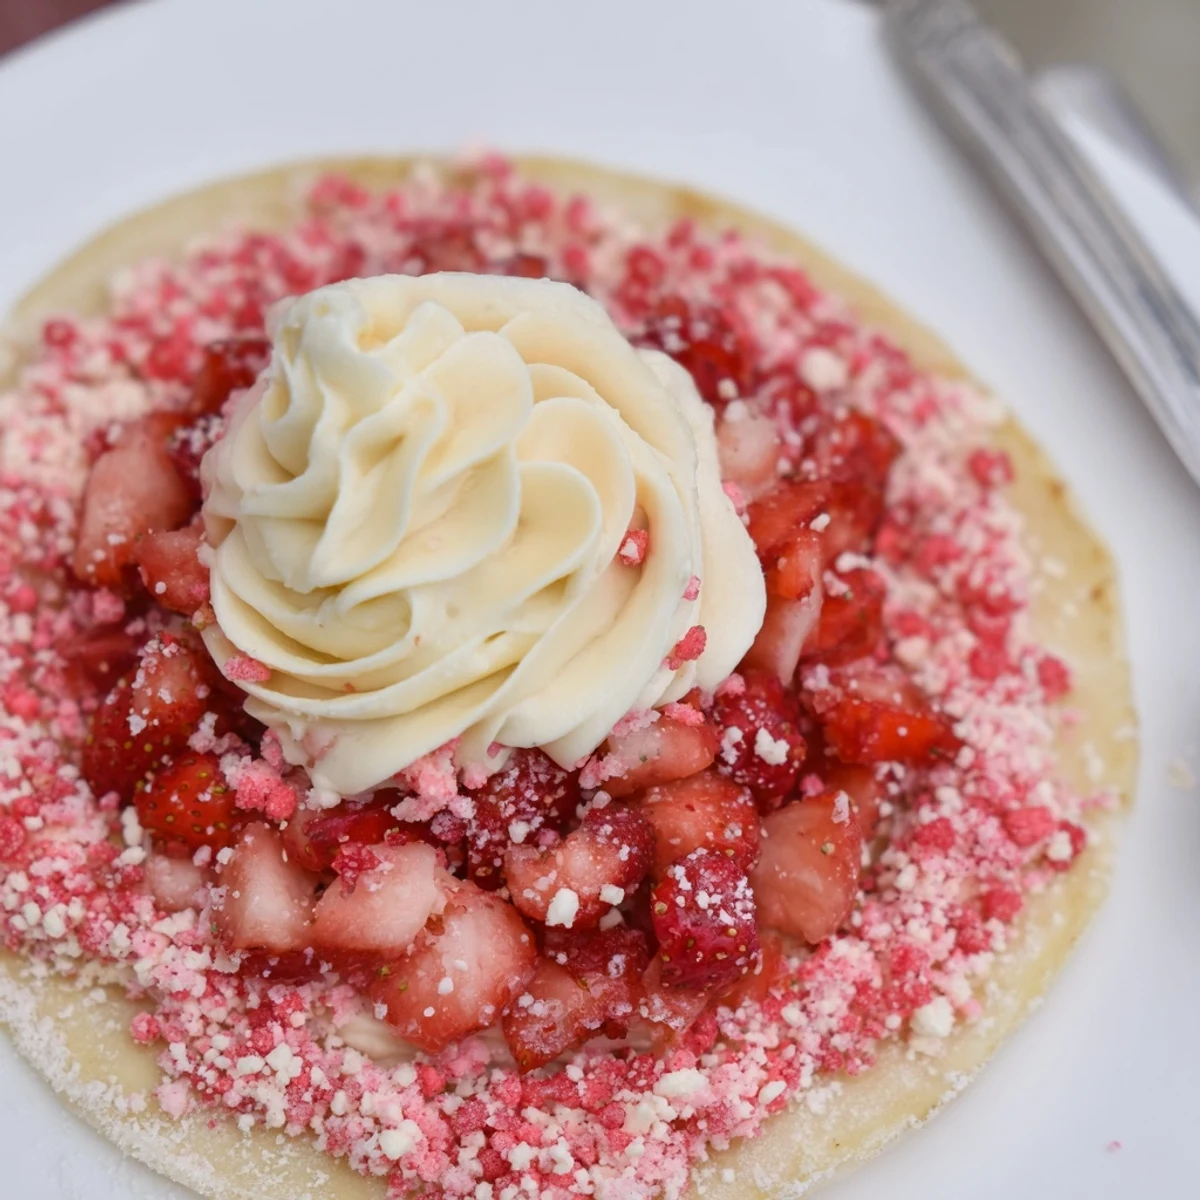
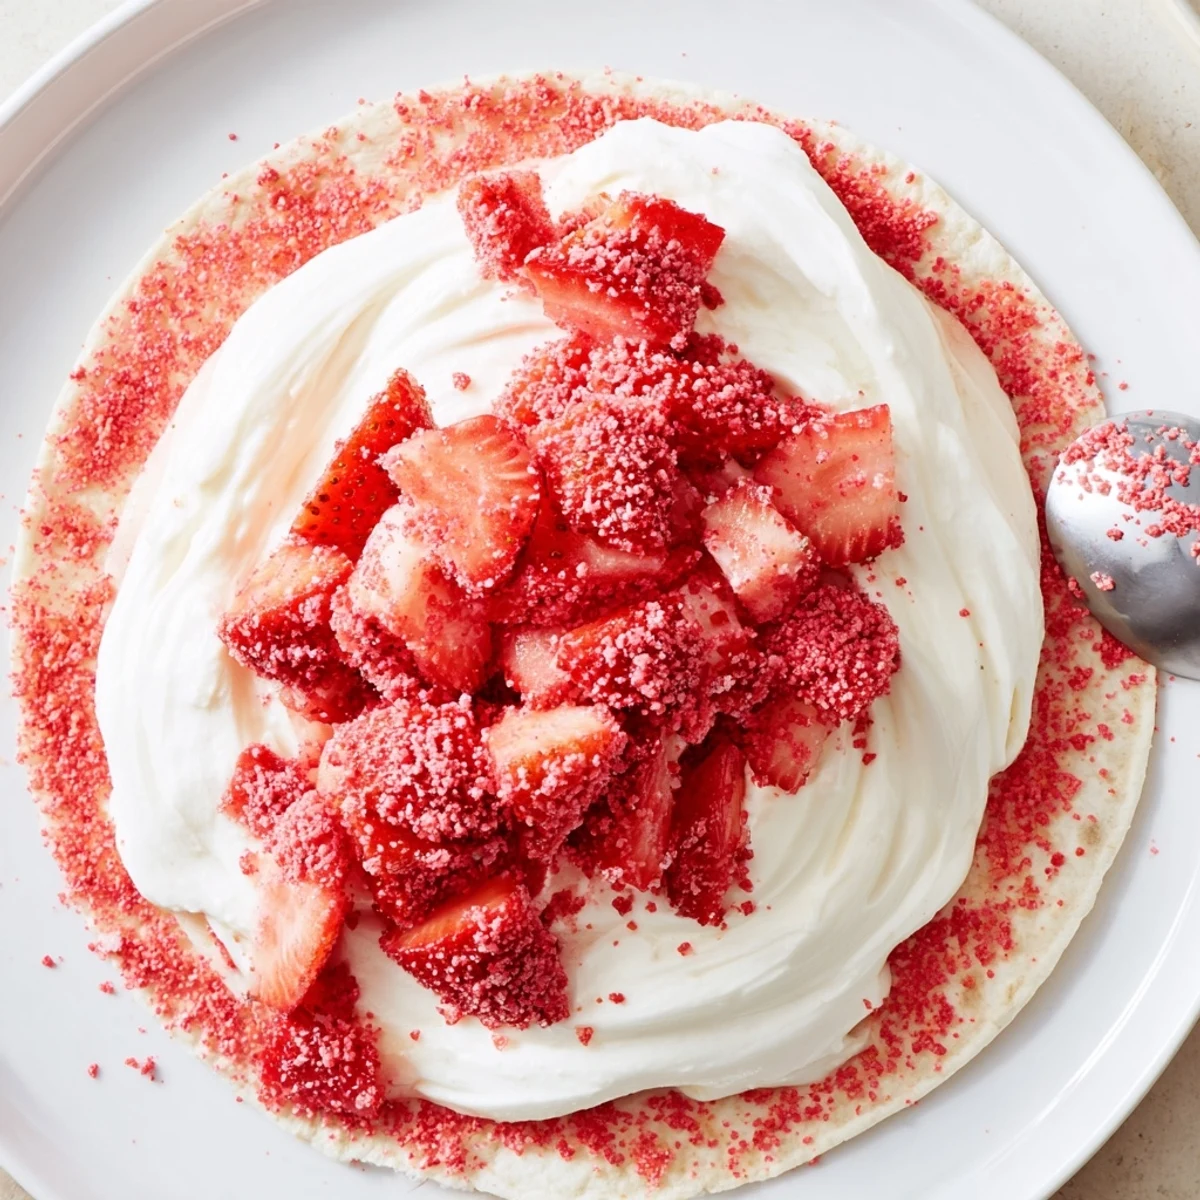
- Assemble the tacos:
- Spoon or pipe the cheesecake filling into each taco shell. Top generously with fresh chopped strawberries and an extra dusting of strawberry crunch for good measure.
- Serve and chill as needed:
- Enjoy them immediately if you want the shells ultra-crisp, or pop them in the fridge for 30 minutes for a firmer filling (if you can wait that long).
 Save to Pinterest
 Bringing these to a backyard cookout, I watched even the grownups set aside their burgers to snap photos of these pastel-topped treats, some even going back for seconds before the main course was cleared. In that moment, dessert truly felt like the headliner, not an afterthought.
Taco Shell Troubleshooting
On my first attempt, I tried resting the tortilla circles on an upside-down muffin tin–it worked in a pinch, but the shells didn’t hold their shape as nicely as the oven rack method. That’s when I realized the direct air in the oven is key for crisping the sides. If the shells are getting too dark, pull them just as the edges look golden and let the carryover heat finish the job on the counter.
Cheesecake Filling Secrets
If you ever find lumps sneaking into your filling, it’s usually because the cream cheese is too cold. Letting it warm up on the counter makes an impressively smooth base, and whipping the cream separately keeps the texture pillow-light. Sometimes I add a whisper of lemon zest for brightness.
Best Ways to Serve and Store
I like to serve these tacos on a big platter, filling just before the party starts so the shells stay as crisp as possible. If you prefer a firmer fill, a quick chill in the fridge makes the cheesecake denser–just don’t wait more than a couple hours or the crunch softens. It’s tempting to prep ahead, but these really sparkle eaten fresh.
- Store leftovers in a single layer, not stacked, to keep the shells neat.
- Swap in blueberries or raspberries for a different twist.
- Always assemble just before serving for best results.
 Save to Pinterest
 Sharing these strawberry crunch tacos reminds me how the best desserts are the ones that spark a little joy and laughter. Whether you eat them with your hands or a fork, just be ready for sticky fingers and happy faces.
Frequently Asked Questions
- → How do I keep the shells crisp?
-
Bake the shaped tortillas until fully golden and cool them completely on a rack. Fill shells just before serving or chill assembled tacos no more than 2 hours to avoid sogginess.
- → Can the cheesecake filling be prepared ahead?
-
Yes. Make the filling a day ahead and keep it chilled. Whip again briefly before piping if it loses volume; hold in a piping bag in the fridge until assembly.
- → What can I use instead of freeze-dried strawberries?
-
Substitute crushed freeze-dried raspberries or finely chopped dehydrated fruit for similar texture and bright color. Fresh strawberries will soften the crunch, so avoid using them in the crumble.
- → Is there a no-oven way to crisp shells?
-
Yes. Warm a skillet over medium heat and fry shaped tortillas briefly on each side until golden, or use an air fryer at 375°F (190°C) for 5–7 minutes, watching closely to prevent burning.
- → How can I make this gluten- or dairy-free?
-
Use certified gluten-free tortillas and sandwich cookies, and swap cream cheese and heavy cream for dairy-free cream cheese and whipped coconut cream. Note texture and flavor will differ slightly.
- → Any tips for neat filling and presentation?
-
Chill the filling slightly for firmer piping, use a wide star tip for an even look, and press the crunch onto warm buttered rims for secure adhesion before adding diced strawberries on top.
