 Save to Pinterest
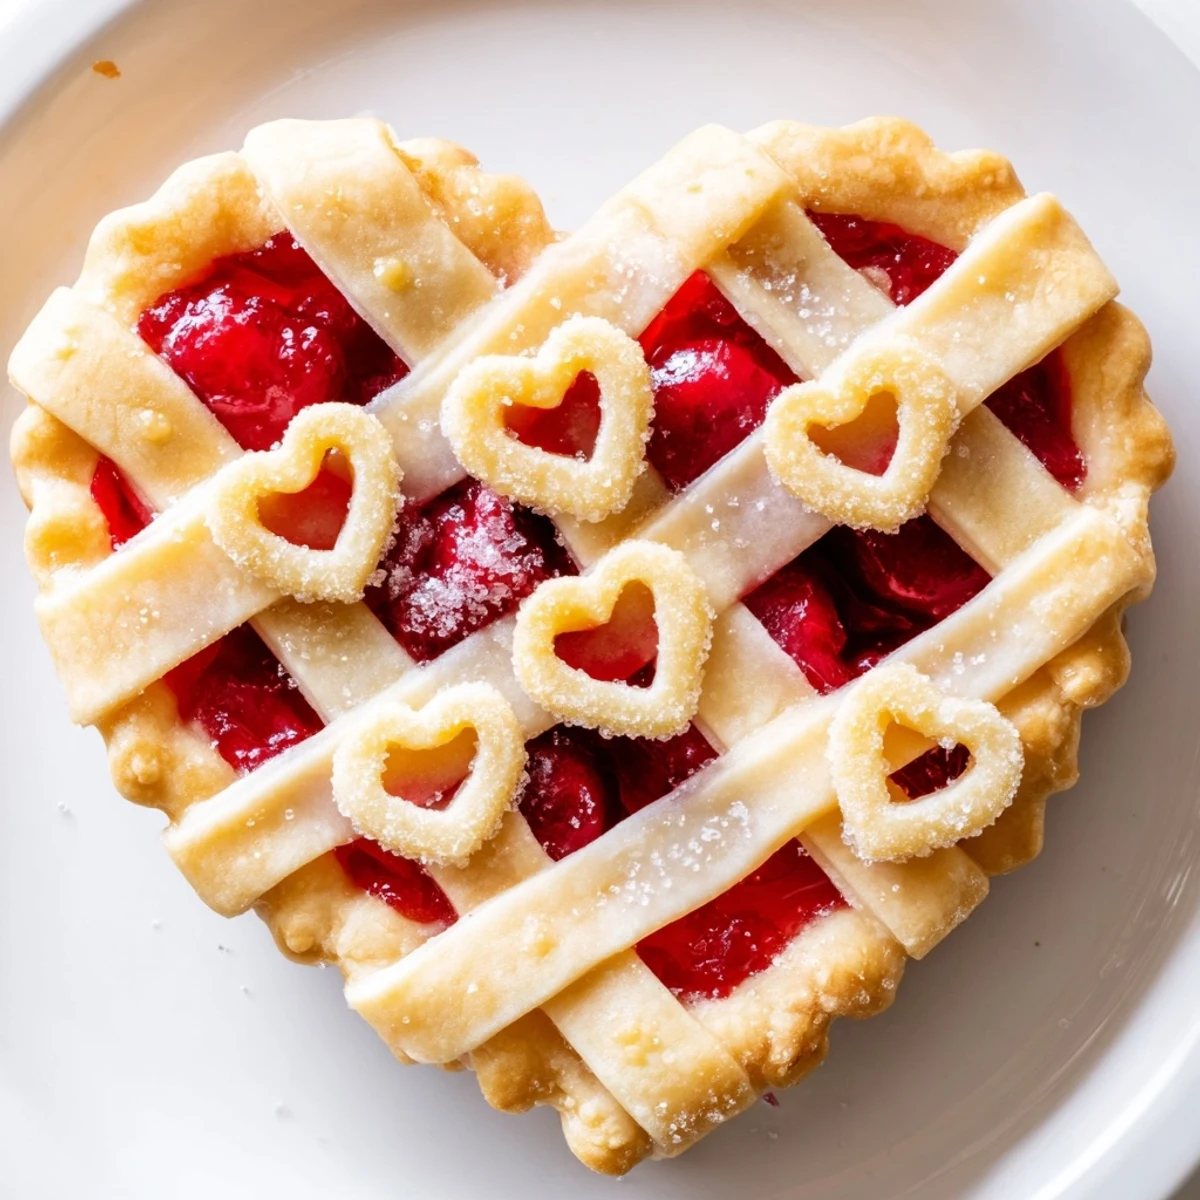
 This classic cherry dessert features a buttery, flaky crust woven into a delicate lattice pattern, showcasing a vibrant cherry filling with a perfect balance of sweetness and tartness. Preparing the crust involves chilling and rolling a balanced flour and butter dough, while the filling blends fresh cherries with sugar, lemon juice, and almond extract for a subtle depth of flavor. The lattice top is brushed with egg wash and sprinkled with coarse sugar for a golden, crisp finish. Ideal for serving after chilling to allow clean slices and maximum flavor.
The kitchen counter was covered in flour, my hands dusted white, and there was butter melting on my fingertips. I'd been watching lattice crust tutorials for days, determined to finally master that woven pattern that makes cherry pie look like something from a bakery window. My first attempt was a disaster of torn strips and patched gaps, but by the third try, I found my rhythm and fell in love with the process.
Last Valentine's Day, I made two of these pies and brought one to my neighbor who'd been going through a rough divorce. She texted me at midnight to say she'd eaten three slices standing at her counter, crying and laughing, and that cherry pie had somehow fixed everything for twenty glorious minutes. Food has this way of showing up exactly when we need it most.
Ingredients
- 2 1/2 cups all-purpose flour: The foundation of everything good. I've learned through many failed crusts that measuring by weight if possible gives you the most consistent results.
- 1 cup unsalted butter, chilled and cubed: Keep this ice cold. Warm butter makes tough crust, and I once ruined a whole batch by letting my butter sit too long on the counter while I got distracted.
- 1/2 tsp salt: Dont skip this. It balances all that sweetness and makes the butter taste more like itself.
- 1 tbsp granulated sugar: Just a hint of sweetness in the crust helps it brown beautifully and gives you that golden color we're all chasing.
- 6 to 8 tbsp ice water: Start with 6 and add more only if the dough is too dry to come together. I keep a measuring cup of ice water beside me while I work.
- 5 cups pitted sweet cherries: Fresh is spectacular in summer, but frozen works perfectly if you thaw and drain them well. I actually prefer frozen sometimes since they're picked at peak ripeness.
- 1 cup granulated sugar: This might seem like a lot, but cherries need it. Taste your filling before you bake it, and if your cherries are especially tart, dont be afraid to add another tablespoon.
- 1/4 cup cornstarch: This is what transforms those cherry juices into that gorgeous thick filling that holds its shape when you slice. I tried using flour once and it was a sad soupy mess.
- 1 tbsp fresh lemon juice: Brightens everything up and cuts through the sweetness. Fresh squeezed makes a noticeable difference here.
- 1/8 tsp almond extract: The secret weapon. Cherry and almond are best friends, and this tiny amount amplifies the cherry flavor without overpowering it.
- 1/4 tsp salt: Same story as the crust salt. It wakes everything up and keeps the filling from tasting one dimensional.
- 1 egg, beaten: For that professional looking golden finish. Don't skip this step, it makes all the visual difference.
- 1 tbsp coarse sugar: Sparkle is important. This creates that crunch on top that makes the first bite so satisfying.
Instructions
- Make your pie dough:
- Whisk together the flour, sugar, and salt in a large bowl until well combined. Add those cold butter cubes and work them in with a pastry cutter or your fingertips until the mixture looks like coarse crumbs with some pea sized pieces still visible. You want those butter chunks to stay cold. Sprinkle 6 tablespoons of ice water over the mixture and gently stir with a fork or your hands, adding more water only as needed until the dough just barely comes together when you squeeze a handful. Divide into two disks, wrap tightly in plastic, and refrigerate for at least an hour. This rest time is non negotiable, it lets the gluten relax and prevents a tough crust.
- Prepare the cherry filling:
- In a large bowl, combine the cherries with sugar, cornstarch, lemon juice, almond extract, and salt. Gently fold everything together until the cherries are evenly coated and the cornstarch has dissolved into the juices. Let this sit while you roll out your crust. The sugar will start drawing out the cherry juices, and that's exactly what you want to happen.
- Get your oven ready:
- Preheat your oven to 400°F with a rack in the center position. If you have a baking stone or steel, now's the time to put it in the oven to heat up, which helps bottom crusts bake through properly.
- Roll out the bottom crust:
- On a lightly floured surface, roll out one disk of dough into a 12 inch circle, lifting and rotating the dough frequently to prevent sticking and ensure even thickness. Carefully transfer it to your 9 inch pie dish, letting the excess dough hang over the edges. Place the dish in the refrigerator while you work on the lattice.
- Weave that lattice top:
- Roll out the second dough disk and cut it into strips about 1 inch wide using a knife, pastry wheel, or pizza cutter. Lay half the strips across the pie in parallel lines, then gently fold back every other strip and place a perpendicular strip in the gap. Fold the strips back down and repeat, folding back the alternate strips, until you've created that woven pattern. Trim any overhanging dough, then fold the bottom crust edges over the lattice ends and crimp them together with your fingers or a fork to seal everything tight.
- Add those final touches:
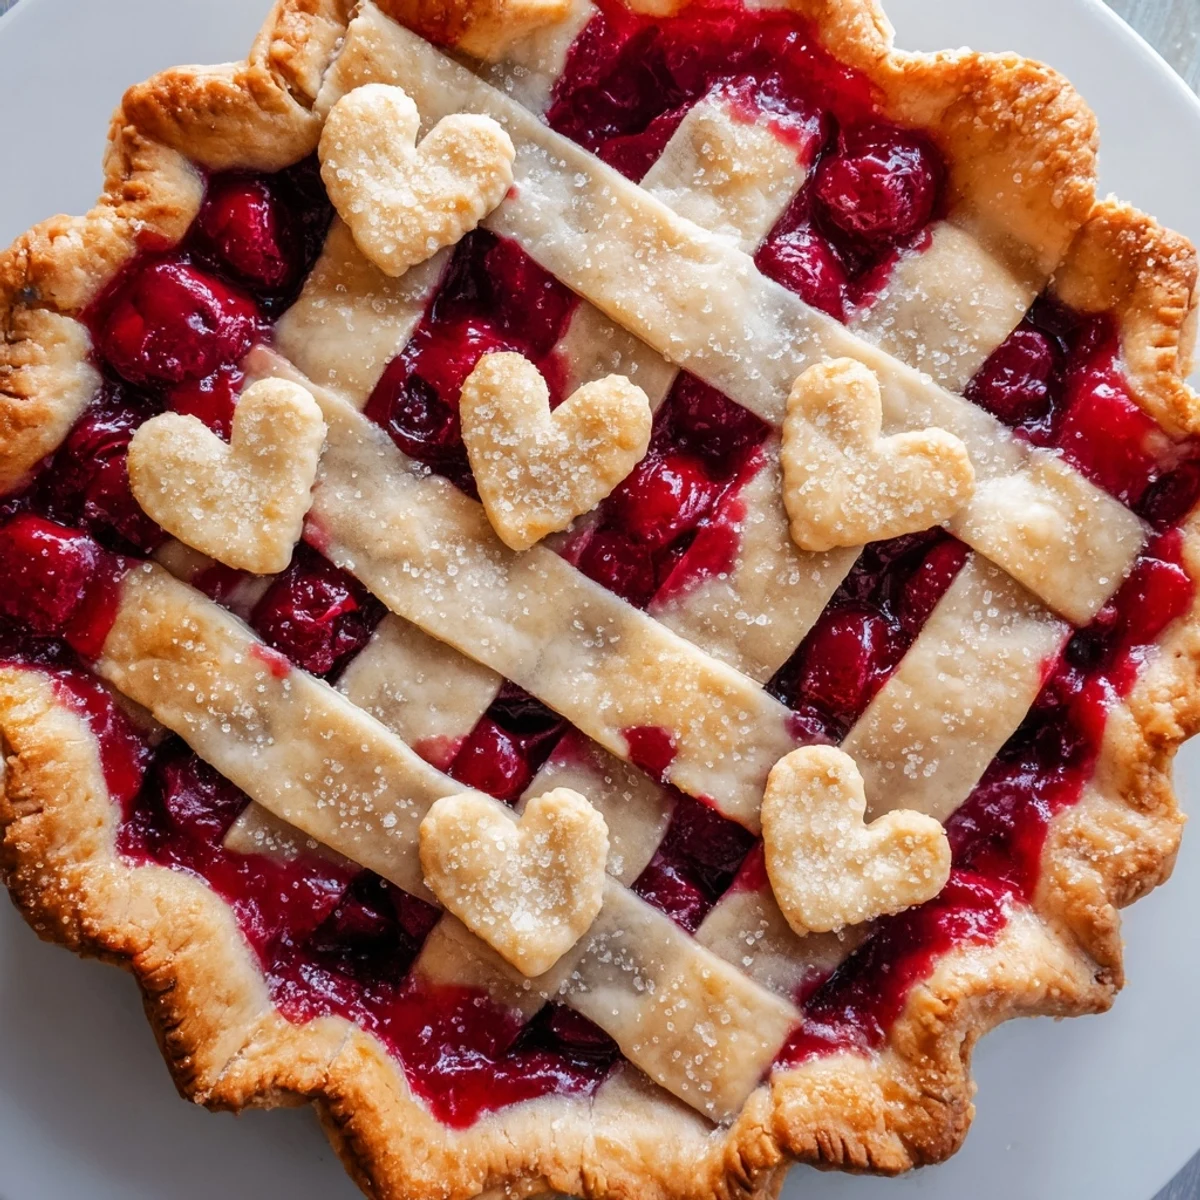
- Brush the entire lattice top and crimped edges with the beaten egg using a pastry brush. Sprinkle the coarse sugar generously over the surface for that bakery worthy sparkle. If you're feeling romantic, use small cookie cutters to cut heart shapes from your dough scraps and arrange them on the lattice.
- Bake to golden perfection:
- Place the pie on a rimmed baking sheet to catch any drips and slide it into the hot oven. Bake for 20 minutes at 400°F, then reduce the temperature to 350°F and continue baking for another 30 to 35 minutes. The crust should be deeply golden and you should see the cherry filling bubbling vigorously through the lattice openings. If the edges start browning too quickly, tent them with foil.
- The hardest part waiting:
- Cool the pie completely for at least 3 hours before slicing. I know, I know, you want to eat it now, but this patience is what separates a runny mess from perfectly neat slices. The filling needs time to set up as it cools. This is actually when I make coffee and set the table, giving myself something to do besides stare at the pie and will it to cool faster.
 Save to Pinterest
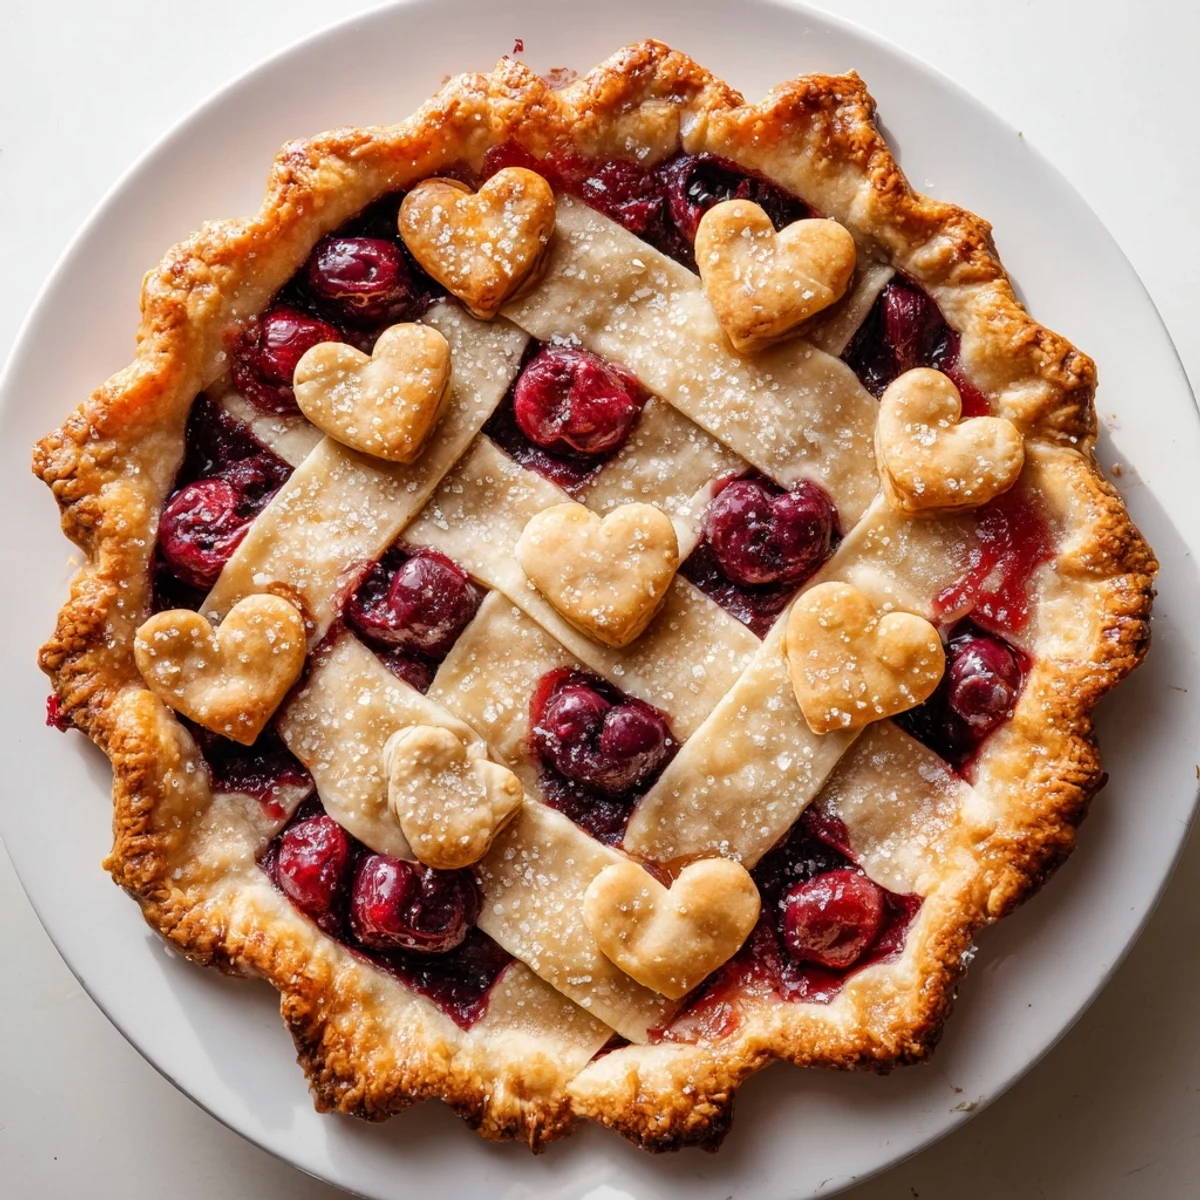
 My grandmother always said that pie is love made visible, and I understand that completely now. There's something about the whole process, the patience it requires, the way it fills your whole kitchen with comfort, that just feels like giving someone a hug. This cherry pie has become my go to for bringing to new neighbors, celebrating anniversaries, or just because it's Tuesday and we deserve something beautiful.
Making Ahead
The dough can be made up to 2 days ahead and kept wrapped tightly in the refrigerator, or frozen for up to 3 months if you want to get a head start on holiday baking. I often make double batches of dough and freeze the extra, because let's be honest, a last minute pie situation can happen to anyone. You can also fully assemble the pie and freeze it unbaked, then add about 15 minutes to the baking time when you're ready to bake it straight from frozen.
Serving Suggestions
Vanilla ice cream is the classic pairing for good reason, that cold creaminess melting into warm spiced cherries is absolute perfection. For something different, try a scoop of cinnamon ice cream or a dollop of crème fraîche mixed with a little powdered sugar. A cup of hot coffee or tea alongside makes this feel like the most luxurious dessert in the world.
Storage Secrets
This pie is actually best the second day, after the flavors have had time to really meld and the crust has softened slightly. Keep it loosely covered at room temperature for up to 2 days, or refrigerate for up to 4 days if your kitchen runs warm. Let refrigerated pie come to room temperature before serving, as the filling will be too cold and firm straight from the fridge.
- Individual slices freeze beautifully wrapped in plastic and then foil, perfect for lunchbox treats or late night cravings
- Recrisp leftover slices in a 350°F oven for about 10 minutes to bring back that fresh baked texture
- The pie plate will likely have stubborn baked on filling, so soak it in warm soapy water right away instead of letting it sit
 Save to Pinterest
 There's something deeply satisfying about sliding a cherry pie out of the oven, golden and bubbling, knowing you created something that looks like it came from a skilled bakery. Every slice feels like a little celebration.
Frequently Asked Questions
- → How do I achieve a flaky crust?
-
Use cold unsalted butter cut into flour until crumbly, adding ice water gradually to form the dough without overworking.
- → Can I use frozen cherries?
-
Yes, but thaw and drain them well to prevent excess moisture in the filling.
- → What is the purpose of the lattice crust?
-
The lattice allows steam to escape while offering a decorative, golden top that crisps beautifully during baking.
- → How long should I chill the pie before slicing?
-
Cool the pie for at least 3 hours to help the filling set for clean, neat slices.
- → Can I add vanilla to the filling?
-
Adding a teaspoon of vanilla extract enhances the cherry flavors with a warm aromatic note.
