 Save to Pinterest
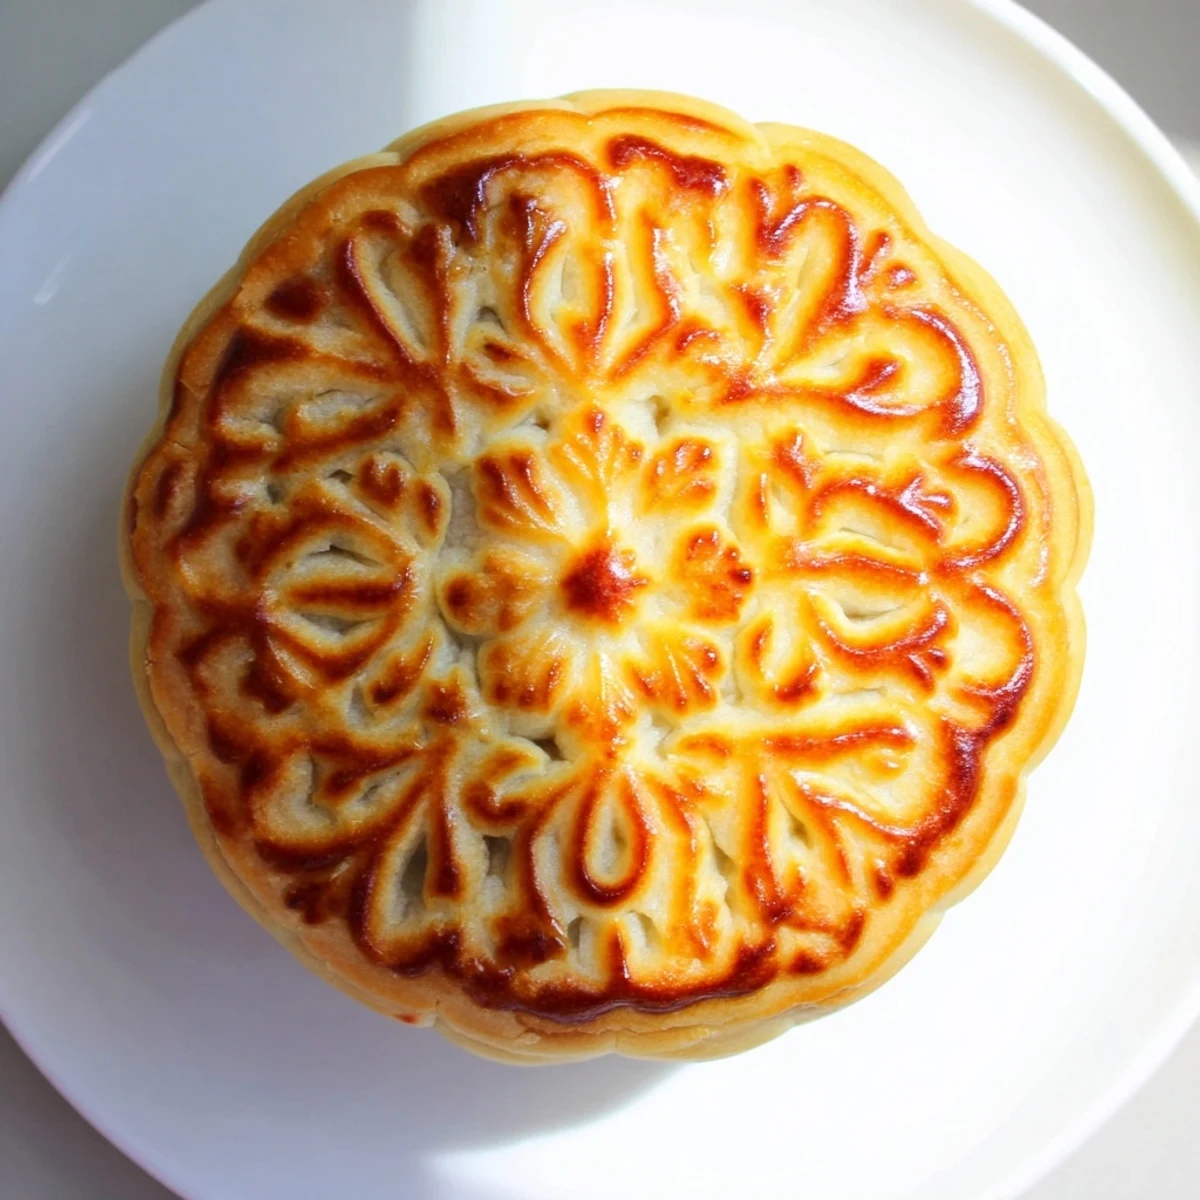
 Create these iconic Chinese delicacies with a tender, golden syrup-infused pastry encasing rich lotus seed paste. The traditional method involves resting the dough for optimal texture, then wrapping each portion around filling and optional salted egg yolks. Shaped in decorative molds and brushed with egg glaze, these pastries bake to golden perfection. Allow to rest for a day or two before serving—the skin softens beautifully while the filling becomes irresistibly dense and sweet.
Last autumn, my grandmother's sister handed me a weathered wooden mold and said making mooncakes was about patience, not perfection. We spent the entire afternoon wrestling with sticky lotus paste and trying to get those intricate imprints just right. By the time the golden syrup scent filled her tiny kitchen, I understood why people wait all year for these crescent-shaped treasures.
Last year, I made three dozen for my office and watched them disappear within twenty minutes. Someone mentioned they reminded them of childhood celebrations with family, which is exactly the kind of food memory I want to create. Now people start asking me about mooncakes in July.
Ingredients
- 200 g all-purpose flour: The foundation of that characteristic tender crust, though lowprotein cake flour works too
- 120 g golden syrup: This thick amber syrup is nonnegotiable for both color and that signature honeyed undertone
- 50 g vegetable oil: Neutral oils work best here since you want the syrup to shine
- 1 tsp alkaline water: The secret ingredient that gives mooncakes their golden glow and helps texture develop
- 500 g lotus seed paste: Smooth and creamy with just enough sweetness to balance the pastry
- 12 salted egg yolks: Traditional but entirely optional, they add savory richness and that coveted golden center
- 1 egg yolk: Mixed with water for the glaze that creates that burnished shine
- 1 tbsp water: Just enough to thin the egg yolk for even brushing
Instructions
- Prep your workspace:
- Preheat oven to 180°C and line a baking sheet with parchment paper before you start handling the dough
- Make the syrup base:
- Whisk golden syrup, oil, and alkaline water until completely emulsified and smooth
- Form the dough:
- Add flour to the wet mixture and stir until just combined, then cover and let the dough rest for 30 minutes
- Prepare the filling:
- Divide lotus paste into 12 equal portions and nestle a salted egg yolk inside each if you are using them
- Portion the dough:
- Shape the rested dough into 12 equal balls, keeping them covered to prevent drying
- Wrap and seal:
- Flatten each dough piece into a disc, place a filling ball in the center, and gently encase it completely
- Shape the mooncakes:
- Dust each ball lightly with flour, press firmly into a floured mold, then invert to release the patterned design
- Initial bake:
- Bake for 5 minutes then cool completely for 10 minutes to set the pattern before glazing
- Add the glaze:
- Whisk egg yolk with water and brush an incredibly thin layer over each cooled mooncake
- Finish baking:
- Return to oven for 15 to 20 minutes until golden brown, watching closely to avoid overbrowning
- The waiting game:
- Cool completely then store in a sealed container for 1 to 2 days so the skins soften and develop proper texture
 Save to Pinterest
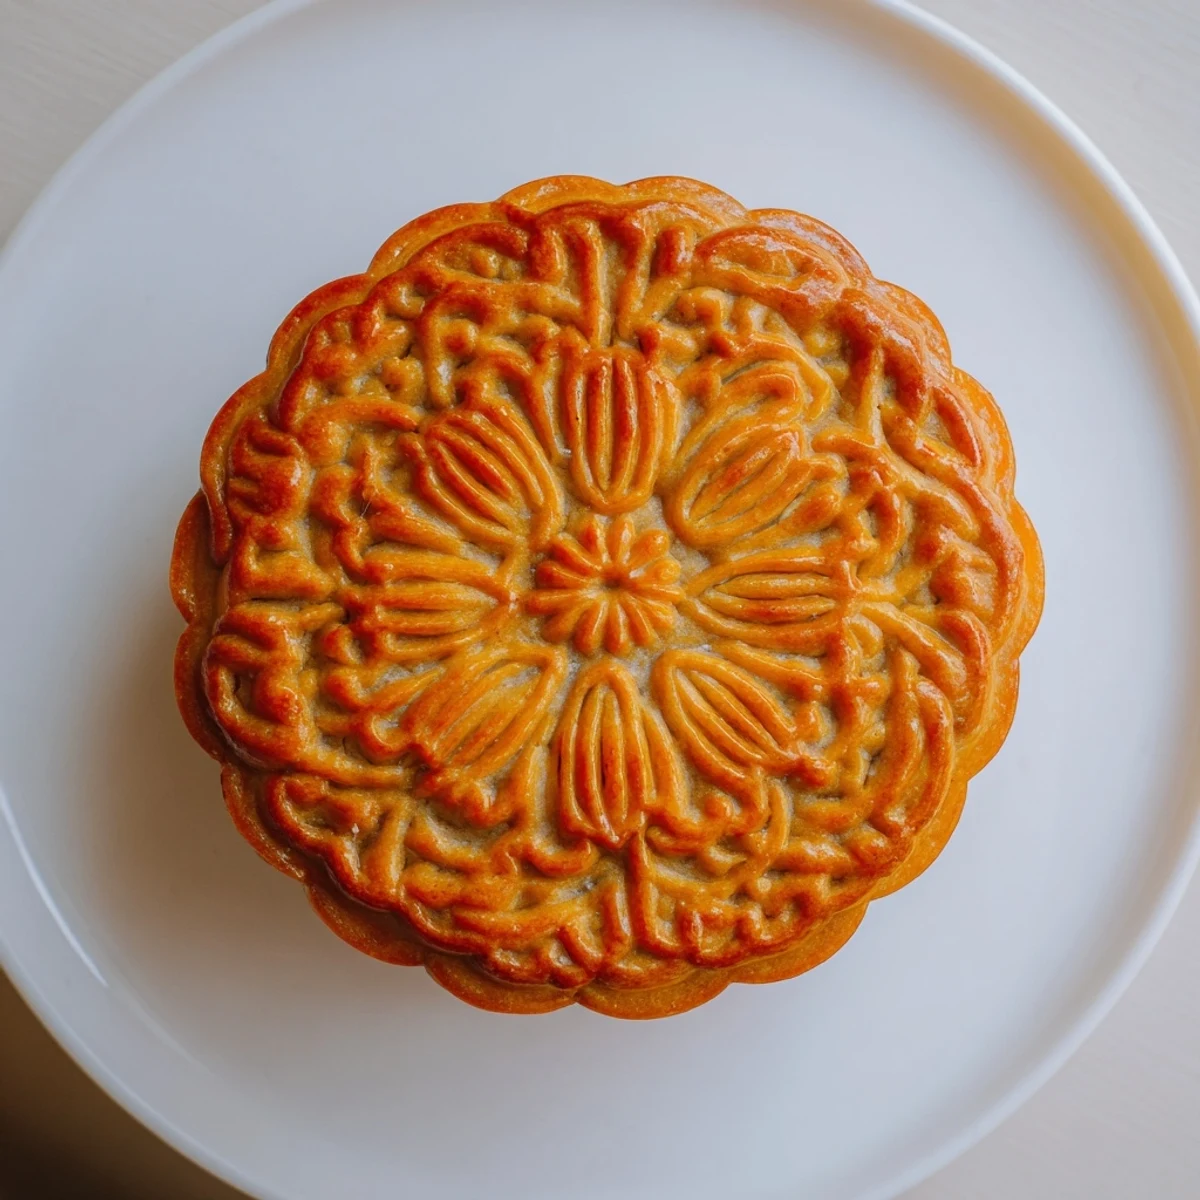
 My first attempt looked like lumpy rocks because I rushed the wrapping process and ended up with uneven folds. But that third batch, where everything finally clicked and those intricate designs emerged crisp and golden from the oven, I took about fifty photos before anyone could eat one.
Working With Alkaline Water
This ingredient can be tricky to find but Asian markets usually stock it in small bottles. The alkaline water reacts with the syrup during baking to create that characteristic reddishgolden hue mooncakes are famous for, plus it helps neutralize the acidity in the syrup for better texture.
Getting The Perfect Mold Release
Flour is your friend here, but do not overdo it or the patterns will look dusty. Tap the mold firmly against the counter once or twice before inverting, and if the mooncake sticks, gently tap the sides or use a thin knife to help it release without damaging the design.
Storing And Aging
Freshly baked mooncakes have a slightly crisp exterior that needs time to transform into that characteristic tender, almost chewy skin. Store them in an airtight container at room temperature and let them age for at least 24 hours before serving.
- Traditionalists believe mooncakes reach peak flavor after three days
- Avoid refrigerating as this causes the skin to harden unpleasantly
- They will keep for up to two weeks at room temperature
 Save to Pinterest
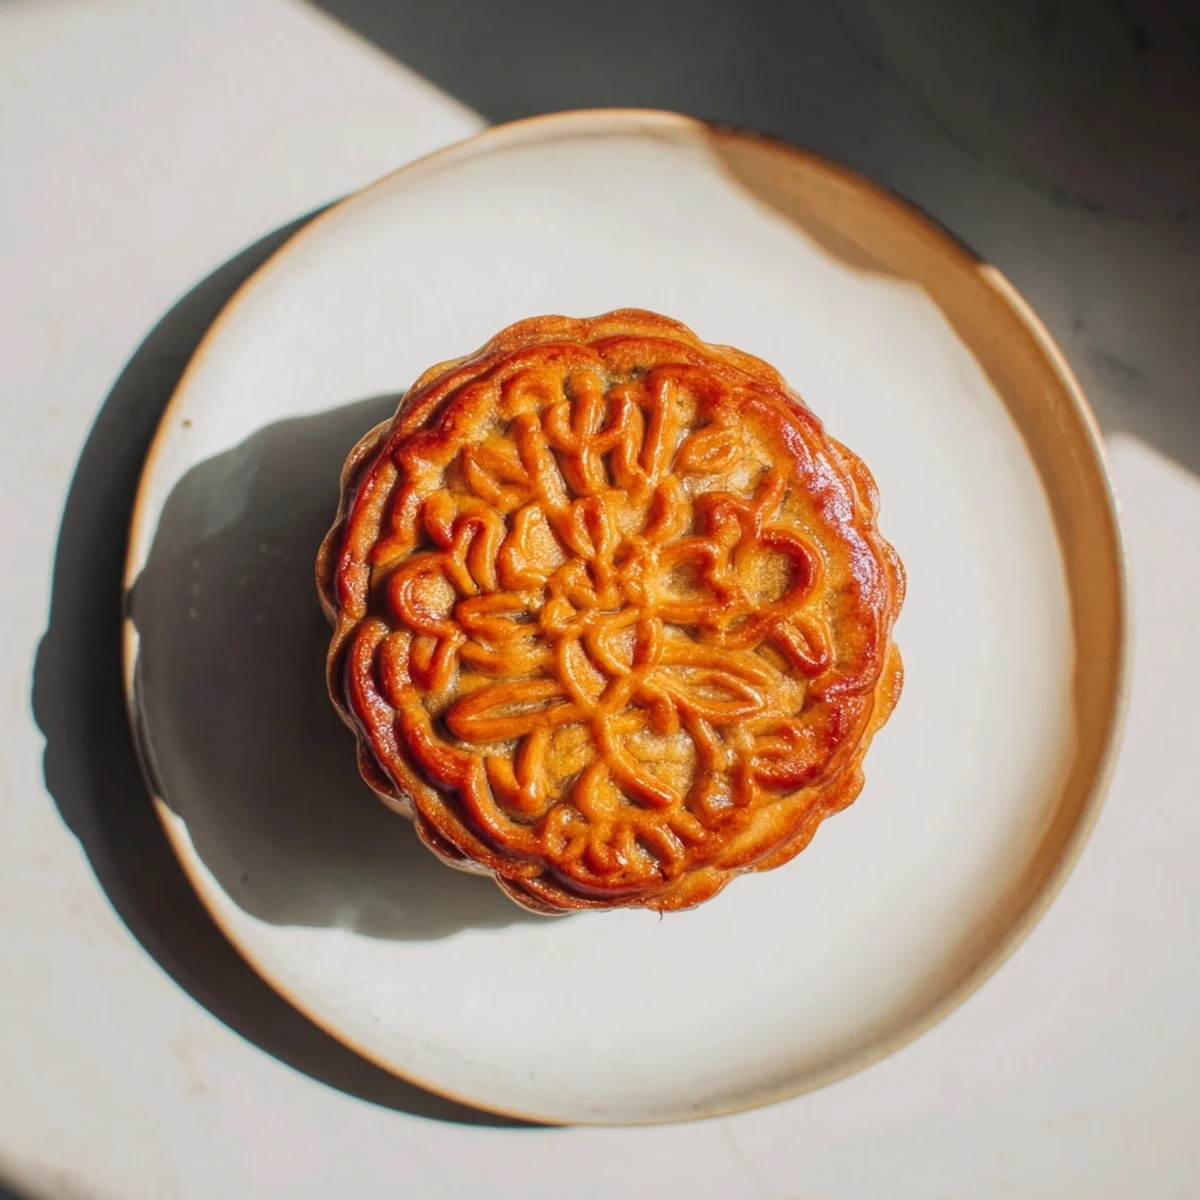
 There is something profoundly satisfying about cutting into a mooncake you have made yourself and seeing those perfect layers revealed. Share them with someone who has never tried one before and watch their face light up.
Frequently Asked Questions
- → What is the purpose of alkaline water in mooncake dough?
-
Alkaline water, also called lye water, gives mooncakes their characteristic golden-brown color and helps tenderize the dough. It also provides a subtle springy texture to the pastry skin that's essential for authentic results.
- → Why must mooncakes rest before serving?
-
Resting allows the fat in the pastry to redistribute and the skin to soften. Freshly baked mooncakes have a crisp exterior, but the traditional texture develops after 1-2 days in an airtight container when the skin becomes tender and slightly chewy.
- → Can I make mooncakes without a mold?
-
While molds create the traditional intricate patterns, you can shape them by hand. Flatten the dough-wrapped filling slightly into discs, or use a decorated tart press. The taste remains the same, though you'll miss the classic embossed appearance.
- → What's the difference between lotus paste and red bean paste?
-
Lotus seed paste has a smoother, creamier texture with a subtle floral flavor. Red bean paste is slightly sweeter with a earthier taste and somewhat grainier consistency. Both are traditional fillings, though lotus is considered premium.
- → How long do homemade mooncakes stay fresh?
-
Stored in an airtight container at room temperature, they remain fresh for up to 2 weeks. For longer storage, refrigerate for up to a month or freeze for 3 months. Bring to room temperature before serving for the best texture.
