 Save to Pinterest
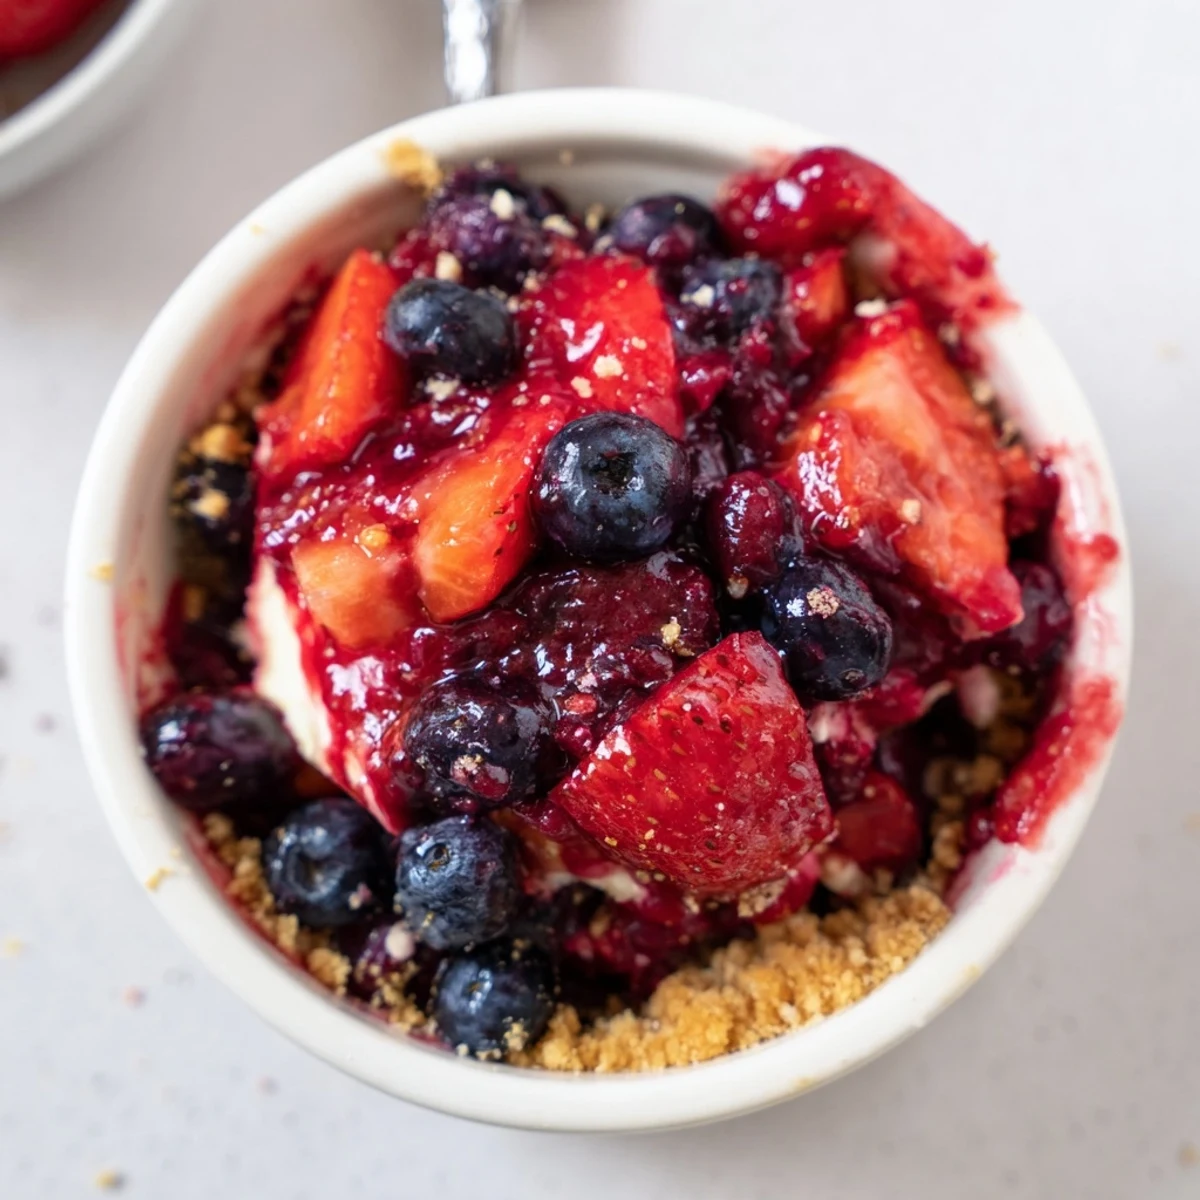
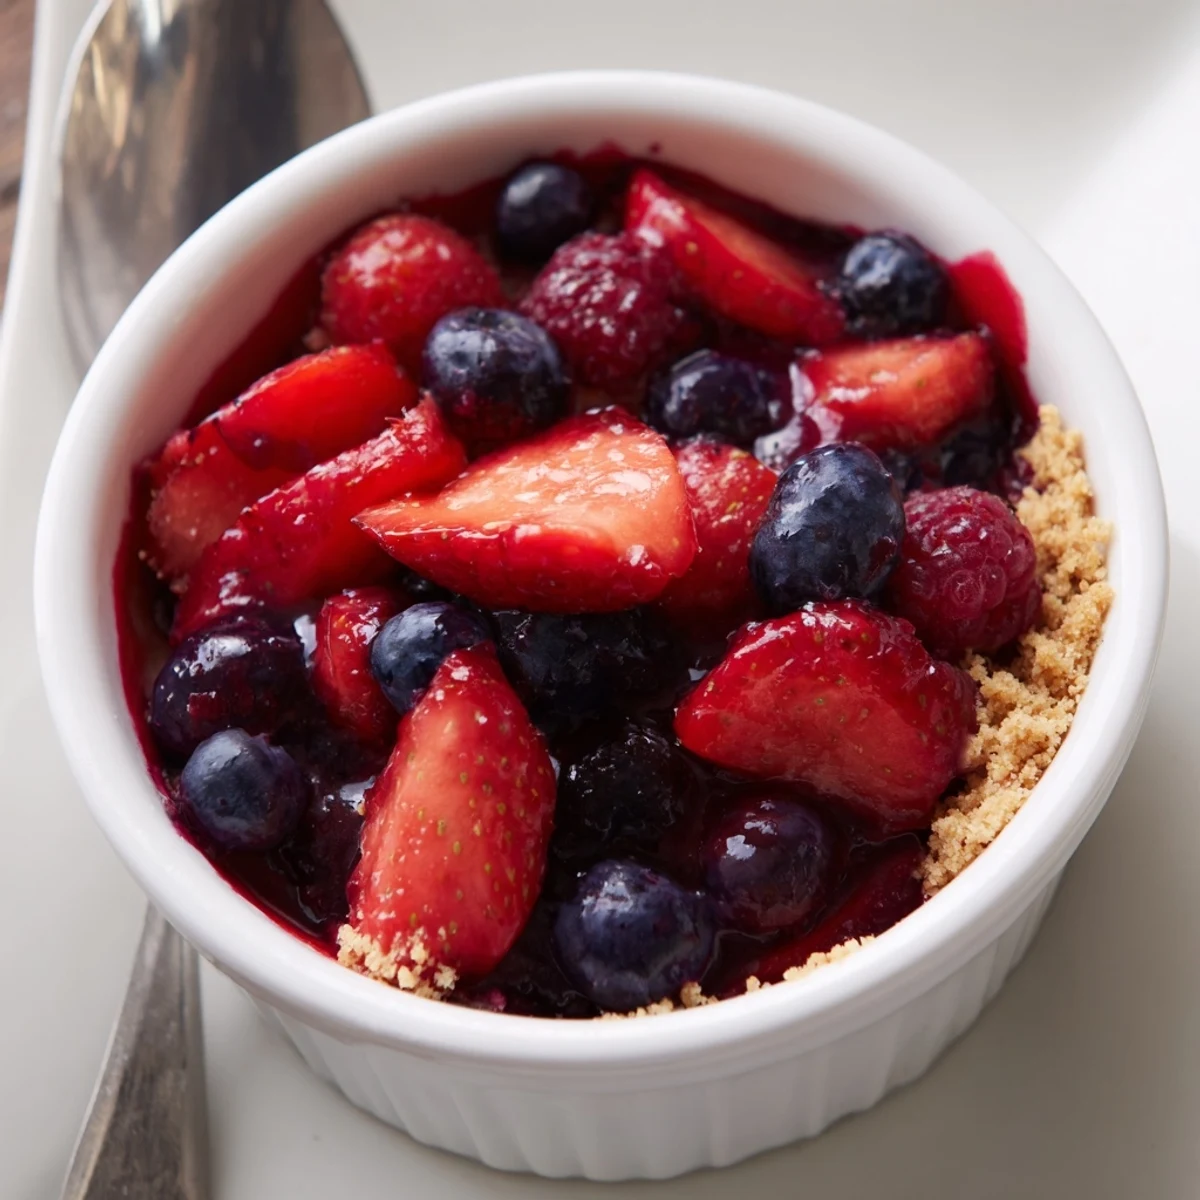
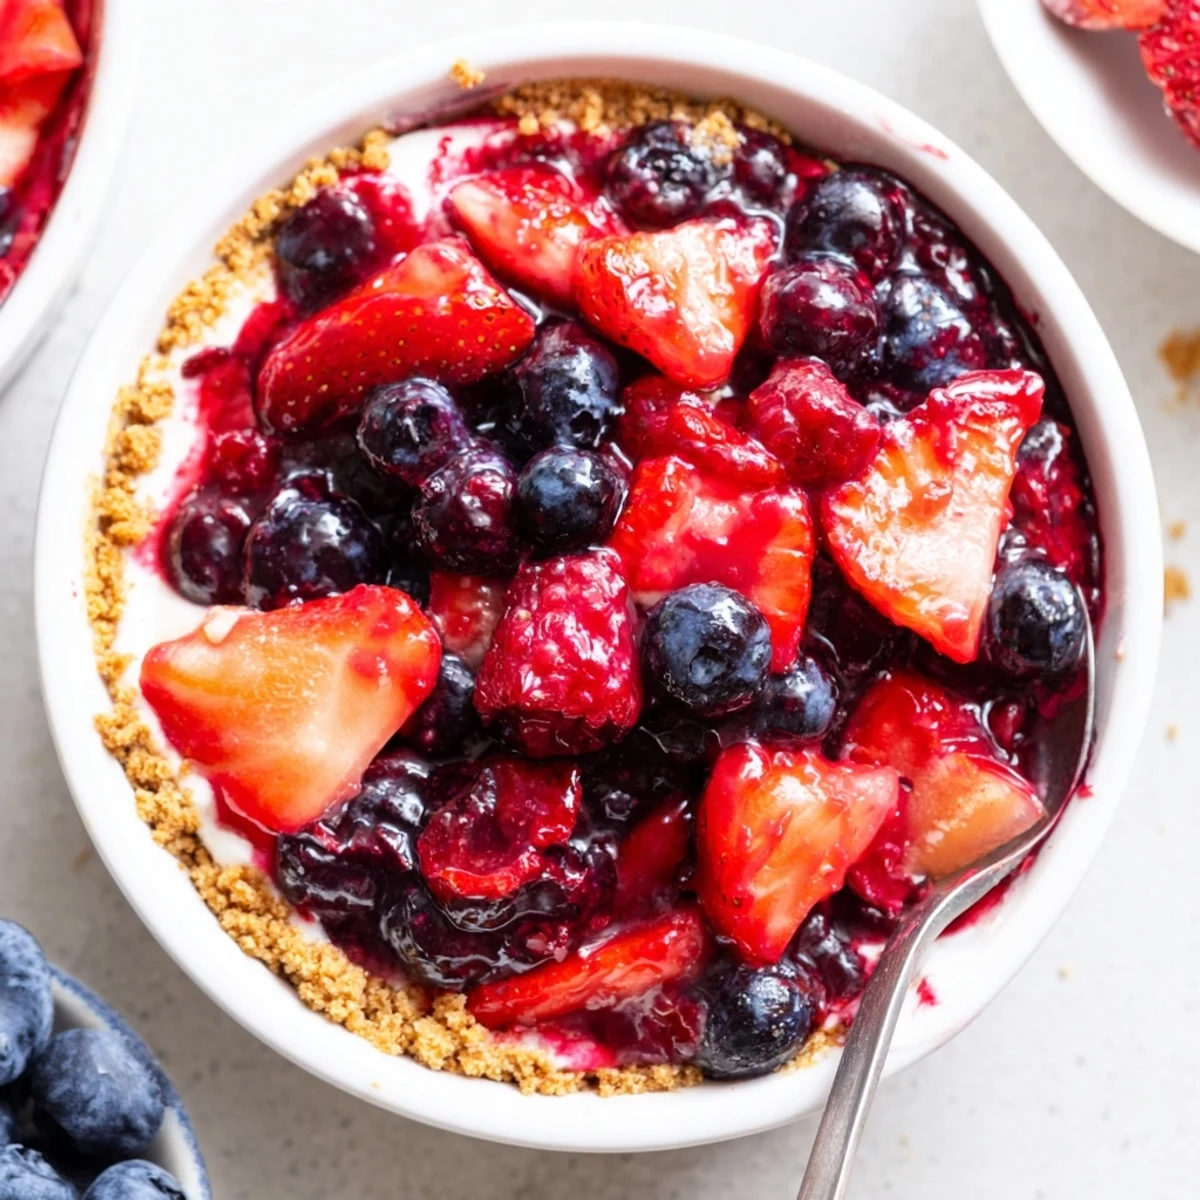
 These individual no-bake cheesecakes layer a crunchy crushed-biscuit base with a silky whipped cream cheese filling and a bright macerated berry topping. Press crumbs and melted butter into serving glasses, whip cold heavy cream to stiff peaks and fold into sweetened cream cheese. Top with berries and chill at least 3 hours to set. Swap biscuits for gluten-free options or add a splash of berry liqueur for extra depth.
The first sound that hits me when making these berry no bake cheesecakes is the gentle tap-tap of biscuit crumbs settling into glass jars. There is an easy rhythm to this dessert—no racing against timers or hovering over a bubbling oven. Instead, I get to watch cream swirl into clouds and bright berries glisten as they wait their turn. It always feels like summer, even if rain drums at the windows.
I once threw these together on a whim for an impromptu Sunday brunch when friends showed up with a basket of berries they simply could not eat alone. We layered and tasted, giggling over the best ratios of fruit to cheesecake, and in the end, every glass magically vanished before lunch was finished.
Ingredients
- Graham crackers or digestive biscuits, crushed: These create a crunchy, buttery foundation—crush them as fine or as chunky as you like for texture.
- Unsalted butter, melted: Warm butter binds the crumbs, so do not skimp, and let it cool slightly before mixing for best results.
- Cream cheese, softened: Letting it come fully to room temperature makes the filling silky smooth—hard cheese leads to lumps.
- Heavy cream (cold): Cold cream whips up with so much more volume; sometimes, I pop the bowl in the fridge first.
- Powdered sugar: This dissolves beautifully, leaving the cheesecake mixture fluffy and not grainy.
- Vanilla extract: A little goes a long way here, coaxing out the sweetness in the cream cheese.
- Lemon zest (optional): When I want a little brightness, finely grated zest lifts everything without overpowering.
- Mixed fresh berries: I use whatever is most beautiful at the market, often a messy handful of strawberries, blueberries, and raspberries.
- Sugar: Just enough coax sweetness and a little juiciness from your berries—adjust to taste.
- Lemon juice: That squeeze really sharpens the flavor of the berries and helps them become their most luscious selves.
Instructions
- Biscuit base magic:
- Toss the crushed biscuits into a bowl with melted butter, mixing until every crumb glistens. Press this mix gently into the bottoms of glasses—hearing the crunch as you press down is oddly satisfying.
- Creamy cheesecake layer:
- Beat the cream cheese on its own until it relaxes into smoothness, then blend in powdered sugar, vanilla, and lemon zest if you are using it. Whip cold heavy cream in a separate bowl till you see firm, snowy peaks, then slowly fold it into the cheese mixture—move gently so every spoonful stays pillowy.
- Assemble and chill:
- Spoon or pipe the luscious filling over your crumb base, taking a moment to smooth the tops for a pretty layer. Cover and pop the glasses in the fridge so the filling firms up while you move on to the berries.
- Berries in bloom:
- Mix berries with sugar and lemon juice in a small bowl, and let them hang out for about fifteen minutes. You will smell them turn jammy and sweet as they get glossy and soft.
- Final flourish:
- Spoon the berry mixture generously over each cheesecake, letting the juices run over the sides a bit for full effect. Return to the fridge for at least three hours or overnight, then serve chilled and watch them disappear.
 Save to Pinterest
 The first time my niece helped me with these, she sneakily ate nearly all the berries before we could top the cheesecakes. Her sticky fingers and laughter made the dessert taste even sweeter, and now I secretly add extra berries every time just in case.
Fresh Ways to Serve These
Sometimes I swap standard glasses for pretty teacups or even small mason jars; it always gets smiles. Layering can get messy or neat, but somehow no one ever minds—parfaits have their own charm.
Playing with the Toppings
For more grown-up gatherings, I have drizzled a splash of berry liqueur over the fruit before chilling and the subtle kick is always a conversation starter. Swapping in stone fruits, like peaches or cherries, keeps things interesting as the seasons change.
Quick Troubleshooting Before You Chill
Once, I over-whipped the cream and ended up with a grainy filling—now I keep a close watch and stop at soft, billowy peaks. If you ever find your biscuit base dry or crumbly, a touch more butter always saves it.
- Give yourself plenty of chilling time for the perfect set.
- Use the freshest berries you can find—they make all the difference.
- Do not be afraid to experiment with glass shapes or fruit combos—it is impossible to mess this up.
 Save to Pinterest
 Each glass holds a little celebration in layers—serve these at your next gathering or savor them on an ordinary afternoon. However you enjoy them, they are pure creamy joy in every spoonful.
Frequently Asked Questions
- → How do I ensure a silky, lump-free filling?
-
Beat softened cream cheese until completely smooth before adding sugar and vanilla. Whip cold heavy cream to stiff peaks separately and fold gently to keep air and achieve a light, silky texture.
- → Can I use frozen berries for the topping?
-
Yes. Thaw and drain excess liquid, then toss with sugar and lemon juice. If very watery, simmer briefly to concentrate juices before cooling and spooning over the filling.
- → How do I prevent a soggy biscuit base?
-
Use finely crushed biscuits and just enough melted butter to bind. Press the crumbs firmly into the glass or ramekin and chill before adding the filling to help them set.
- → Are there dairy-free alternatives for the filling?
-
Substitute a vegan cream cheese and use chilled full-fat coconut cream whipped to peaks. Note texture and flavor will differ slightly but still produce a creamy set.
- → How long should the desserts chill before serving?
-
Chill for at least 3 hours to allow the filling to firm up; overnight yields the best texture and makes assembly easier for serving later.
- → Can these be prepared ahead and stored?
-
Yes. Assemble up to 24 hours in advance, cover tightly, and keep refrigerated. Add fresh berry topping just before serving for best appearance and texture.
